Mounting your wärmeleser
This guide walks you through the physical installation of your wärmeleser on the heat meter.
Please read the safety instructions carefully before you begin.
Preliminary: Why is the WiFi module rotatable and removable?
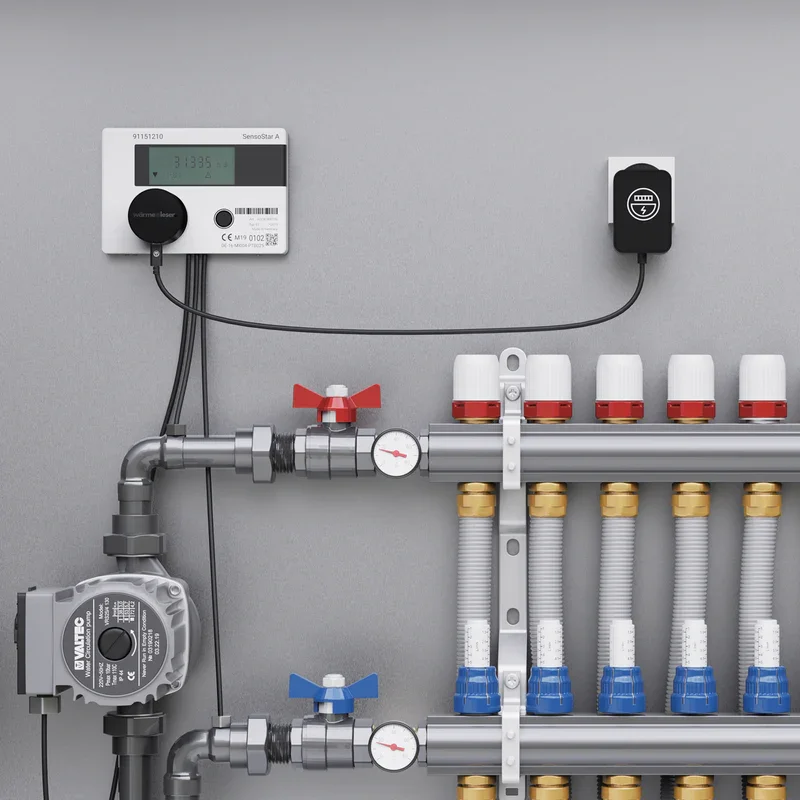
The wärmeleser consists of two parts: a reading head (TTL head) and a WiFi module. The USB-C connector is on the WiFi module, which can be easily detached from the reading head for flexible installation and mounted separately using the supplied 3M adhesive strip – for example, in a spot with better WiFi reception or more space. If your heat meter has enough space, you can also mount the wärmeleser as a single unit (without separating it).
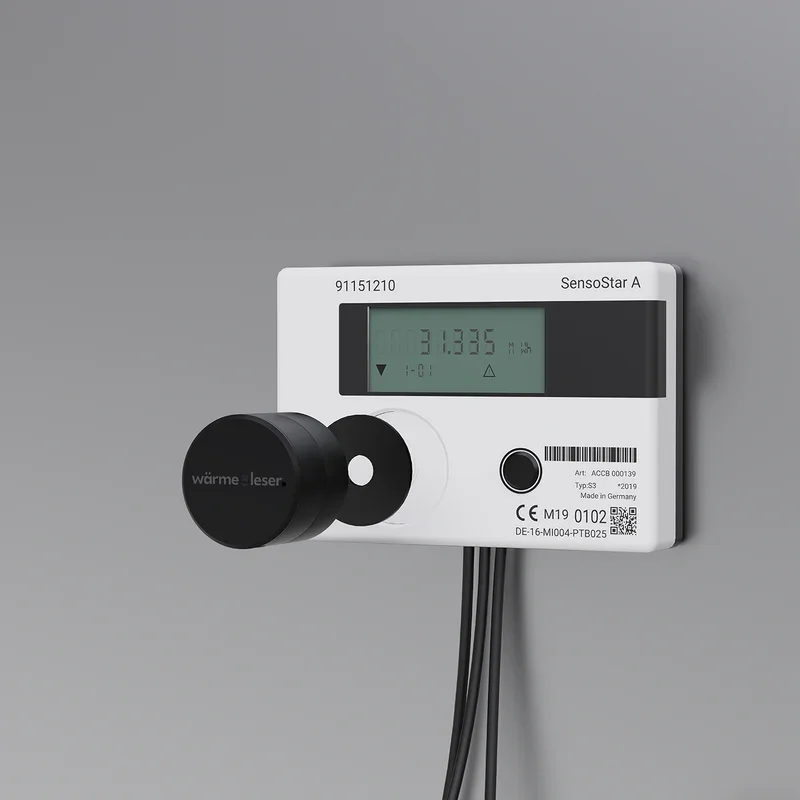
1.1 Mounting on the heat meter
Attach your wärmeleser to the heat meter (see Fig. 1). To do this, stick the supplied metal disc centrally onto the optical interface of your heat meter. Make sure the interface is not covered. Place the wärmeleser onto the metal disc – it will hold in place automatically thanks to the built-in magnet.
If there is insufficient space or poor reception, the WiFi module can be detached from the reading head and mounted in a suitable nearby location using the supplied 3M adhesive strip.
1.2 Connecting the power supply
Connect the wärmeleser to a power outlet using the supplied USB-C cable and power adapter.
Next step
After physical installation, you can check the power connection and then start app setup.
Safety instructions
Before installing your wärmeleser, check the heat meter and its surroundings. Ensure that the pipes have cooled down and that no water is leaking. Make sure there is no moisture, hot surfaces, or moving parts near the measuring point. Avoid contact with metallic surfaces that could affect magnetic adhesion or measurement. If the device is damaged or water has entered the housing, stop installation immediately and contact our customer service. Never interfere with pipes or the heating system. If in doubt, contact a professional heating technician.