Home Assistant Basic Setup
You've purchased a meter reader and now want to perfectly integrate it into your Home Assistant? Great idea! In this article, I'll show you step by step how to accomplish this easily.
For stromleser.one, gasleser, wasserleser and wärmeleser there is now a native Home Assistant integration that works without MQTT. We recommend this approach: Home Assistant Integration (native). The MQTT setup below is still required for stromleser.tasmota.
Before you start, please make sure that your device is already connected to the internet. You need the local IP address of your Home Assistant system.
If you don't know the local IP of your Home Assistant, simply install the practical "Local IP" extension from the Home Assistant Store – this way you can find it out quickly. Further documentation
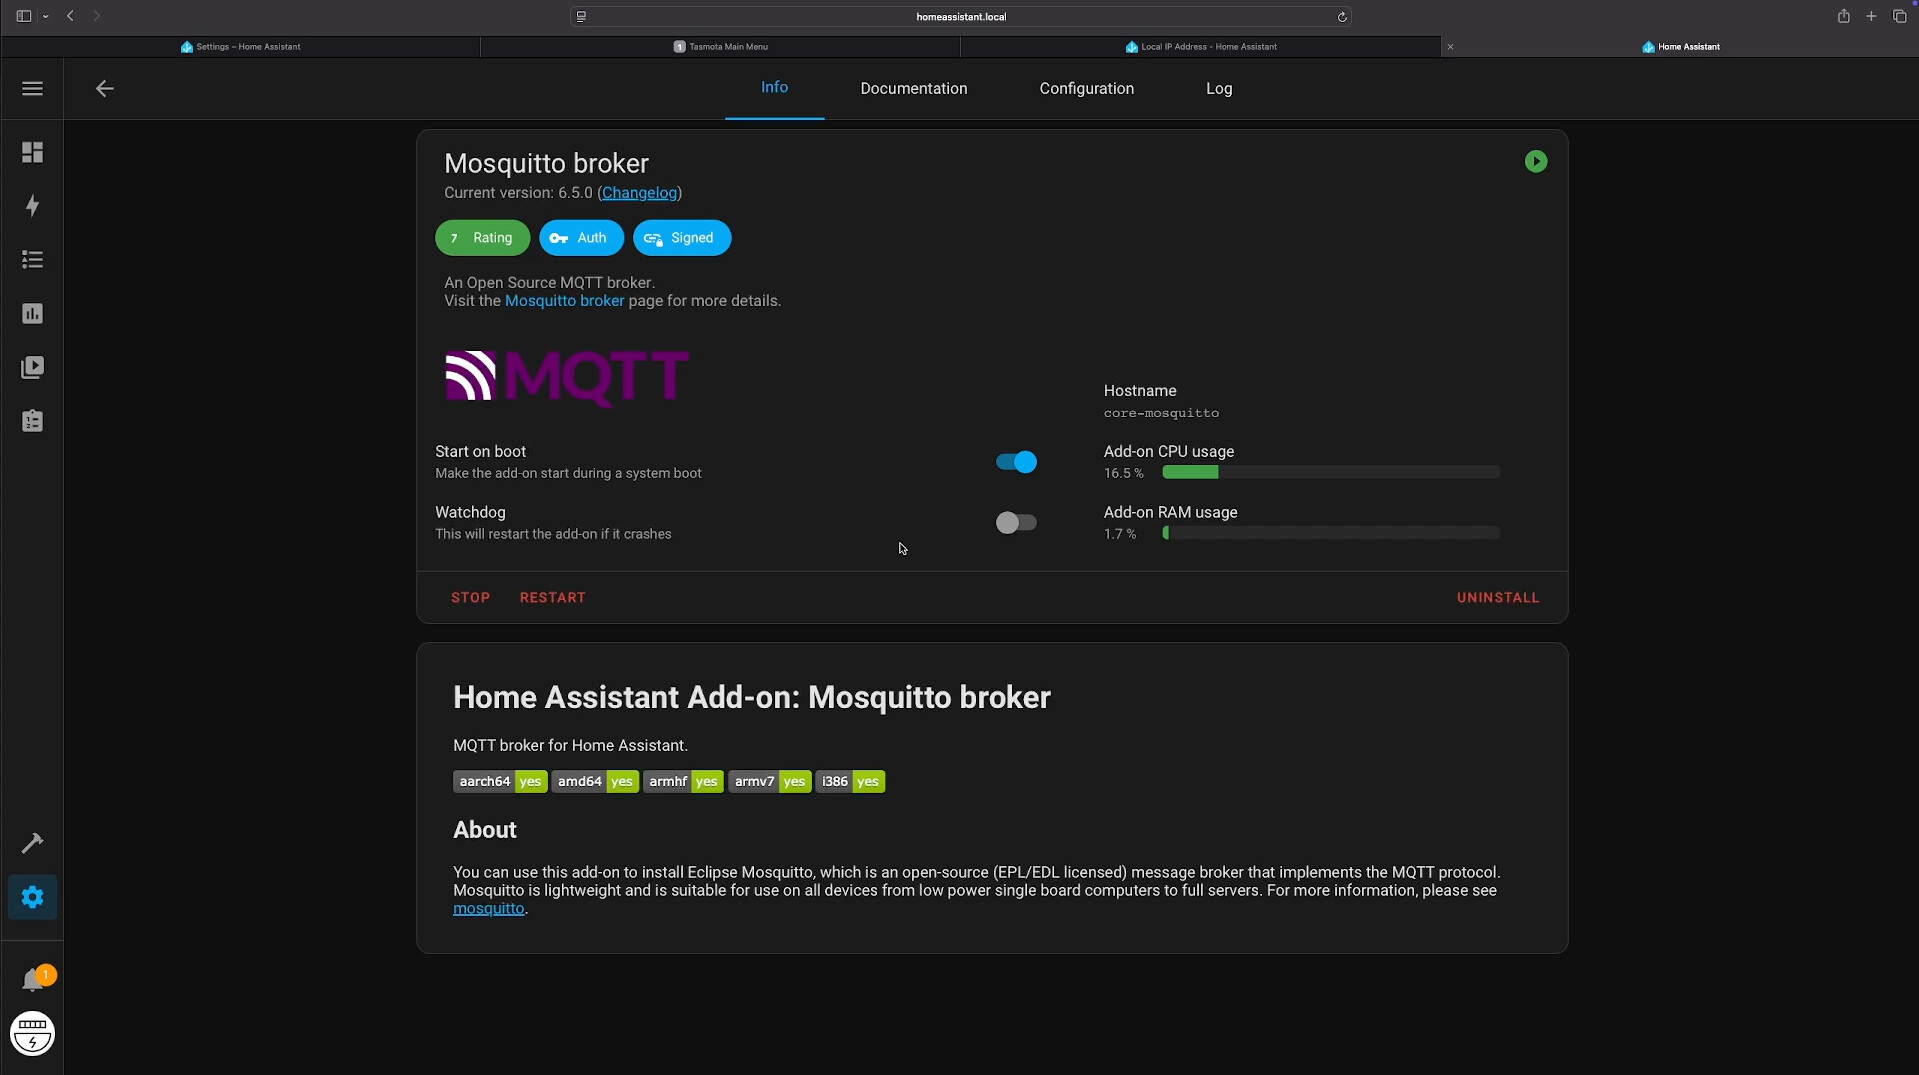
Step 1: Install MQTT Broker
For your device to communicate with Home Assistant, you need a Mosquitto MQTT Broker.
- Open your Home Assistant
- Go to Settings → Add-ons
- Search for Mosquitto Broker and install it
- Enable the options "Start on boot" and then click "Start"
Step 2: Create User for MQTT
Now create a user that your device can use to access MQTT:
- Go to Settings → People → Add Person
- Name:
mqtt-user - Password: Choose a secure password
- Click Create
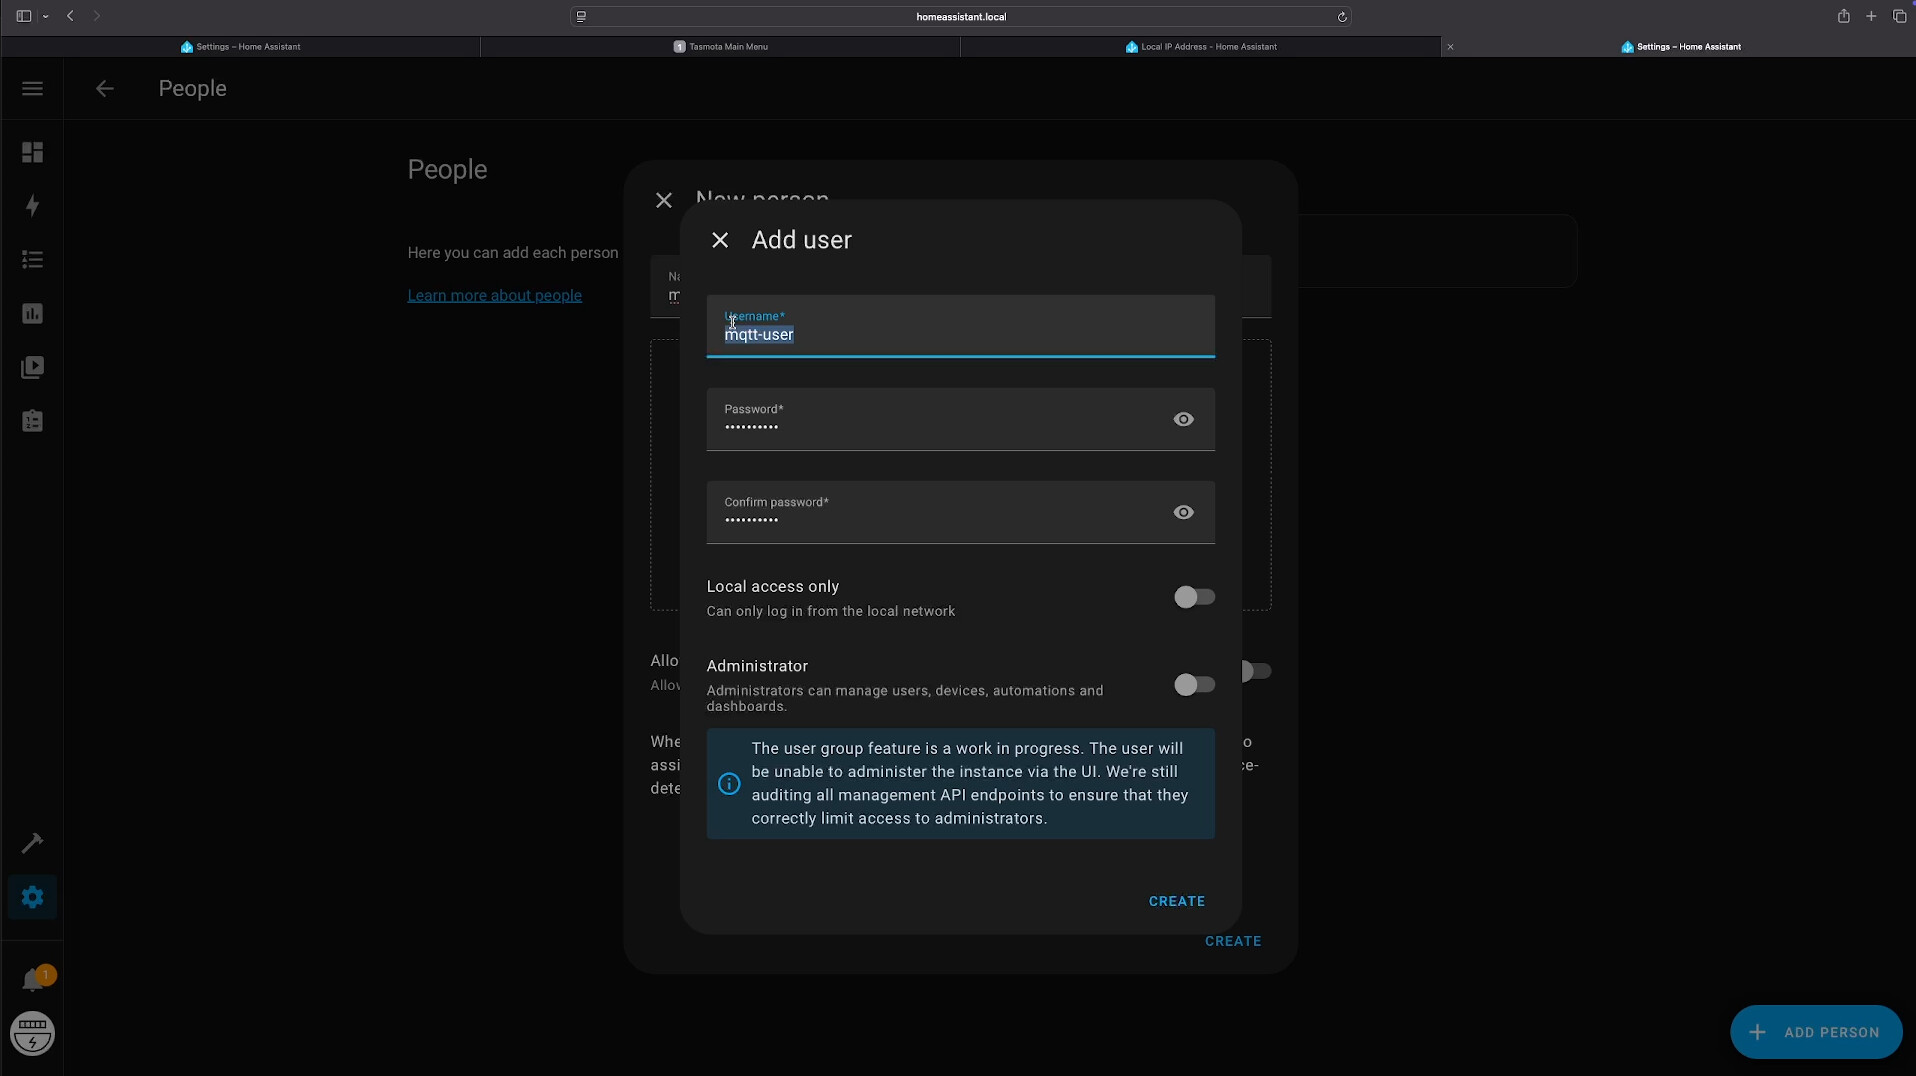
Use a strong password for the MQTT user, as it will be used for device communication.
Step 3: Restart Home Assistant
For everything to be applied correctly, restart your Home Assistant once:
Settings → System → Hardware → Restart
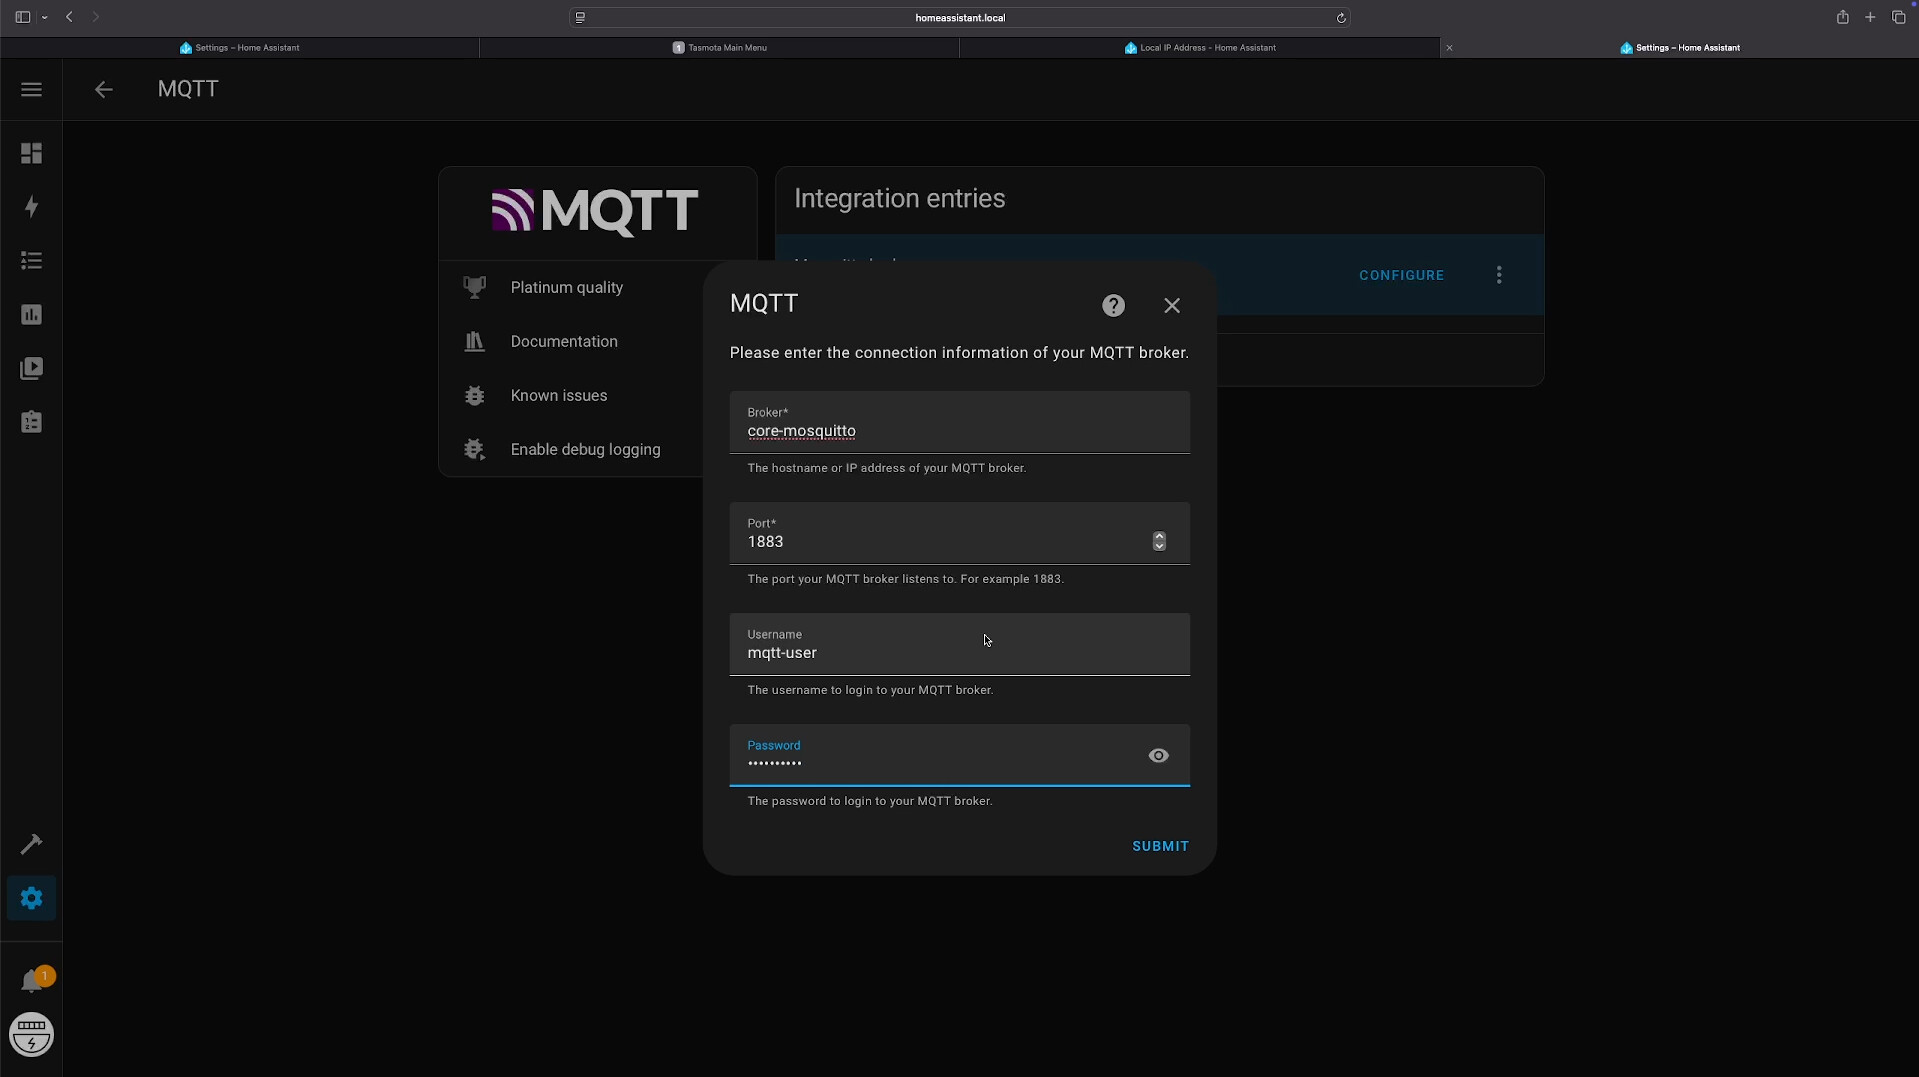
Step 4: Set up MQTT Integration
Now let's make sure MQTT is configured correctly:
- Go to Settings → Devices & Services → Add Integration
- Search for MQTT, click on it and select reconfigure
- Enter the following data:
- Broker:
core-mosquitto - Port:
1883 - Username:
mqtt-user - Password: the password you set
- Broker:
- Then click Save
Verify Installation
After these steps, your Home Assistant should be ready for device integration. You can verify the installation:
- Go to Settings → Devices & Services
- You should see the MQTT Integration as "Configured"
- The Mosquitto Broker should show as "Running" under Add-ons
Important Credentials
After this setup, you now have the following credentials that you need for device configuration:
- Home Assistant IP Address
- MQTT Username:
mqtt-user - MQTT Password: your chosen password
- MQTT Port:
1883
These credentials are required:
- For stromleser.tasmota: Enter in the Tasmota Dashboard
- For all other devices (stromleser.one, Gasleser, wasserleser): Enter in the App
After this basic setup, you can now configure your specific device. Follow the device-specific guide for:
Common Issues
MQTT Broker Won't Start
- Check if sufficient memory is available
- Restart Home Assistant
- Check the add-on logs for error messages
Integration Not Found
- Make sure the MQTT Broker is running
- Verify credentials
- Try removing and re-adding the integration
Connection Errors
- Check the Home Assistant system IP address
- Ensure port 1883 is not blocked
- Check firewall settings