Physical Installation
The physical installation of your Gasleser is completed in several simple steps. This guide walks you through the complete mounting process on your gas meter.
Before Installation
Safety Notice
- Do NOT turn off the gas supply during installation
- Work carefully around the gas meter
- Ensure you have access to a power outlet nearby
- Use only the included mounting hardware
Mounting Prerequisites
Before installation, ensure that:
- Your gas meter is compatible (see Compatible Meters)
- The meter area is clean and easily accessible
- You have all components from the package available

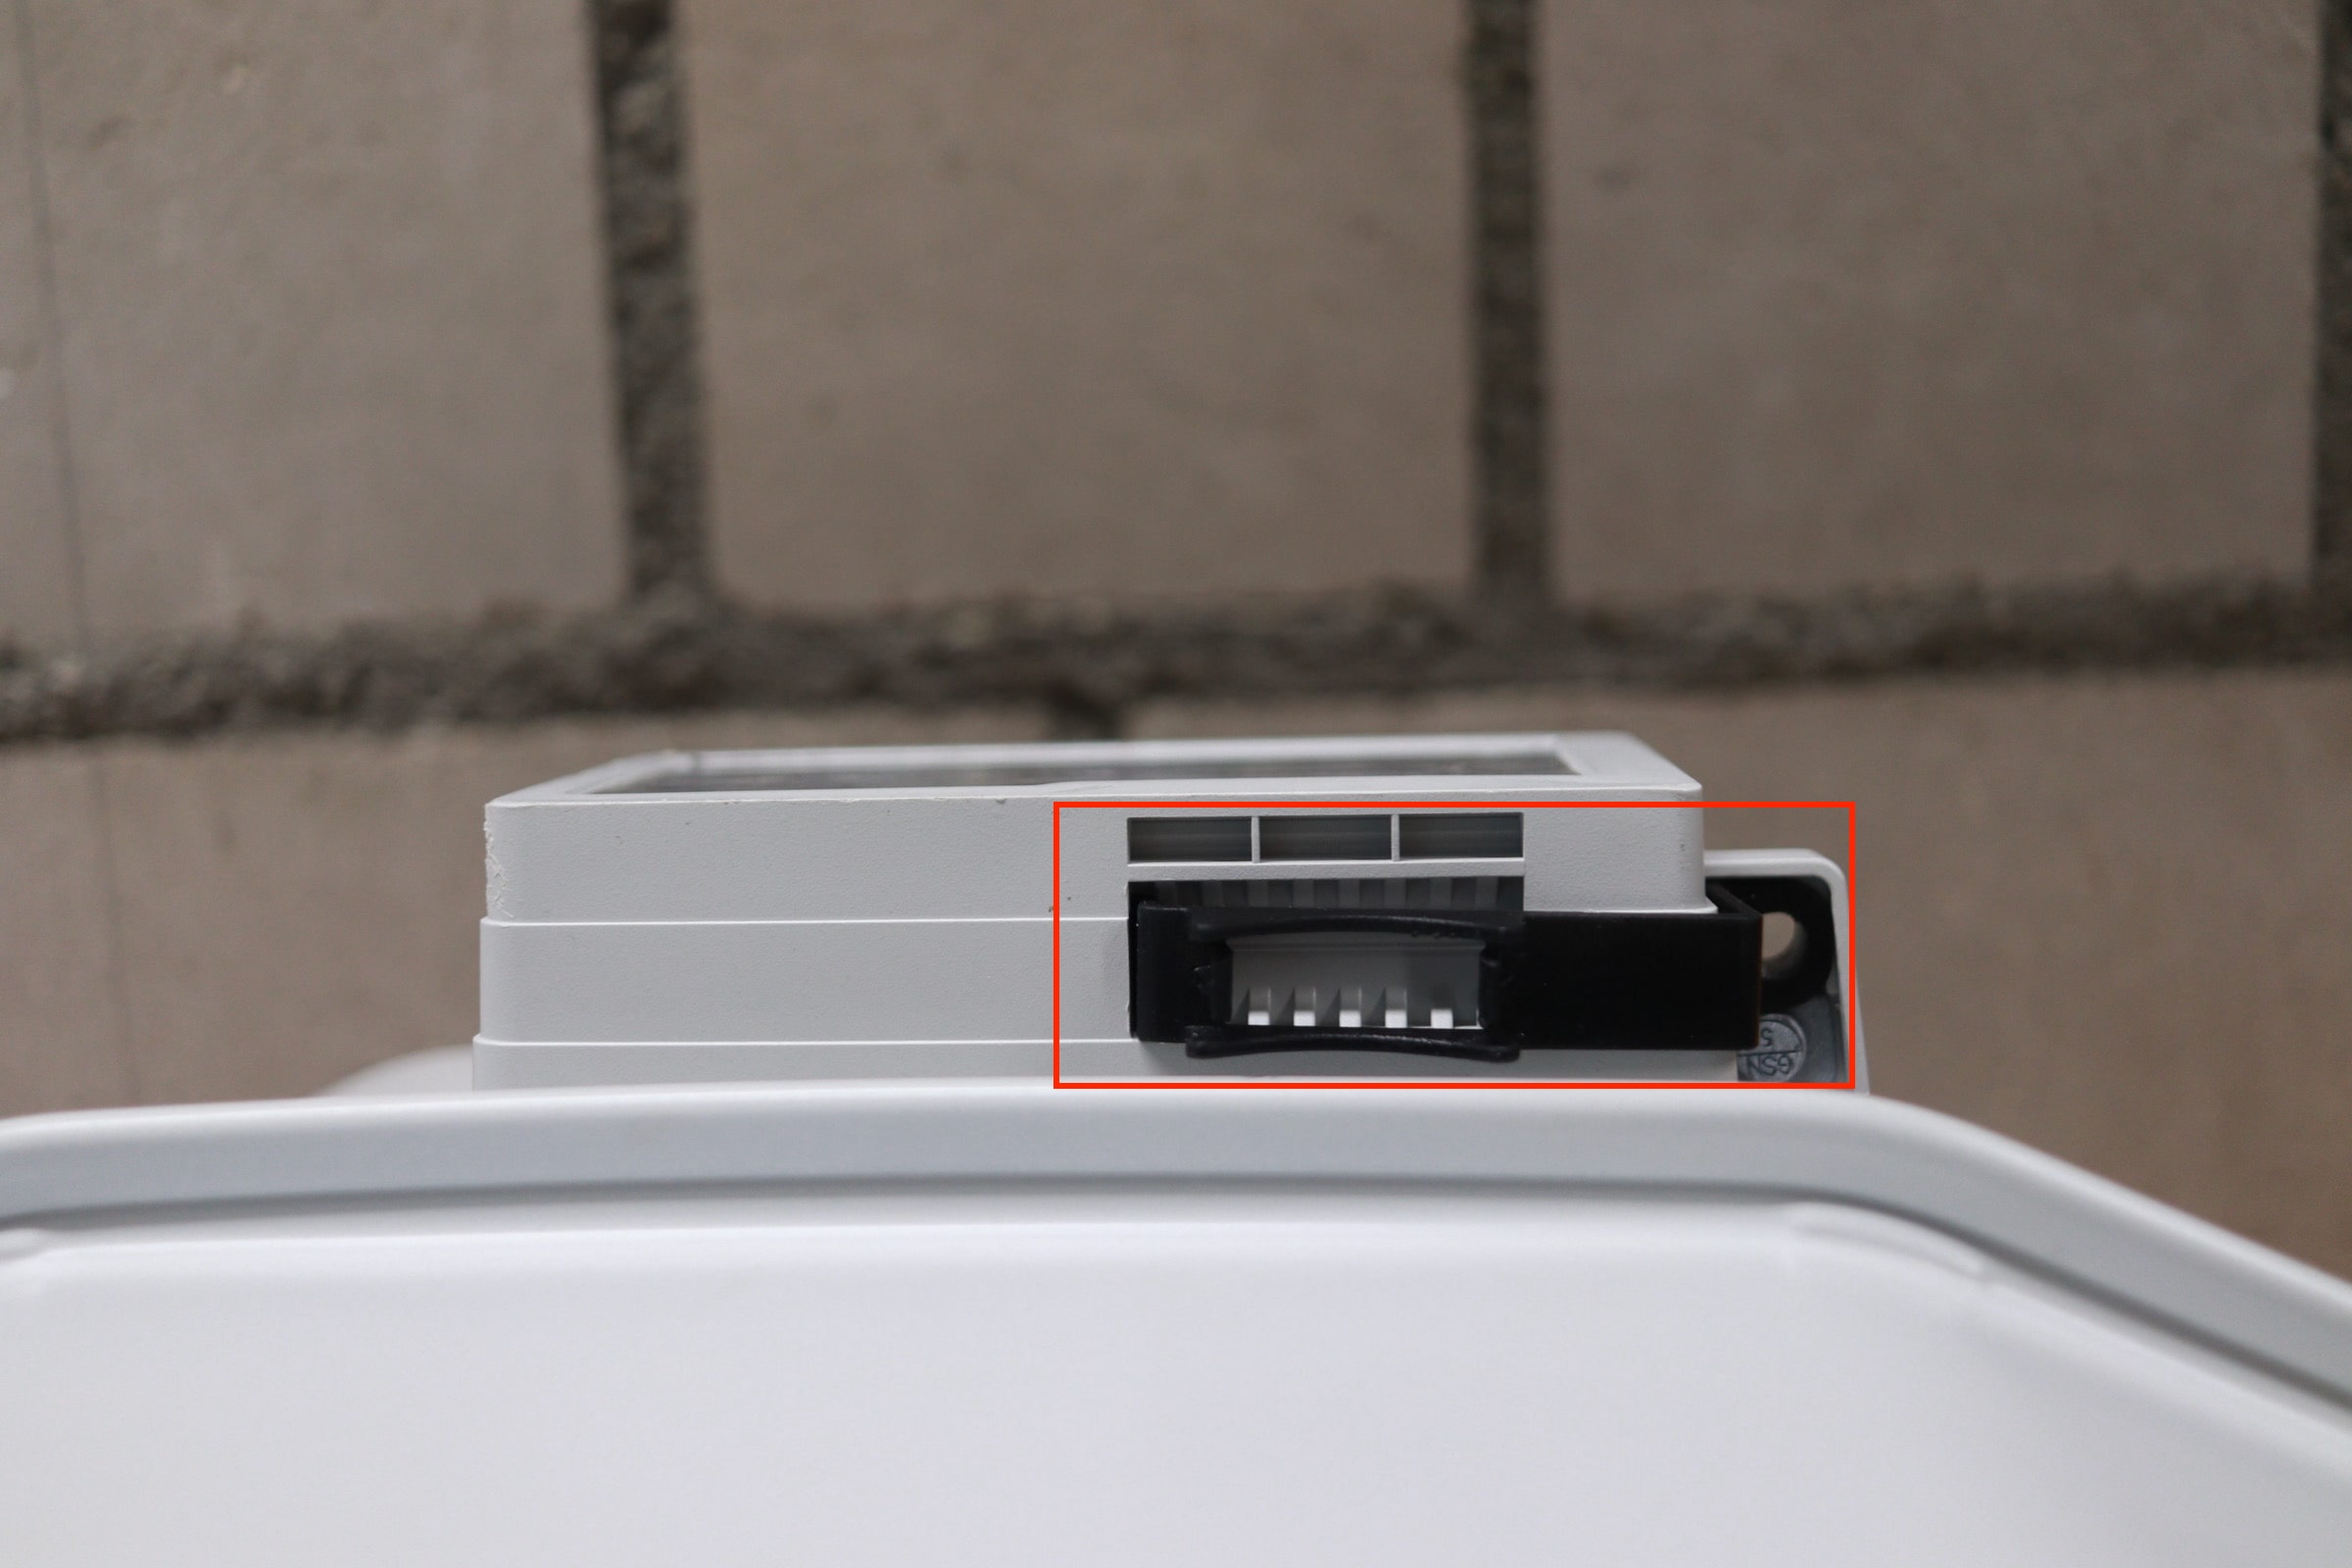
Step 1: Precisely Position Adapter
The included adapter must be precisely positioned on the gas meter for optimal sensor performance.
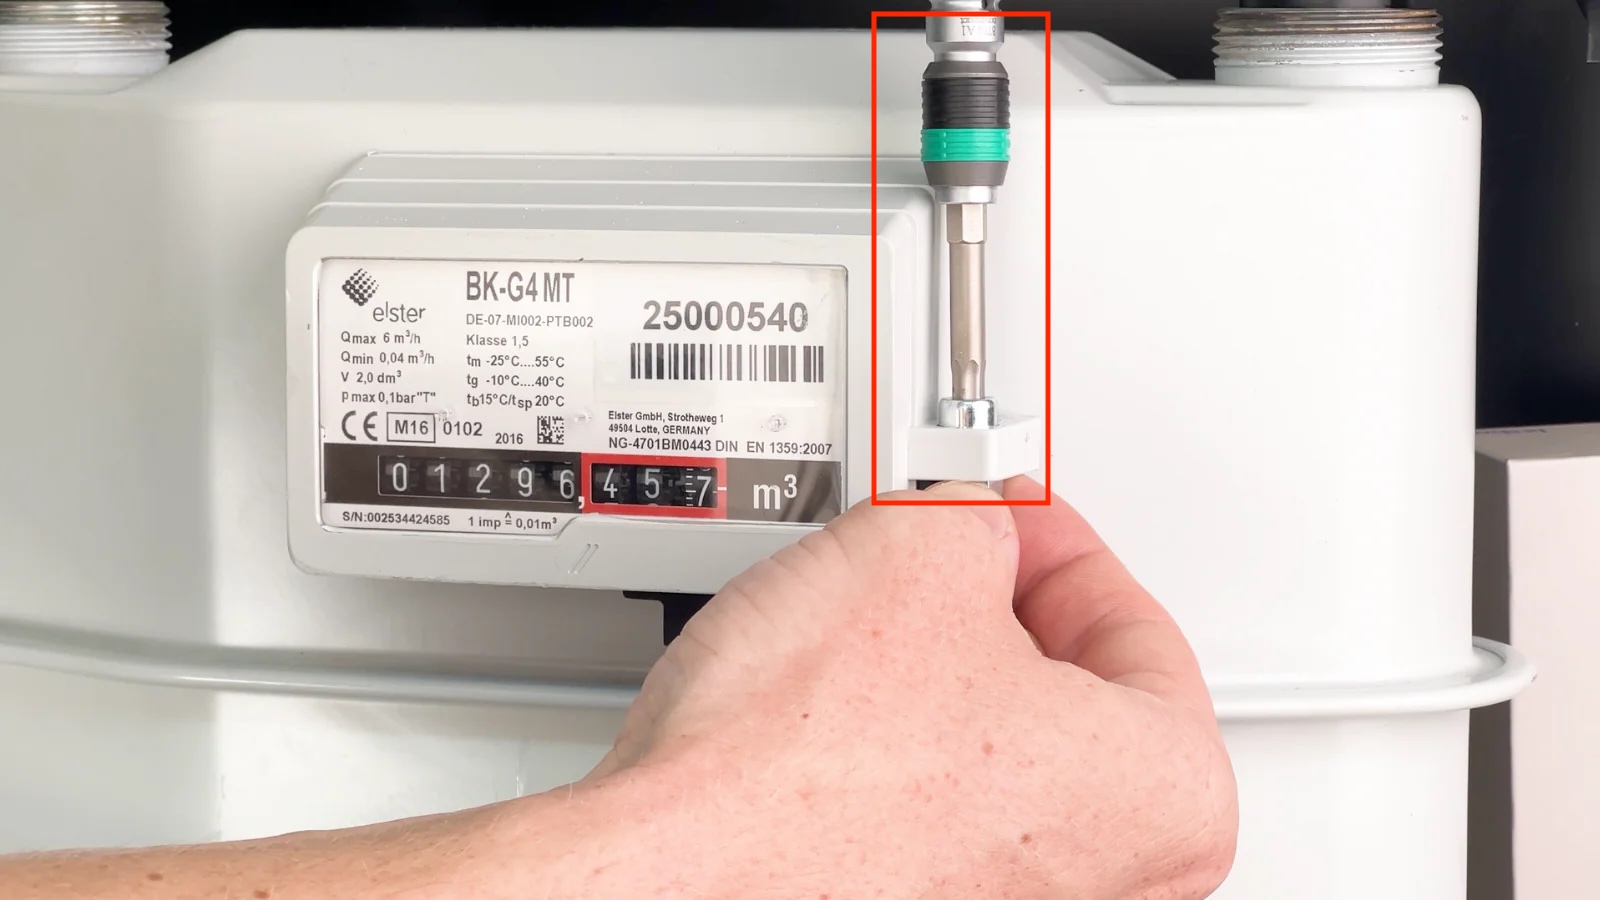
Step 2: Securely Attach Adapter
Use the included mounting screw to securely attach the adapter to the gas meter.
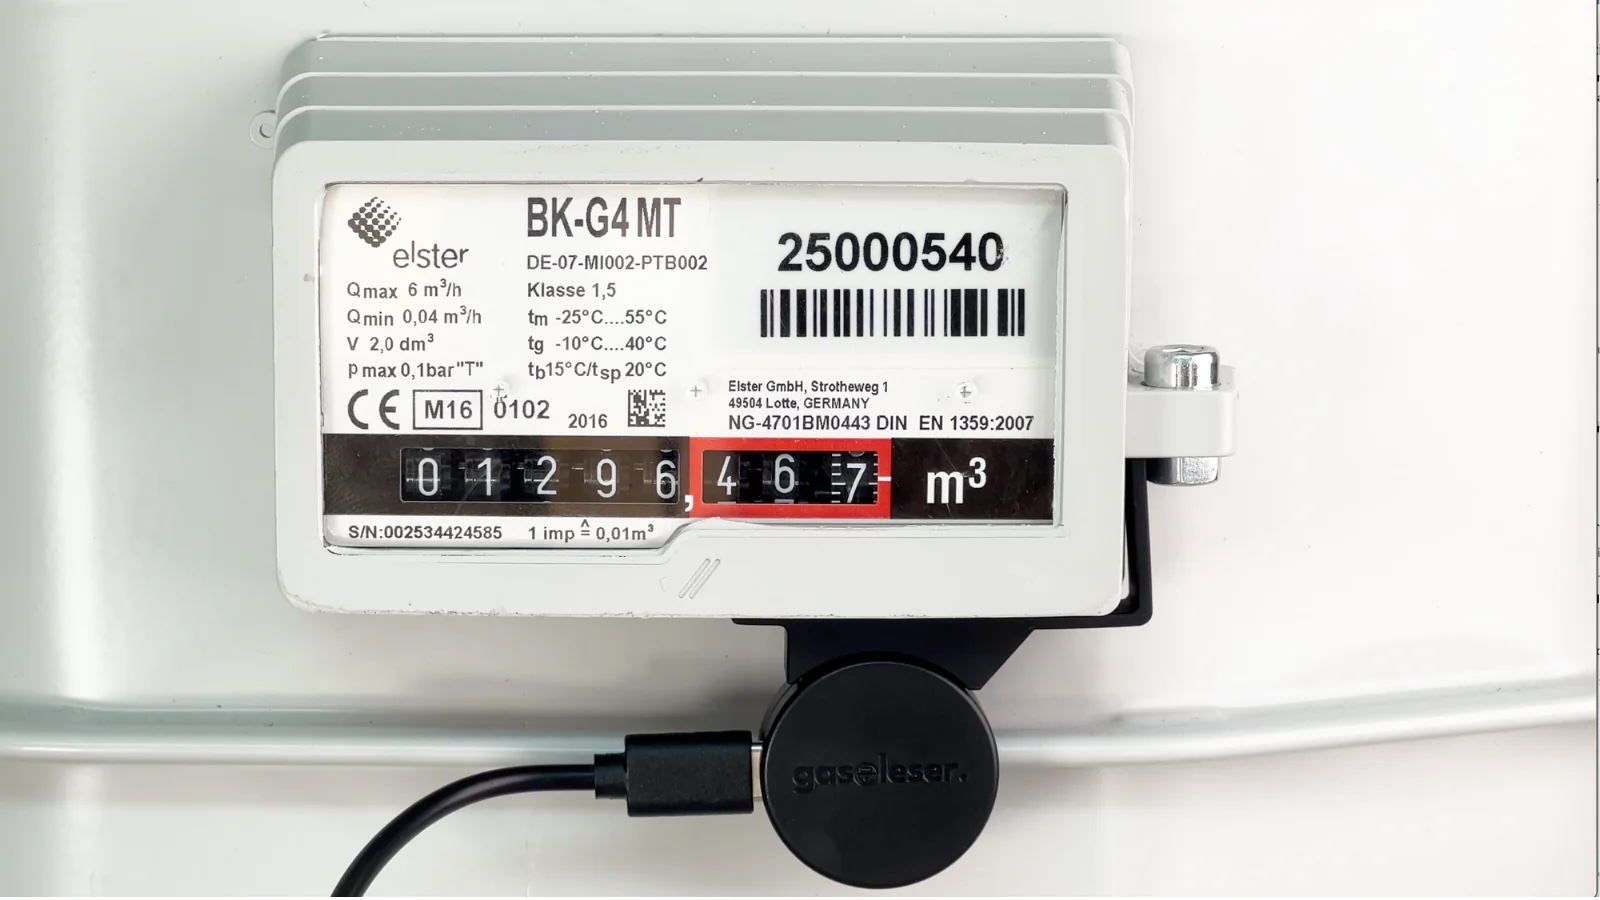
Step 3: Mount Gasleser
Carefully insert the Gasleser into the attached adapter. It should fit firmly and securely.

Step 4: Check Installation
After mounting, the Gasleser should be stable and correctly aligned on the gas meter.
Important Installation Notes
Optimal Positioning
- Ensure the Gasleser is optimally aligned with the meter dial
- The distance between sensor and meter dial should be minimal
- Avoid direct sunlight on the sensor
- The Gasleser should sit firmly but still be removable for maintenance if needed
Installation Safety
- Do not damage the gas meter
- Do not use excessive force
- Consult a professional if unsure
Avoiding Common Installation Errors
- Too loose mounting: Can lead to inaccurate readings
- Wrong alignment: Affects sensor performance
- Meter damage: Use only the included mounting materials