Gasleser Home Assistant Integration
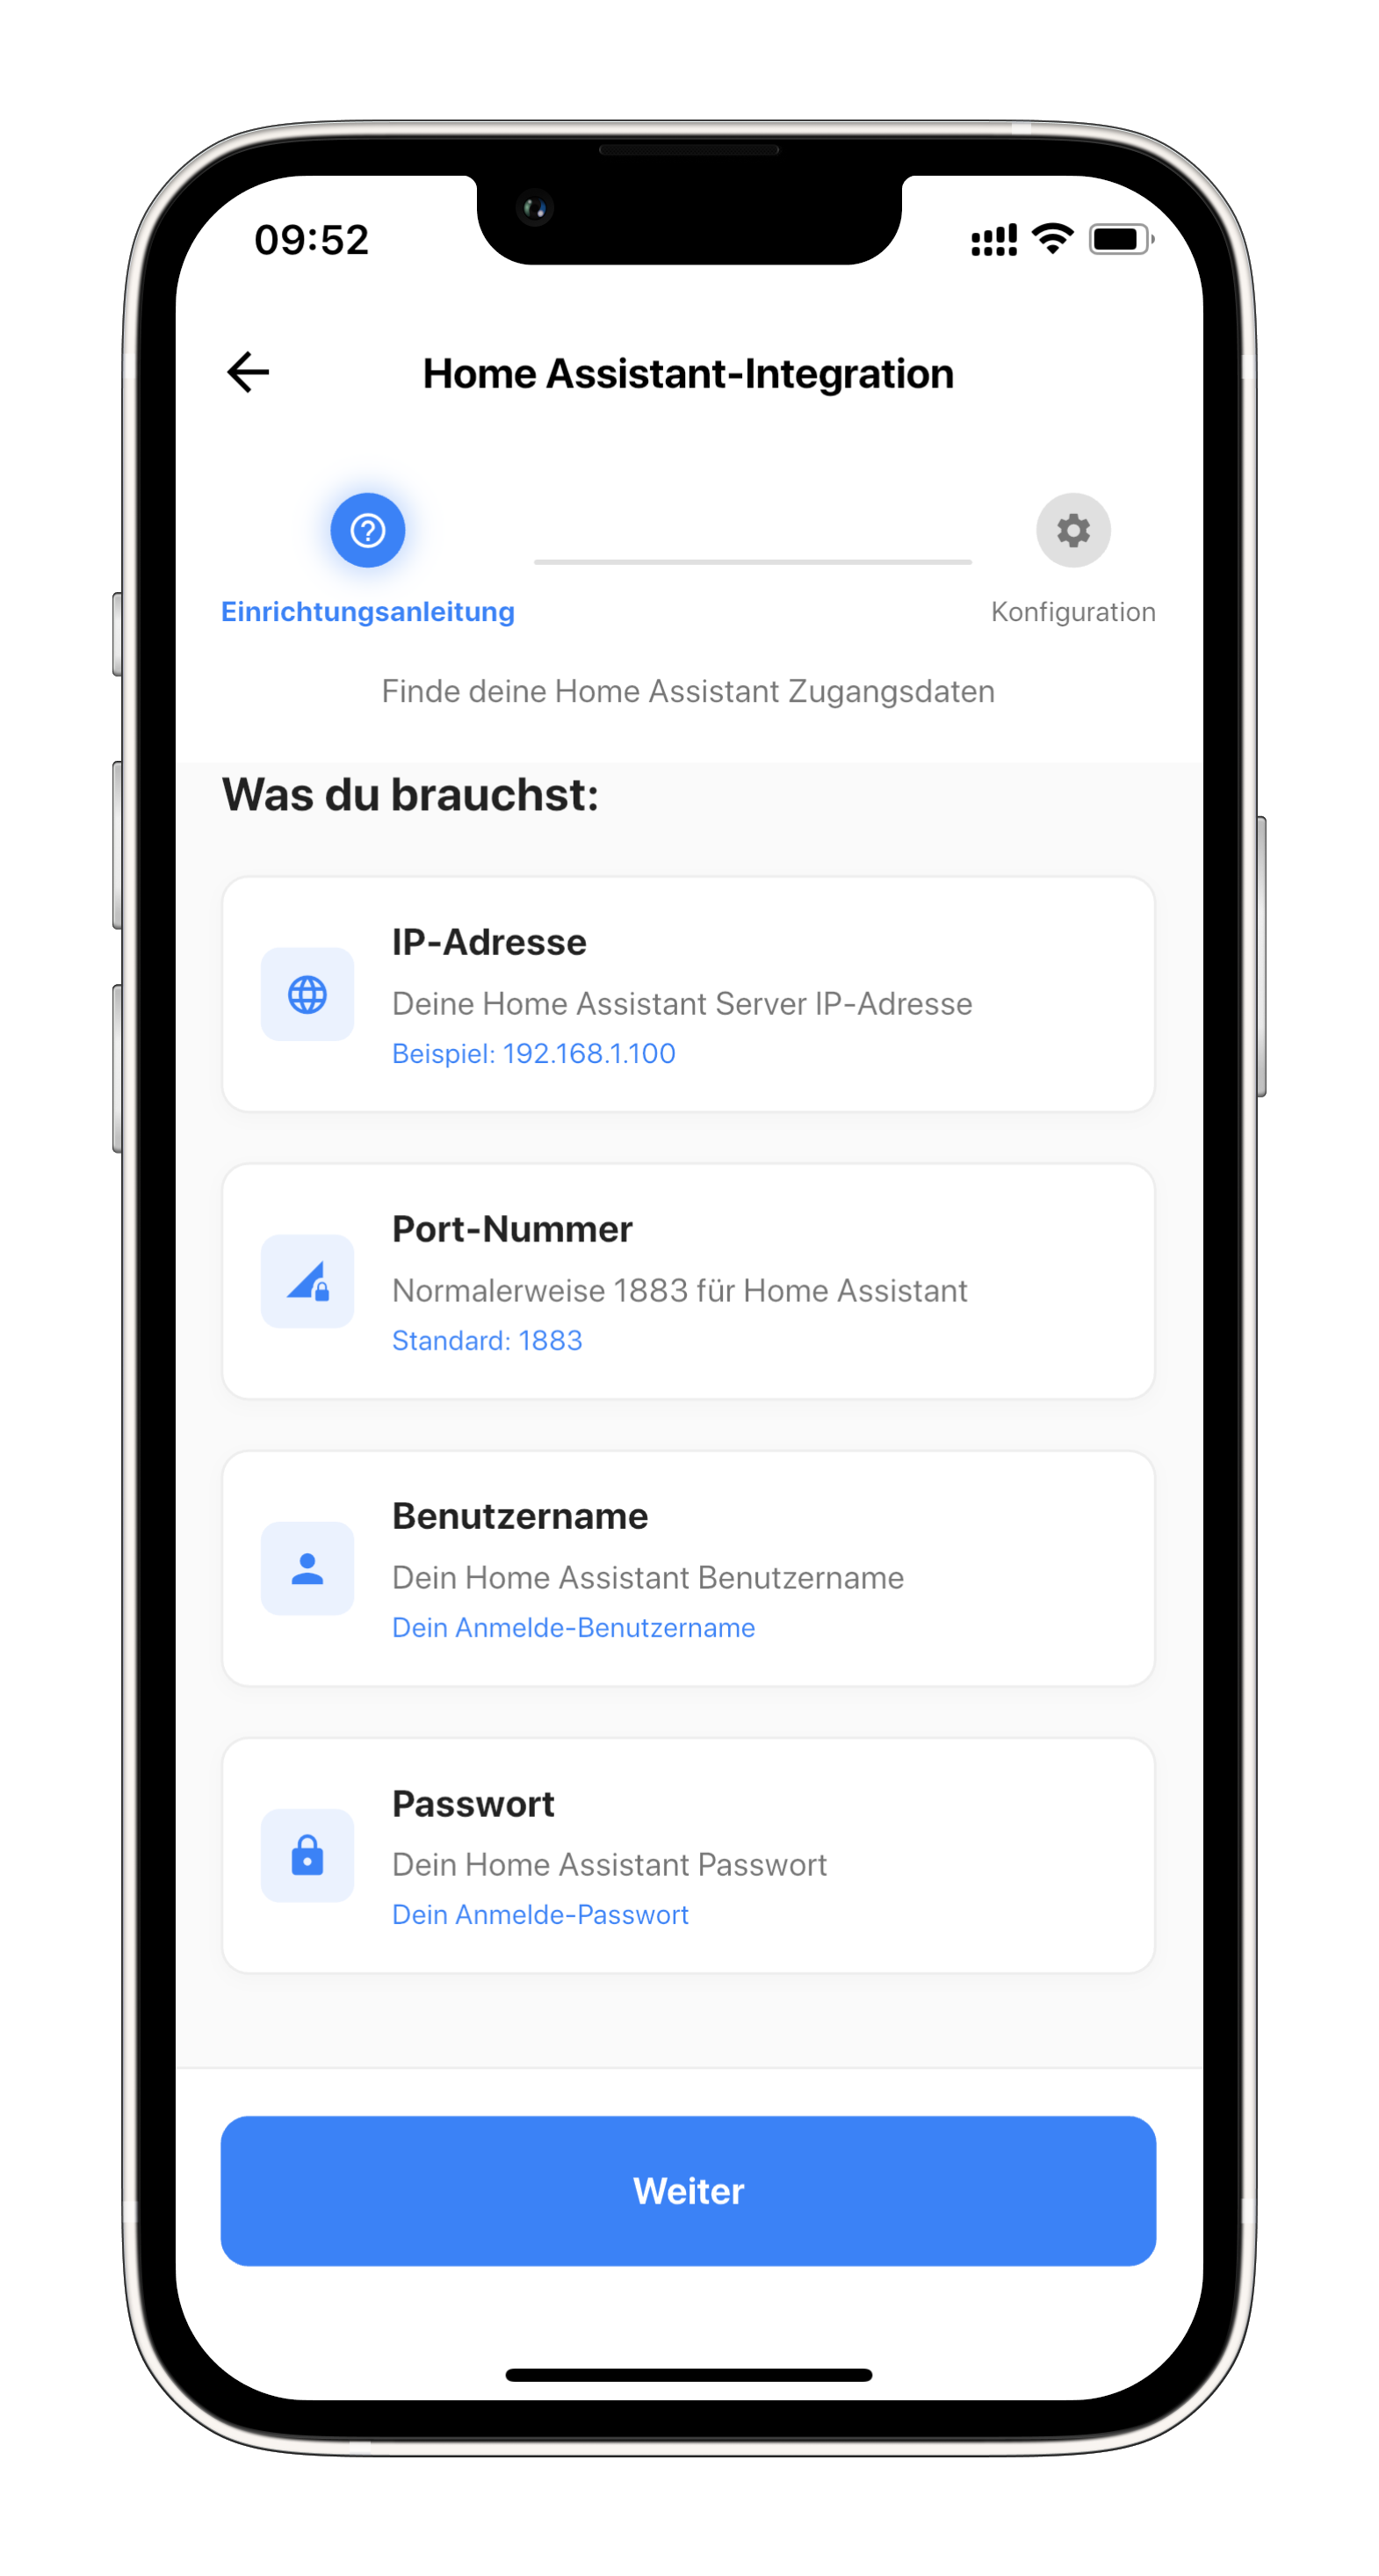
Prerequisites
Before starting with this guide, make sure you have completed the Home Assistant Basic Setup. You will need the MQTT credentials (IP address, username, password, and port).
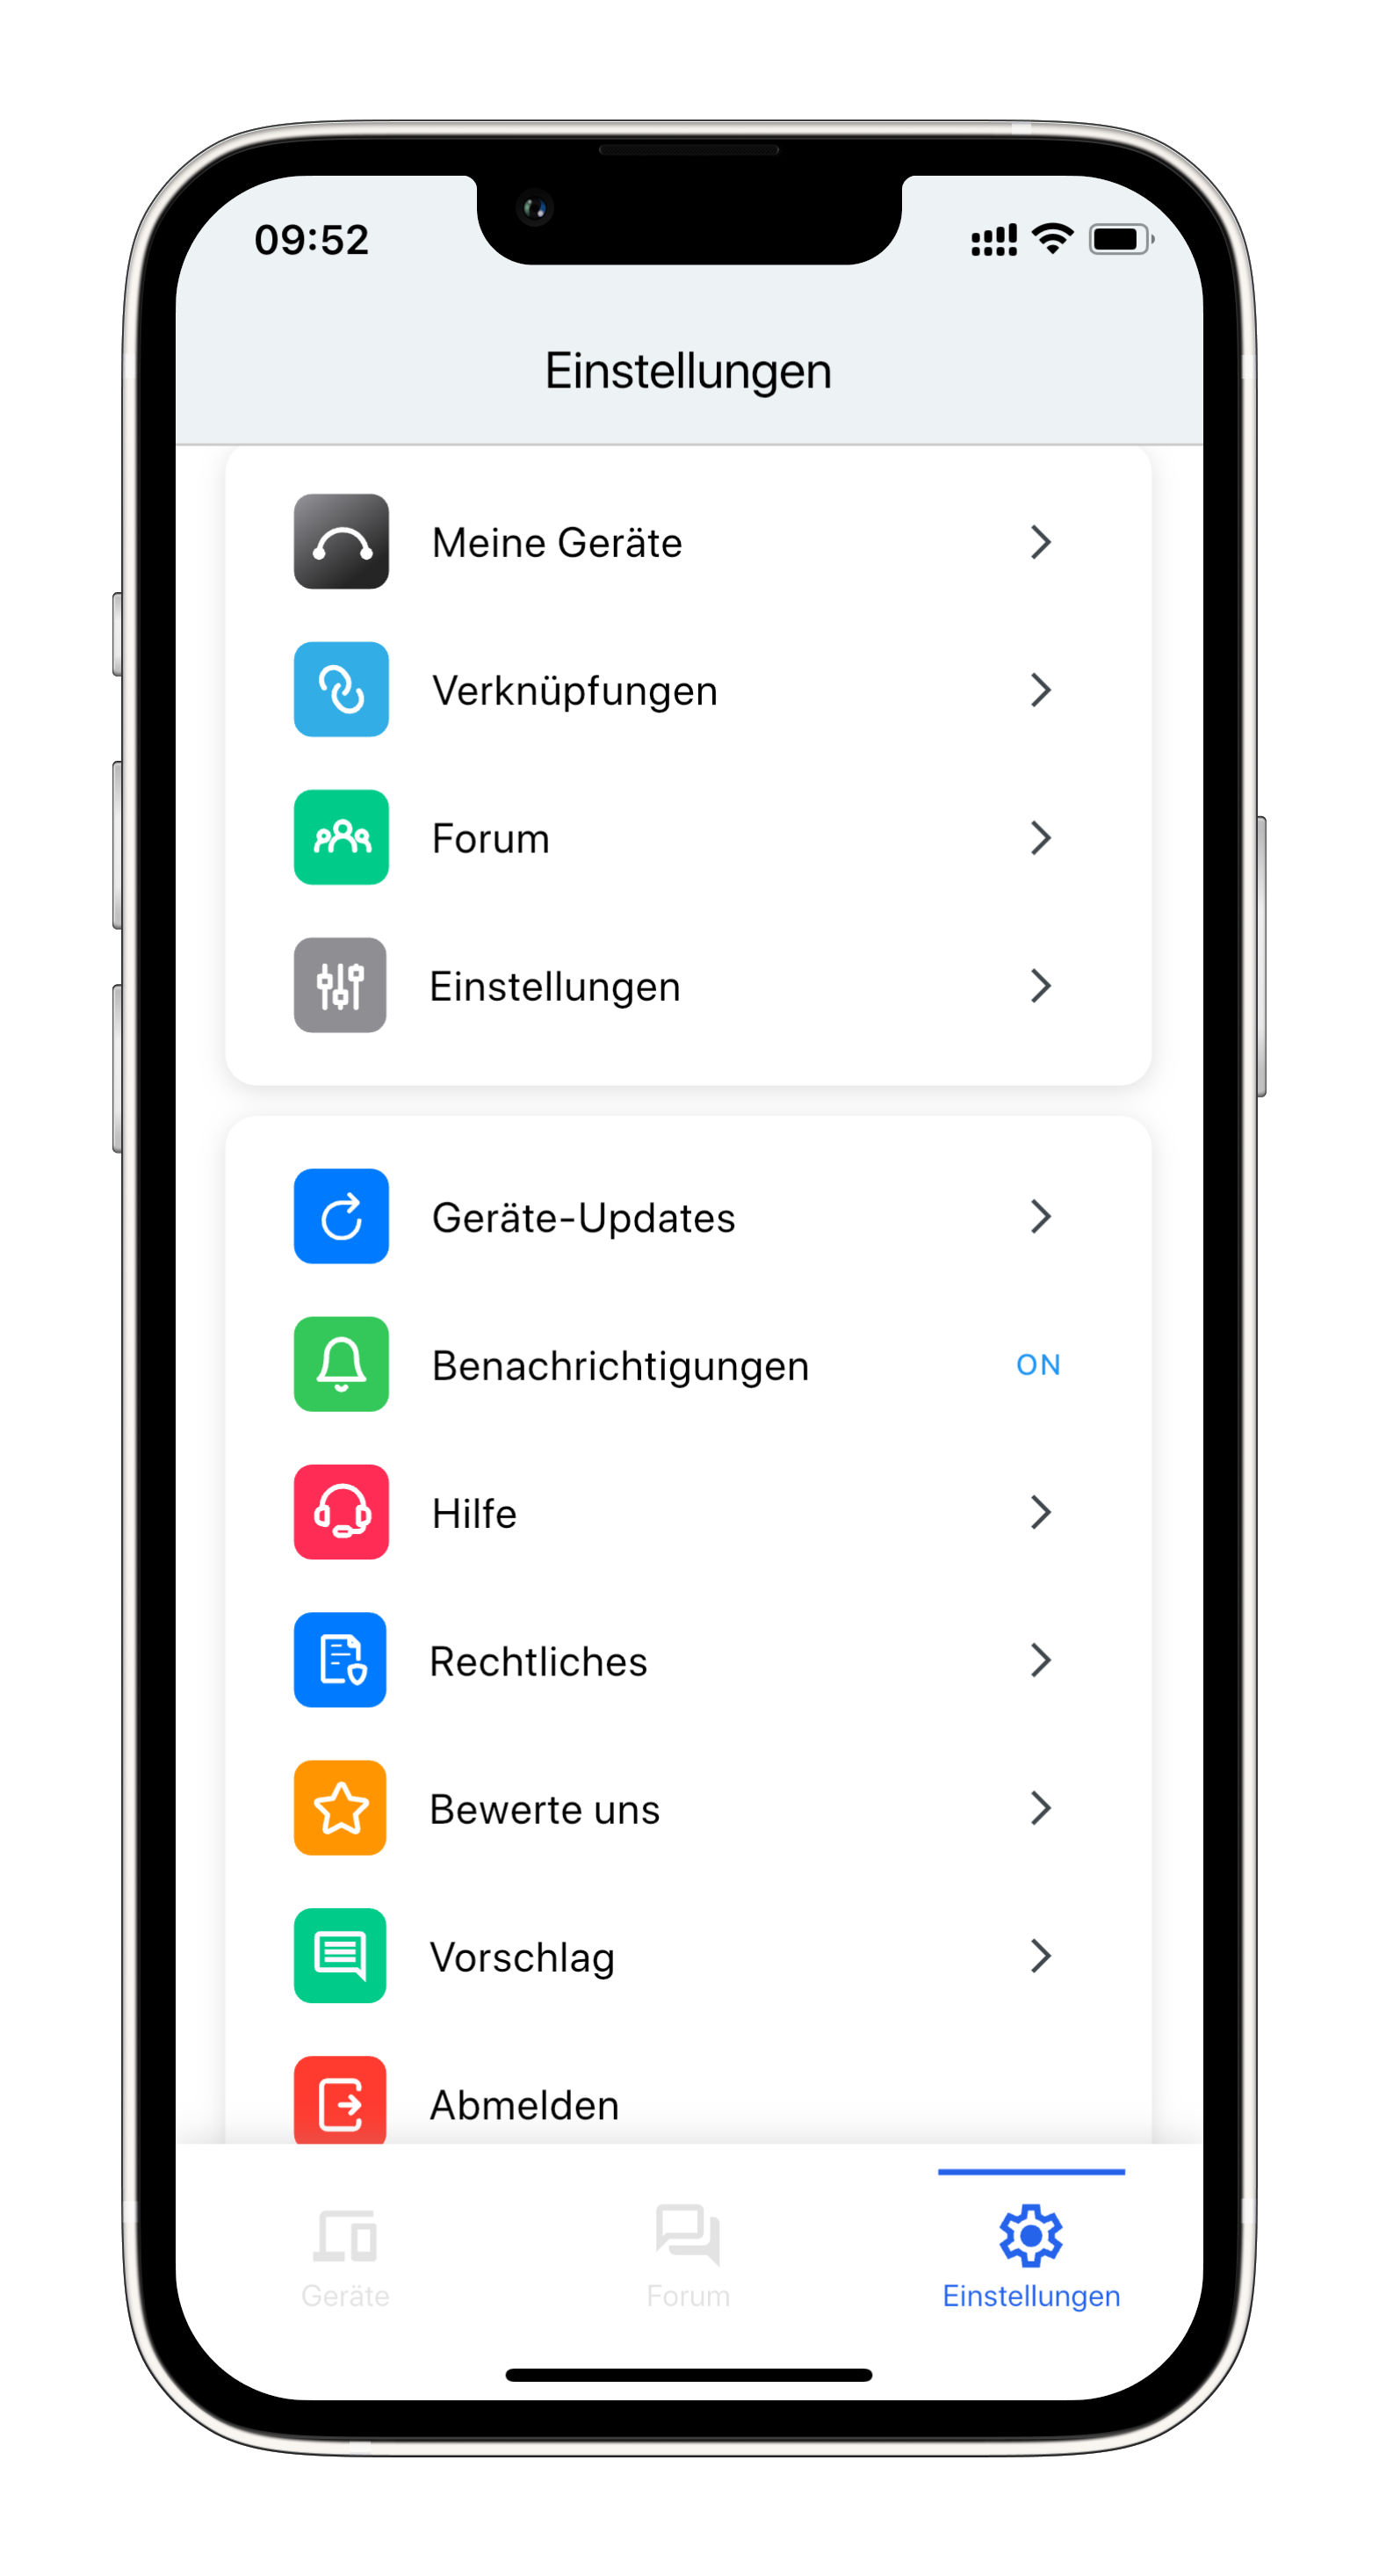
Step 1: Open Settings
Open the app and navigate to Settings. Select Integrations.
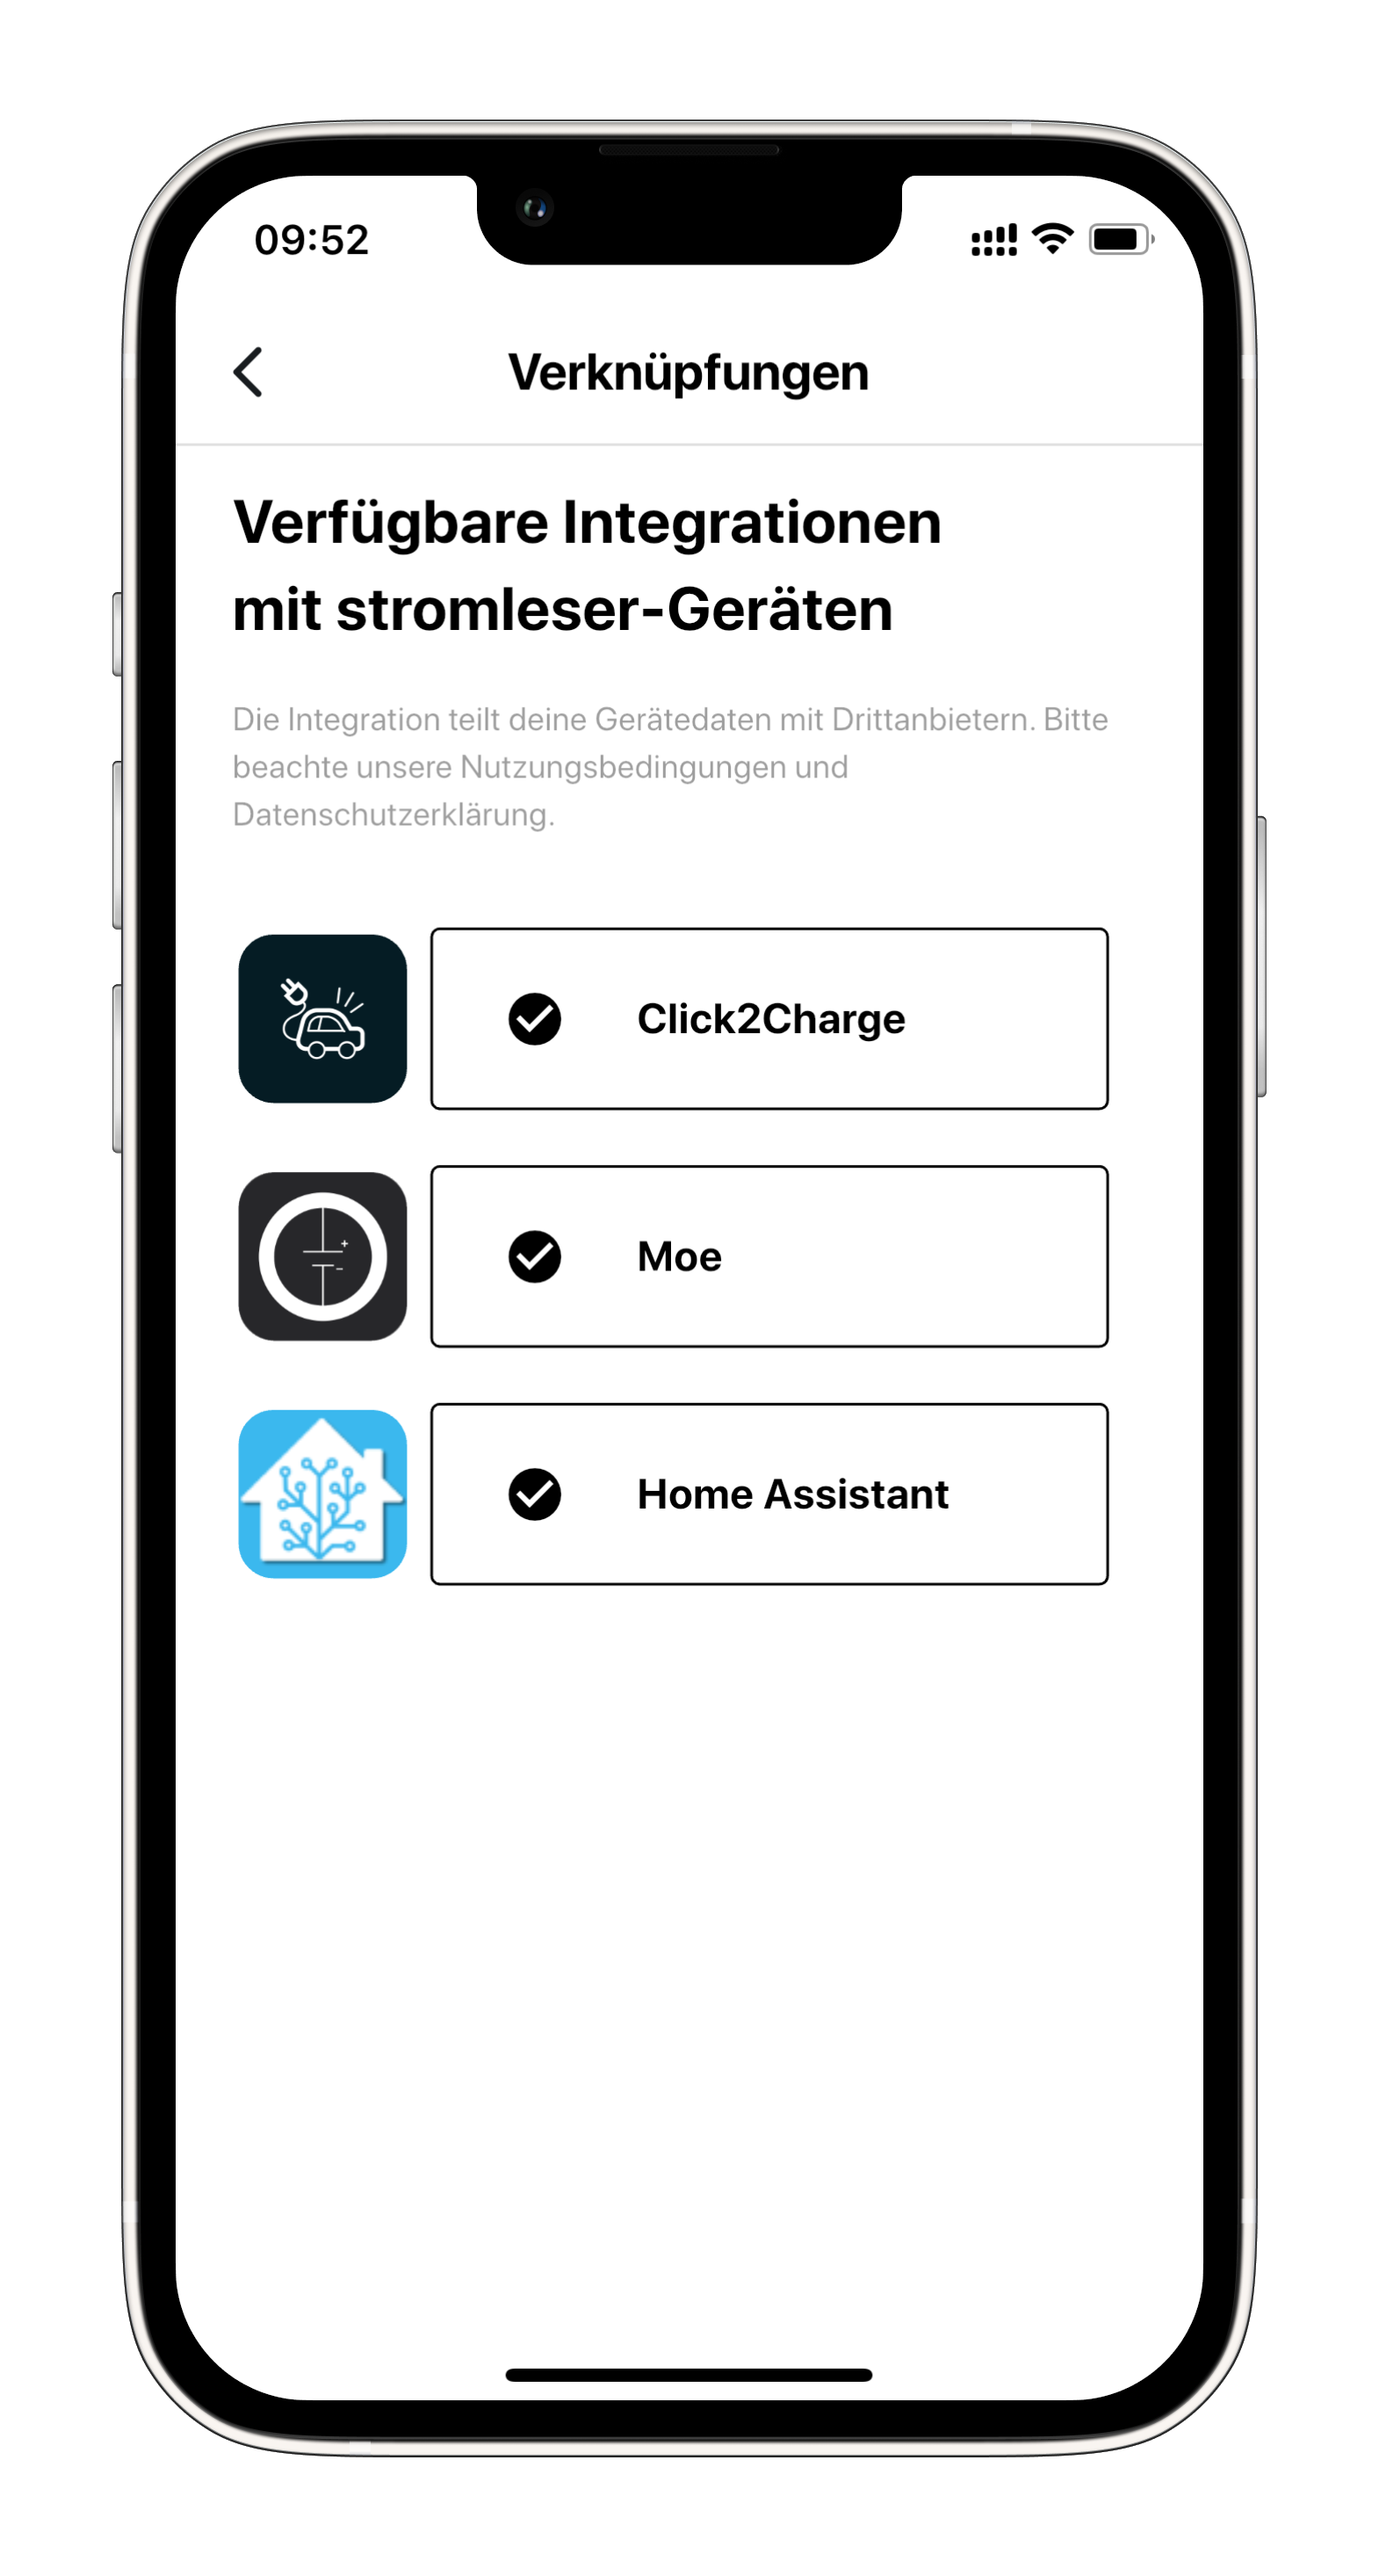
Step 2: Choose Home Assistant
Select Home Assistant from the list of available integrations.
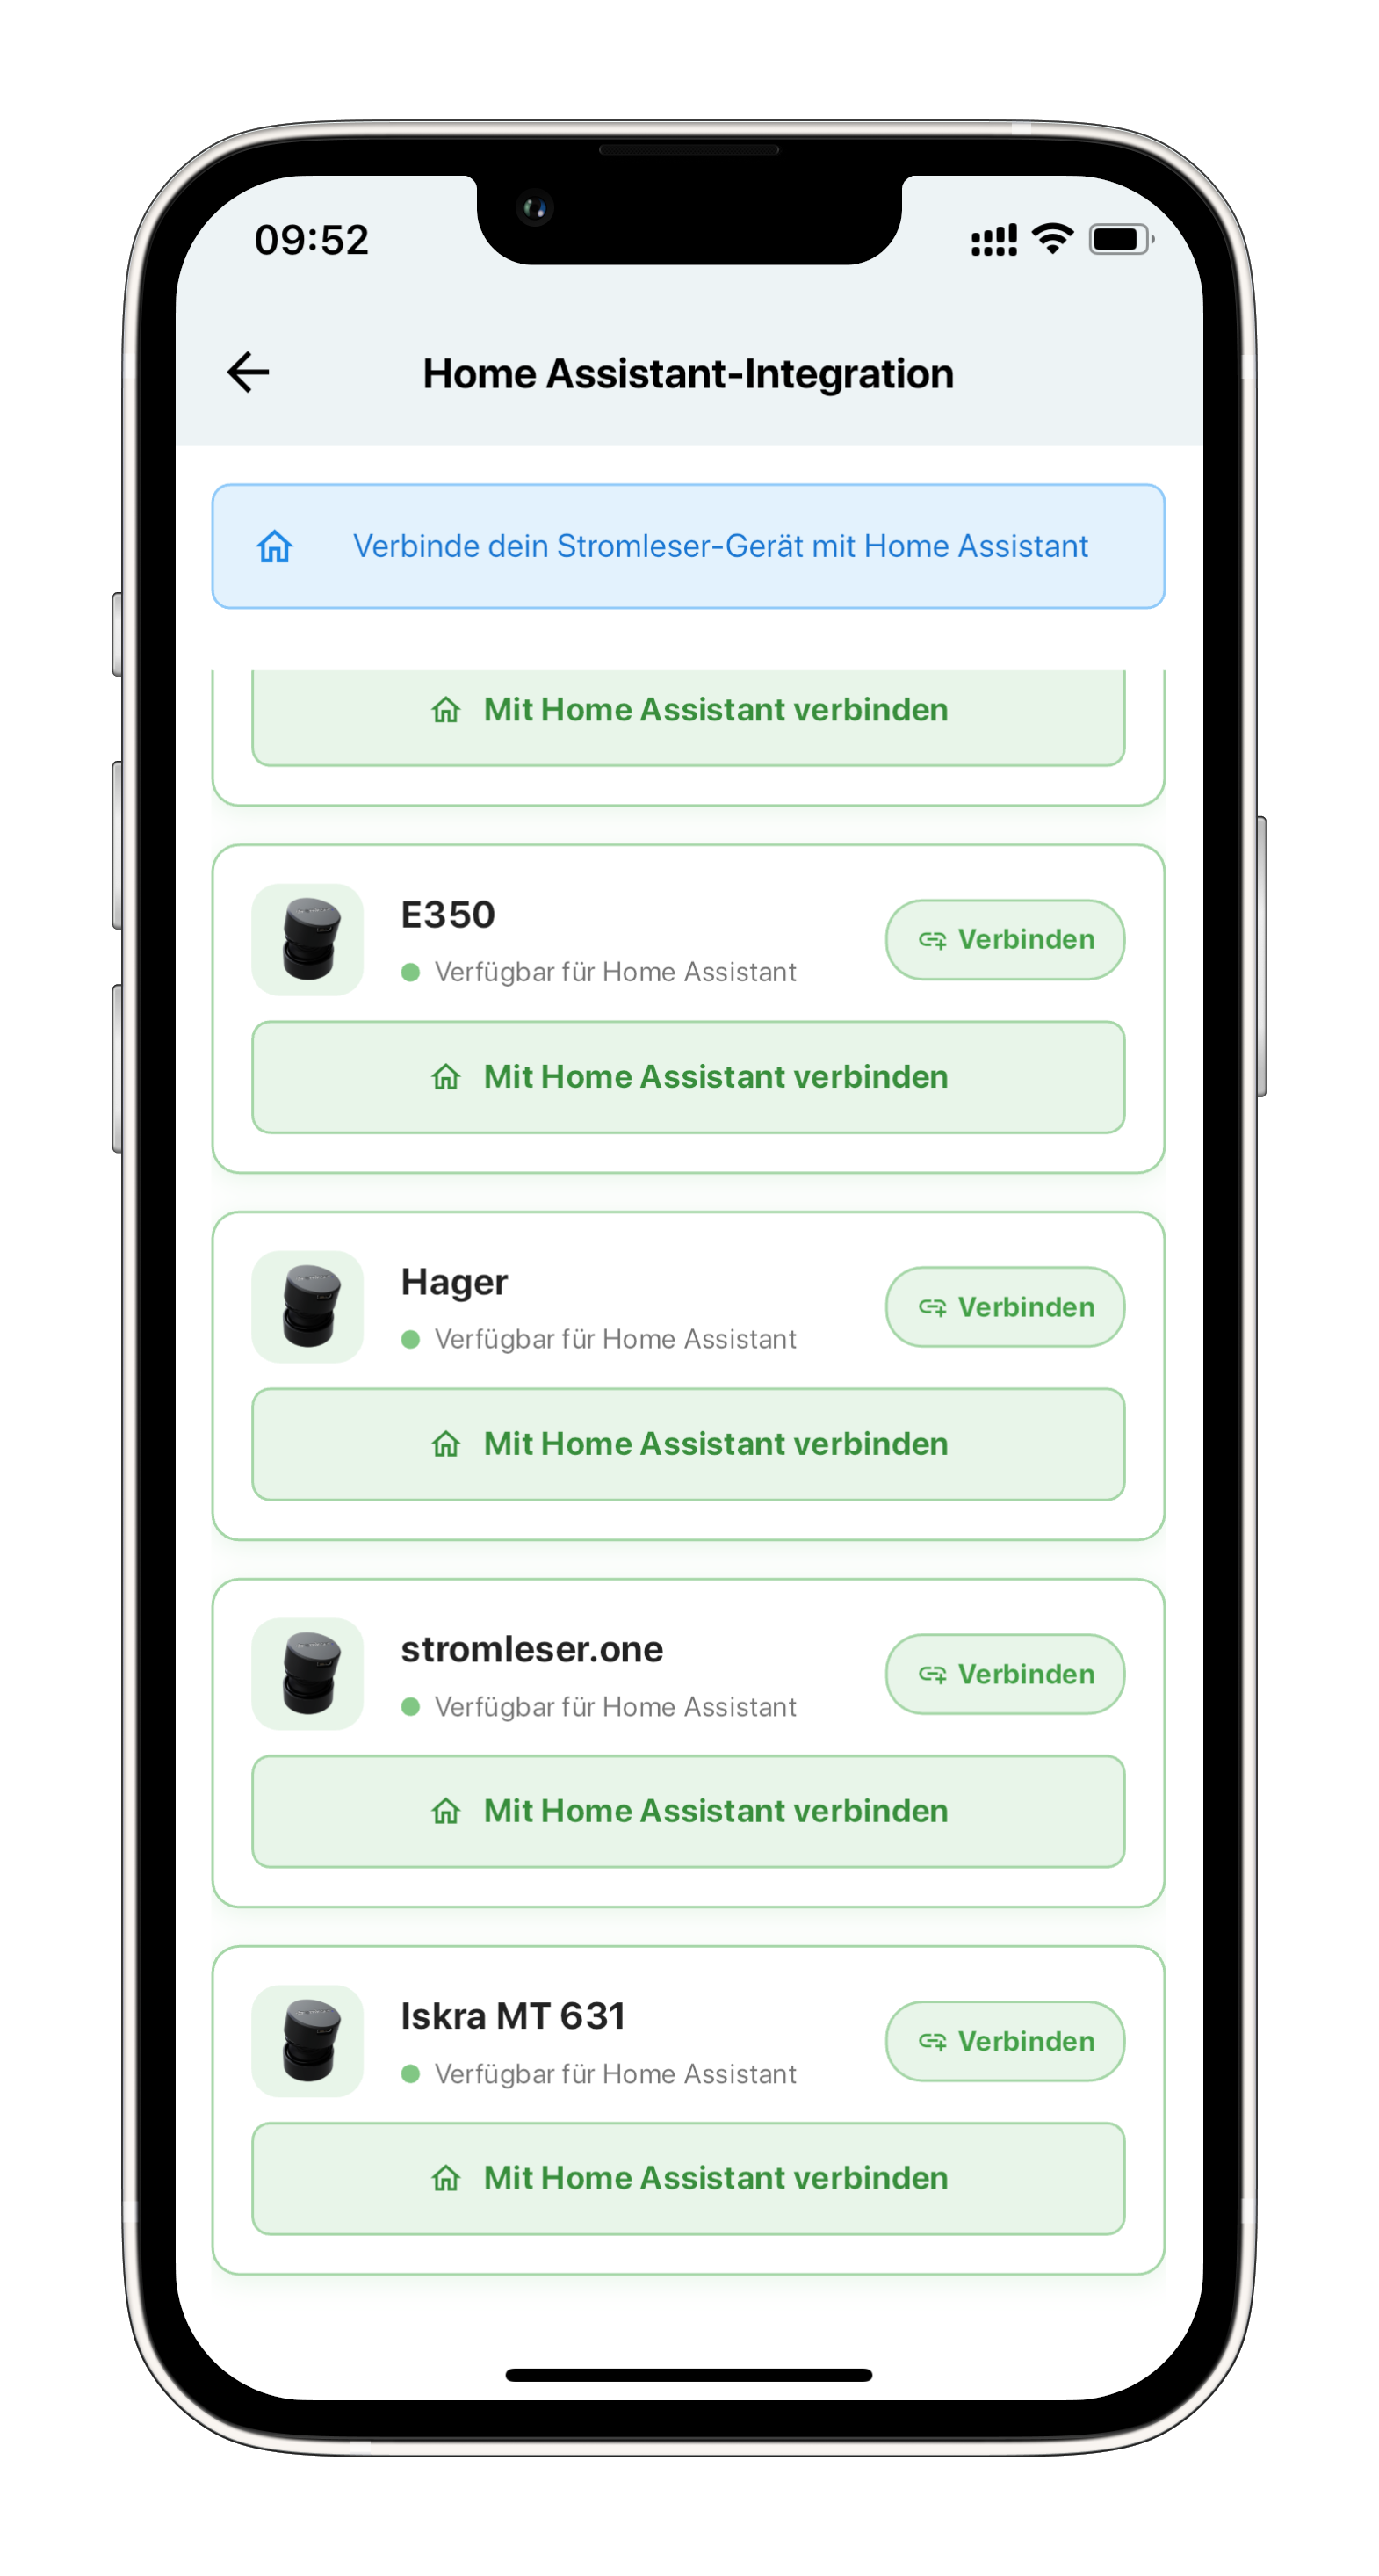
Step 3: Select Device
Select your Gasleser device that you want to connect to Home Assistant.
Step 4: Prepare Credentials
Keep all required credentials ready:
- Home Assistant IP address
- MQTT username
- MQTT password
- MQTT port (default: 1883)
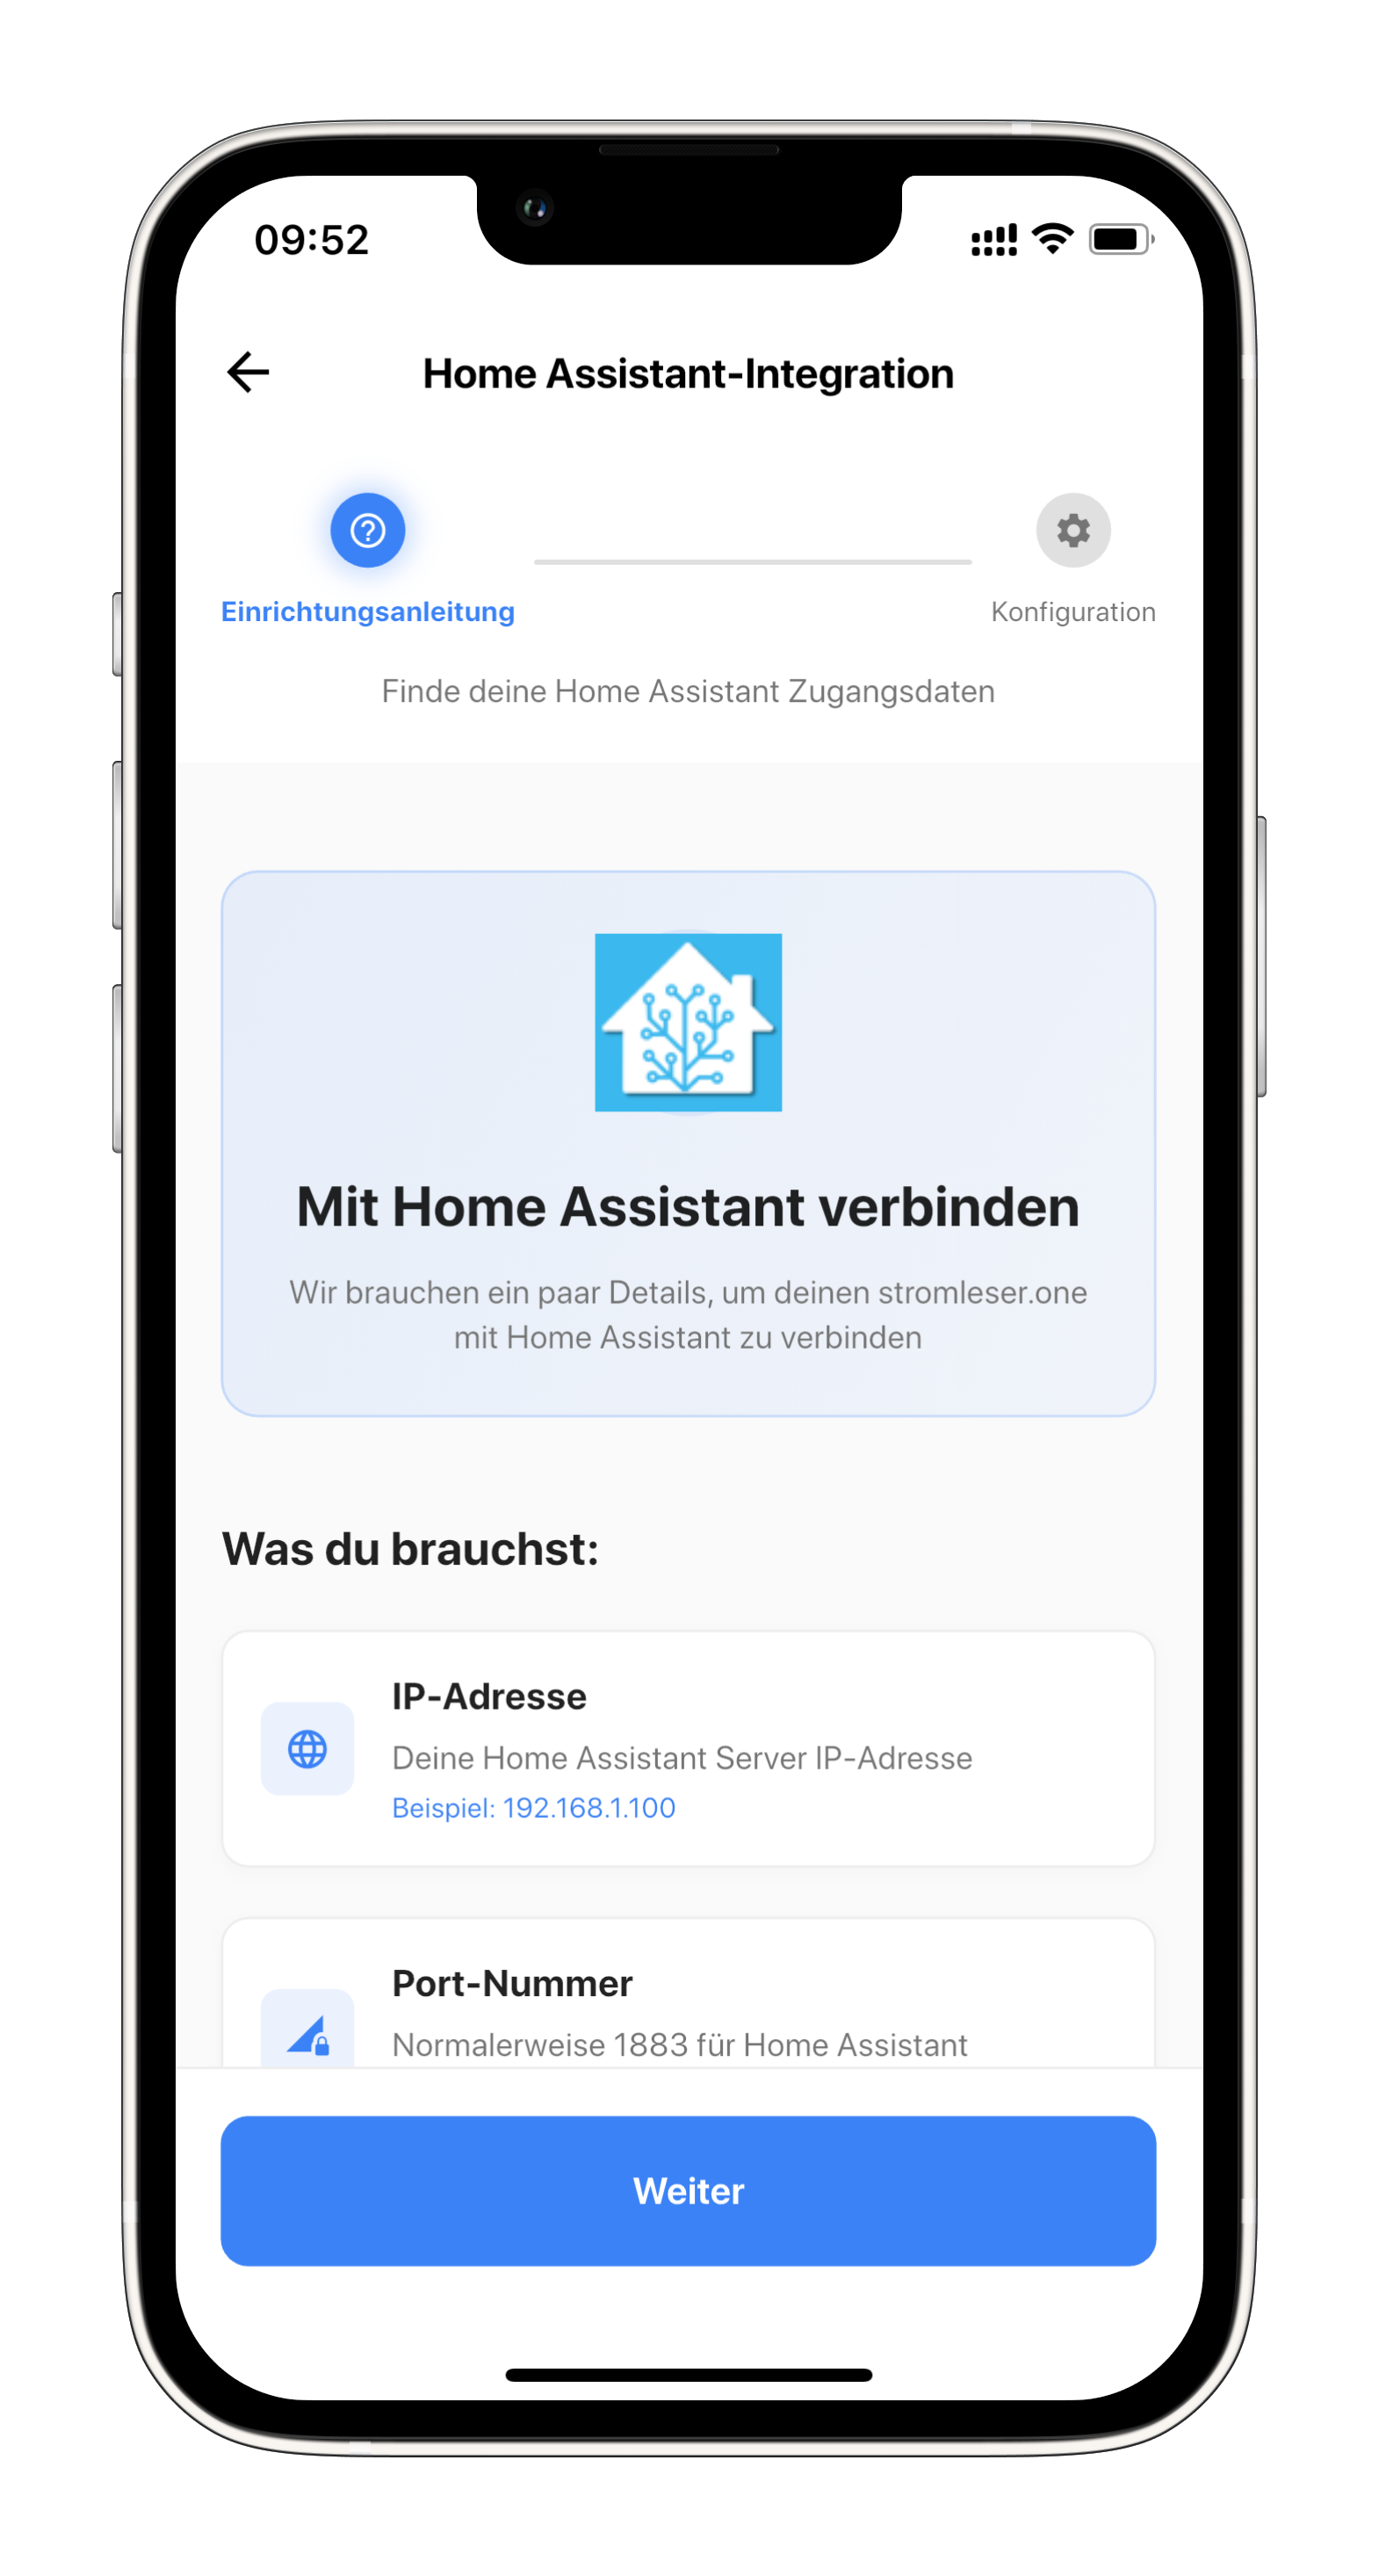
Step 5: Click Next
Click Next to continue with the configuration.
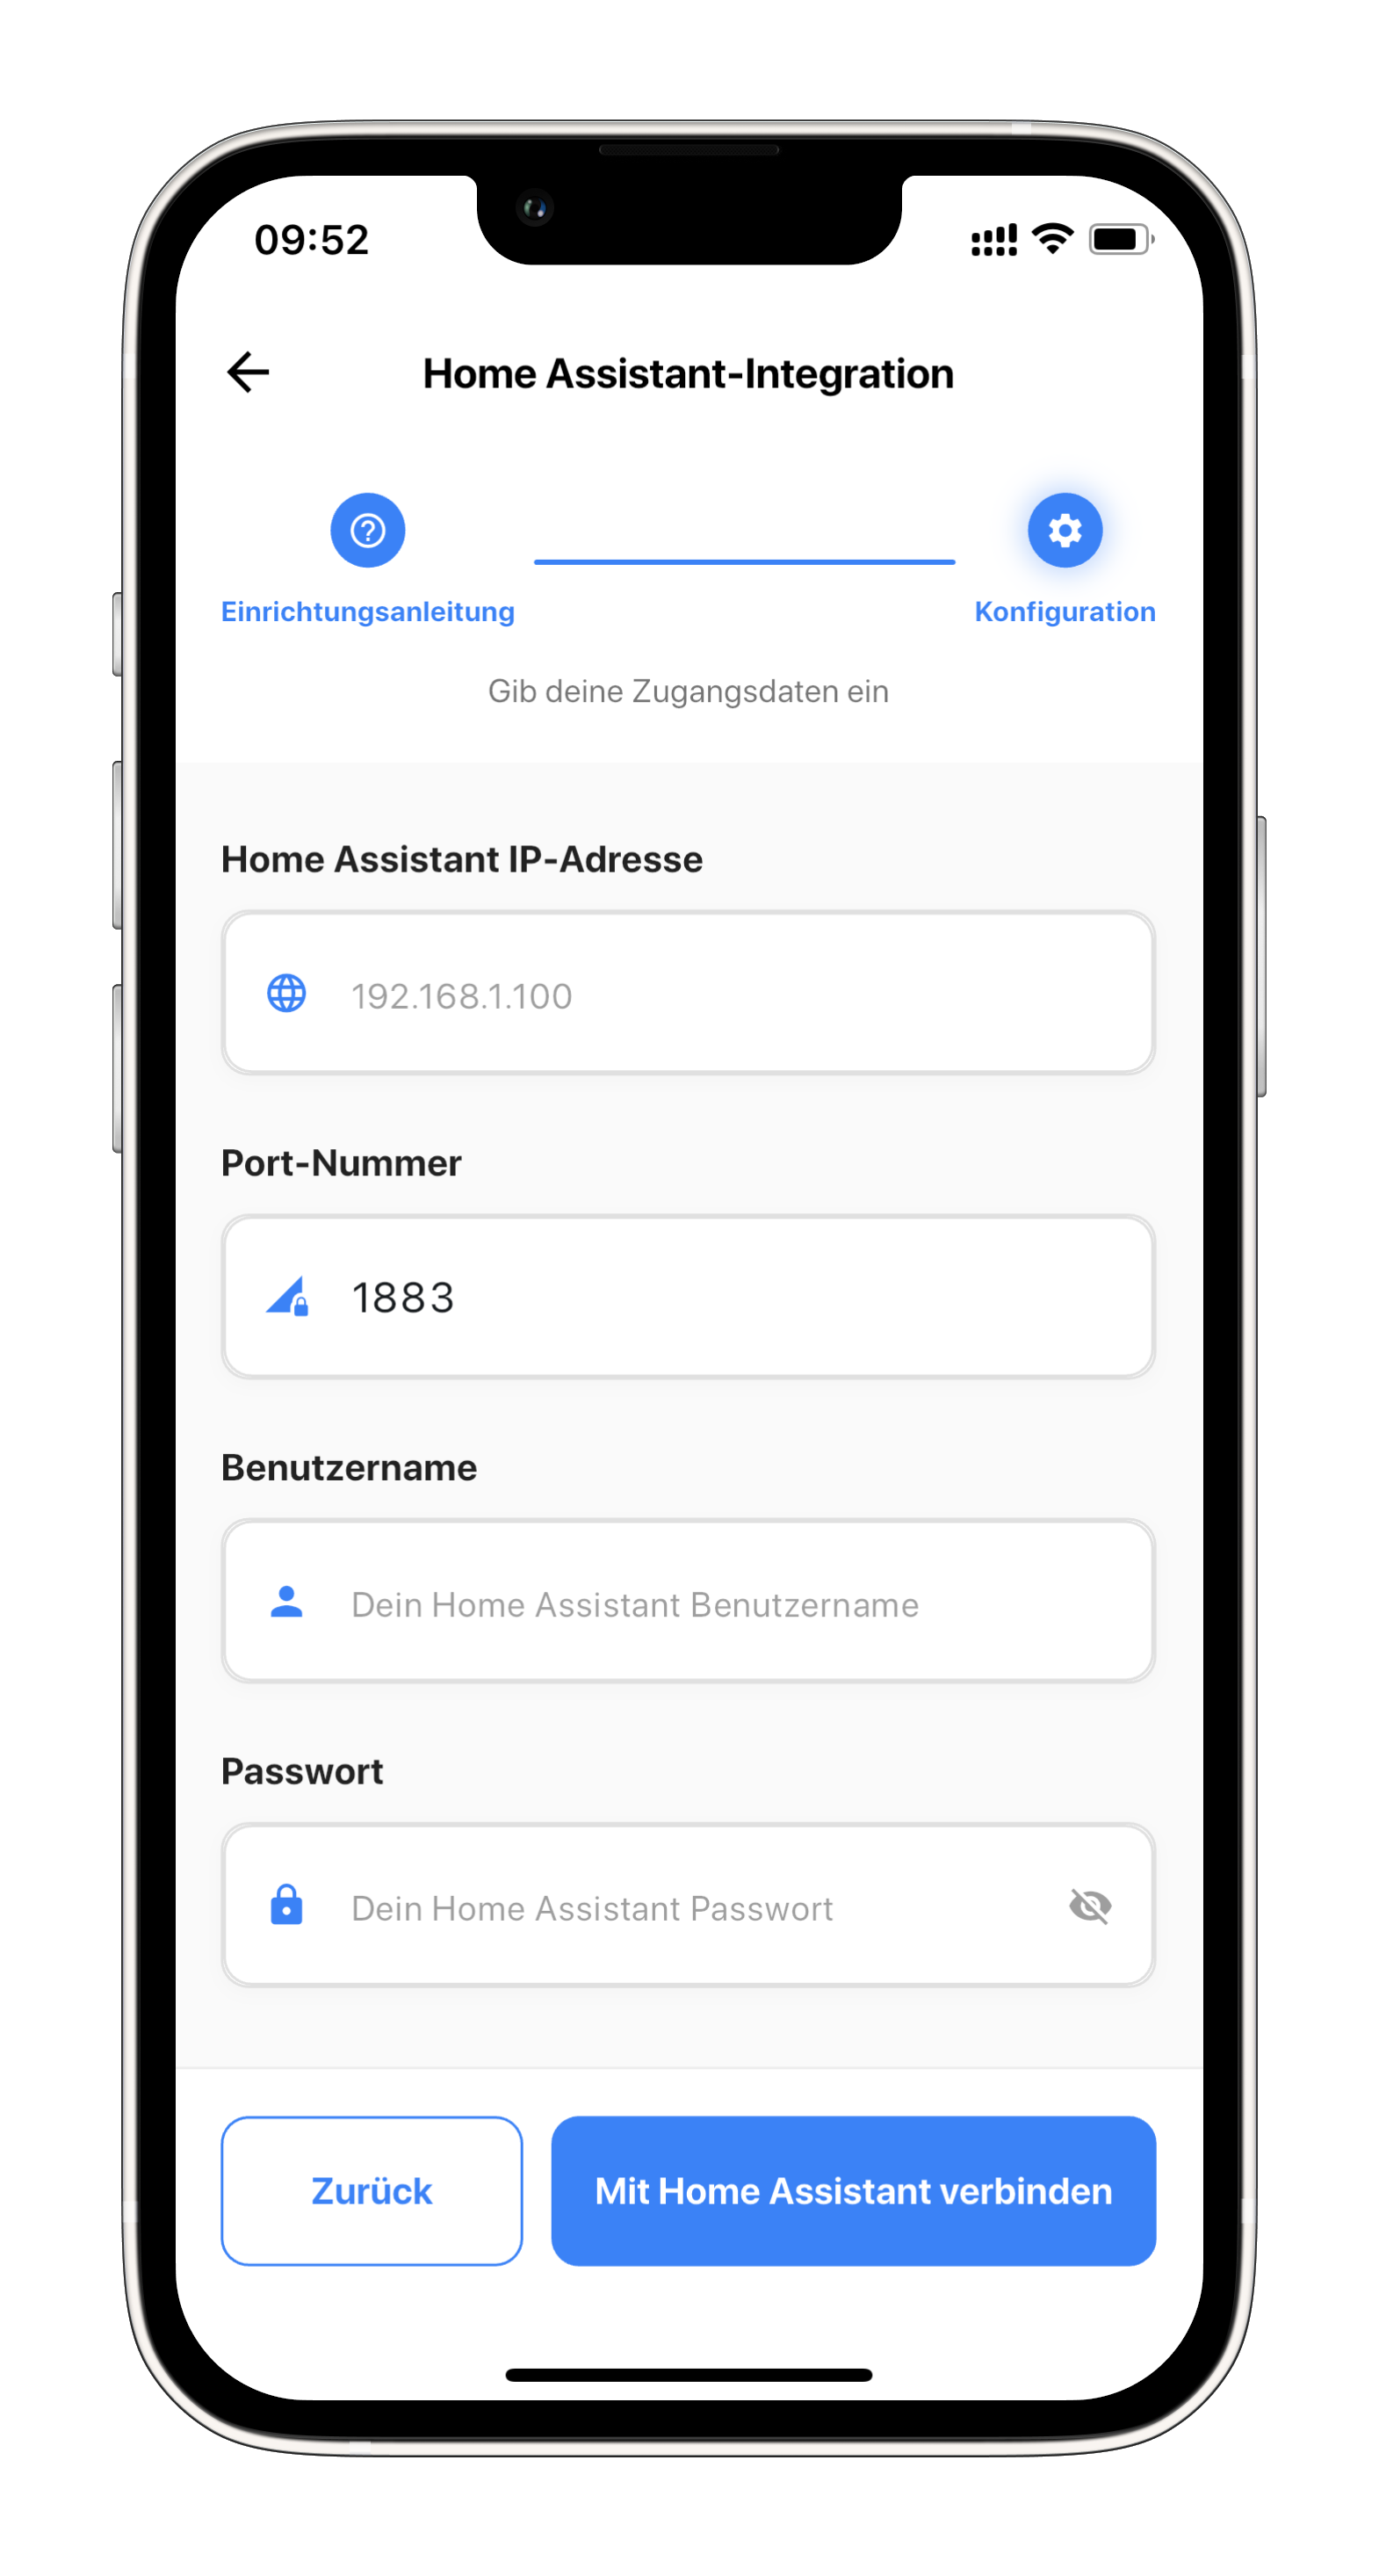
Step 6: Enter Credentials and Connect
Now enter all credentials:
- IP Address: Your Home Assistant IP address
- Username:
mqtt-user(or your chosen username) - Password: Your MQTT password
- Port:
1883(default MQTT port)
Then click Connect.
Verify Integration
After successful connection, your Gasleser should automatically appear in Home Assistant:
- Open Home Assistant
- Go to Settings → Devices & Services
- You should find your Gasleser device under MQTT
- The measurements will be automatically created as entities
Good to Know
The integration uses MQTT, so all measurements are transmitted to Home Assistant in real-time. You can now use these values in dashboards, automations, and scripts.
Common Issues
Connection Failed
- Check your Home Assistant system's IP address
- Make sure the MQTT broker is running
- Verify username and password
- Ensure both devices are on the same network
Device Not Showing
- Wait a few minutes and refresh the page
- Restart the MQTT broker
- Check the MQTT logs in Home Assistant
Measurements Not Updating
- Check the connection in the app
- Verify that the device is correctly attached to the meter
- Check the MQTT connection in Home Assistant