Homey Integration
Want to connect your stromleser.one, gasleser, or wasserleser to Homey? No problem — the energieleser Homey app makes it straightforward. This guide covers everything: pairing your device, adding widgets to your home screen, and creating flows.
The energieleser app is available in the Homey App Store.
Prerequisites
- Homey app installed and connected to your Homey
- energieleser device (stromleser.one, gasleser, or wasserleser) already set up and connected to the same WiFi as your Homey
Part 1: Install the energieleser App in Homey
Before you can add a device, you need to install the energieleser app in Homey first.
You can install the app directly via this link: homey.app/en-in/app/de.energieleser
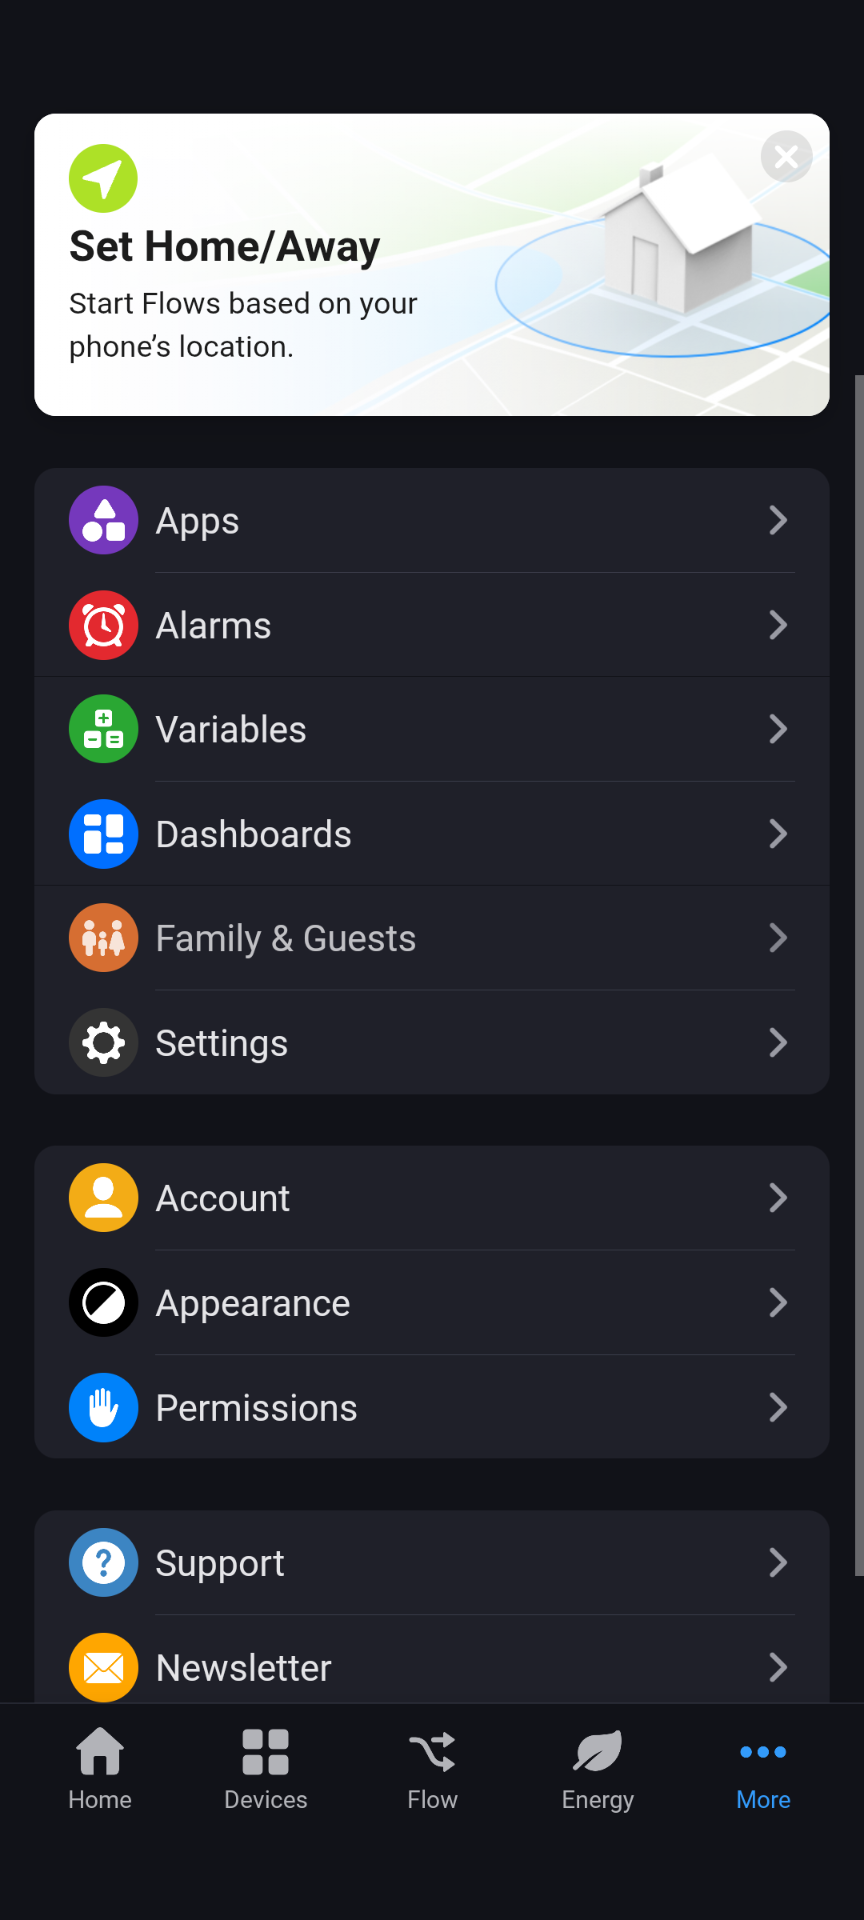
Step 1: Open the Apps section
- Open the Homey app on your smartphone.
- Tap More (the ··· icon) at the bottom right.
- Tap Apps.
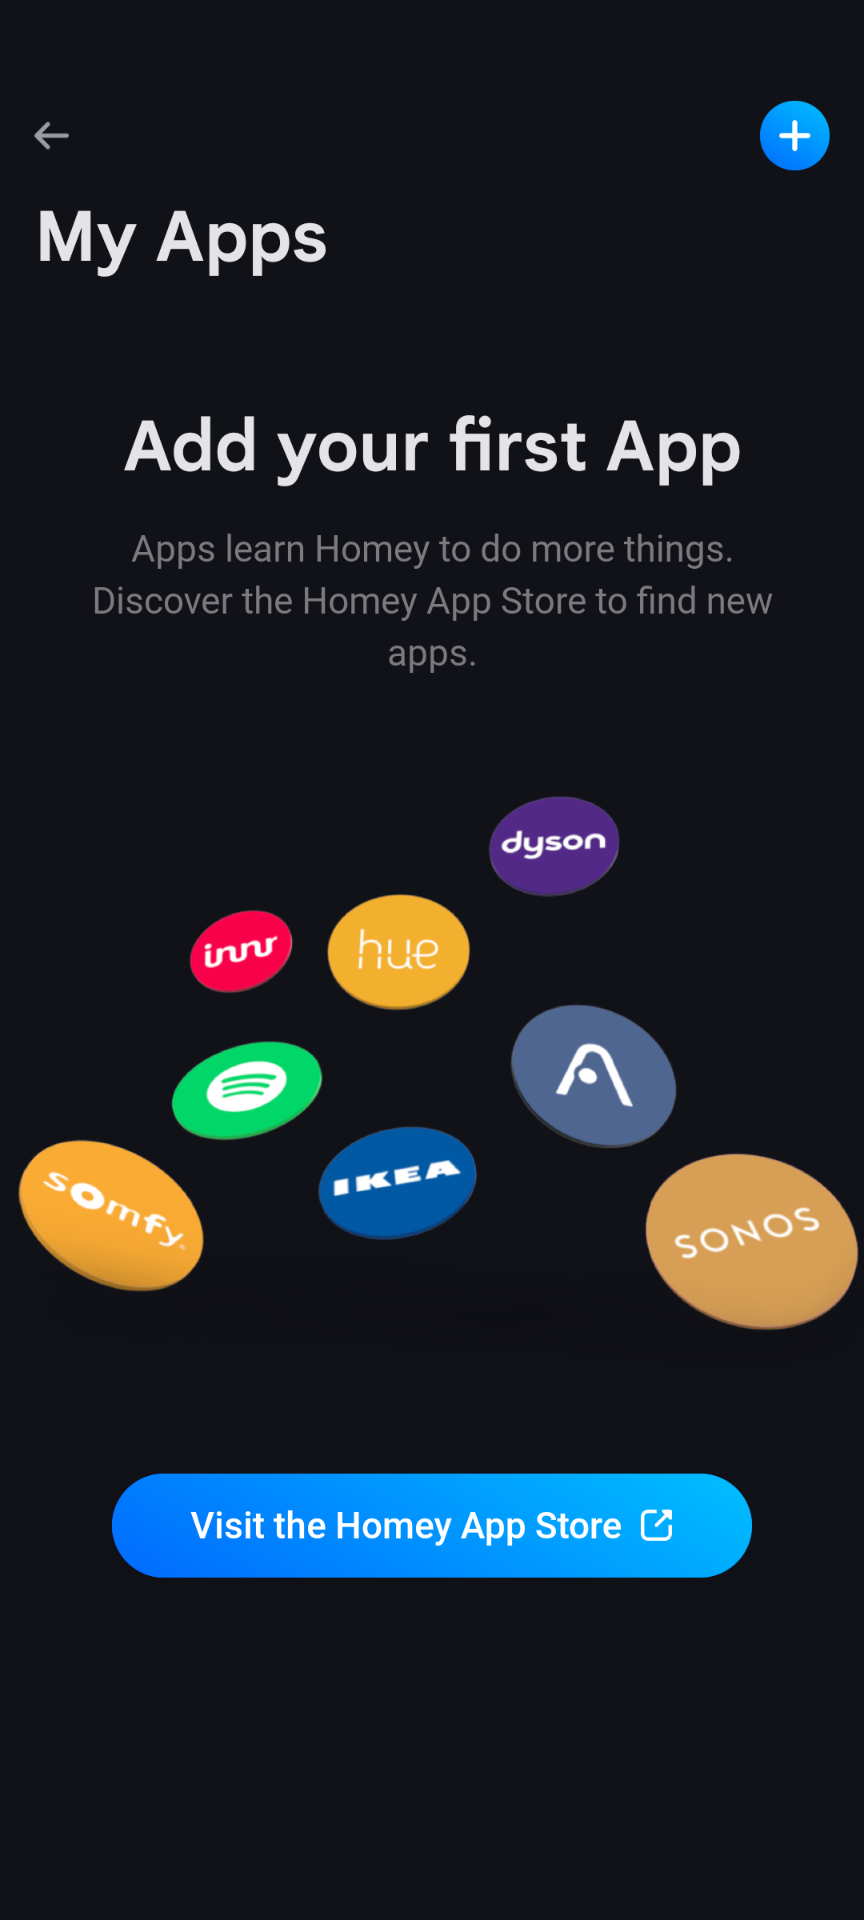
Step 2: Go to the Homey App Store
- On the My Apps screen, tap Visit the Homey App Store.
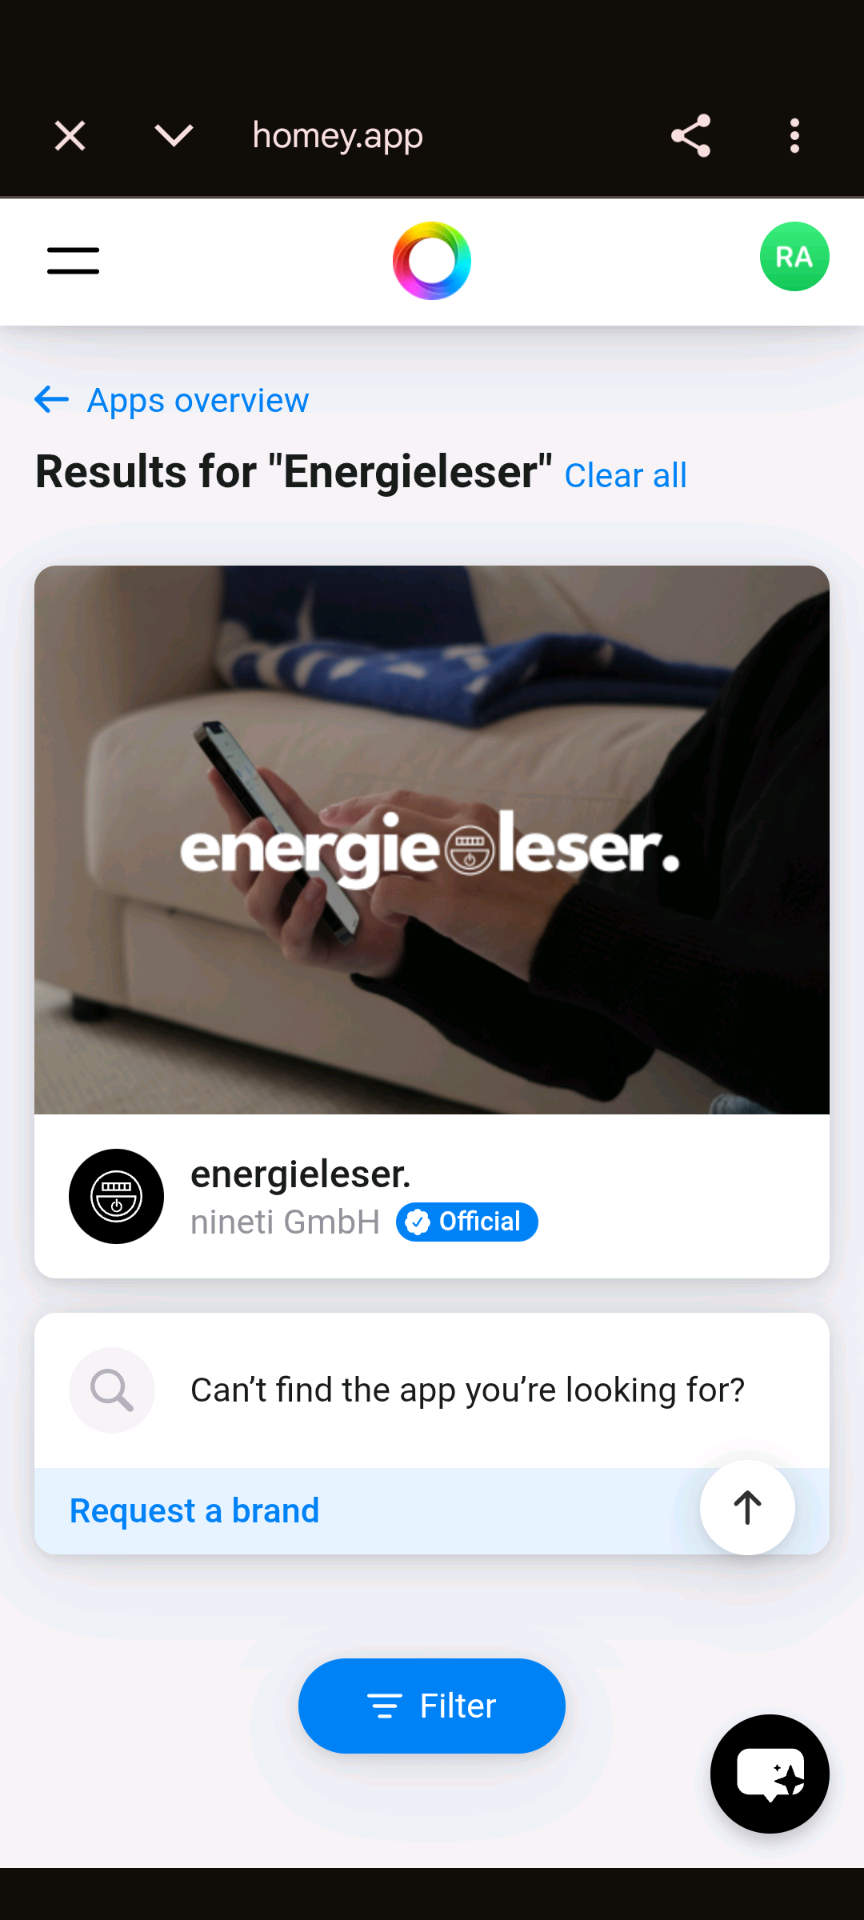
Step 3: Search for energieleser
- In the Homey App Store, search for Energieleser.
- Tap the energieleser. result by nineti GmbH (marked as Official).
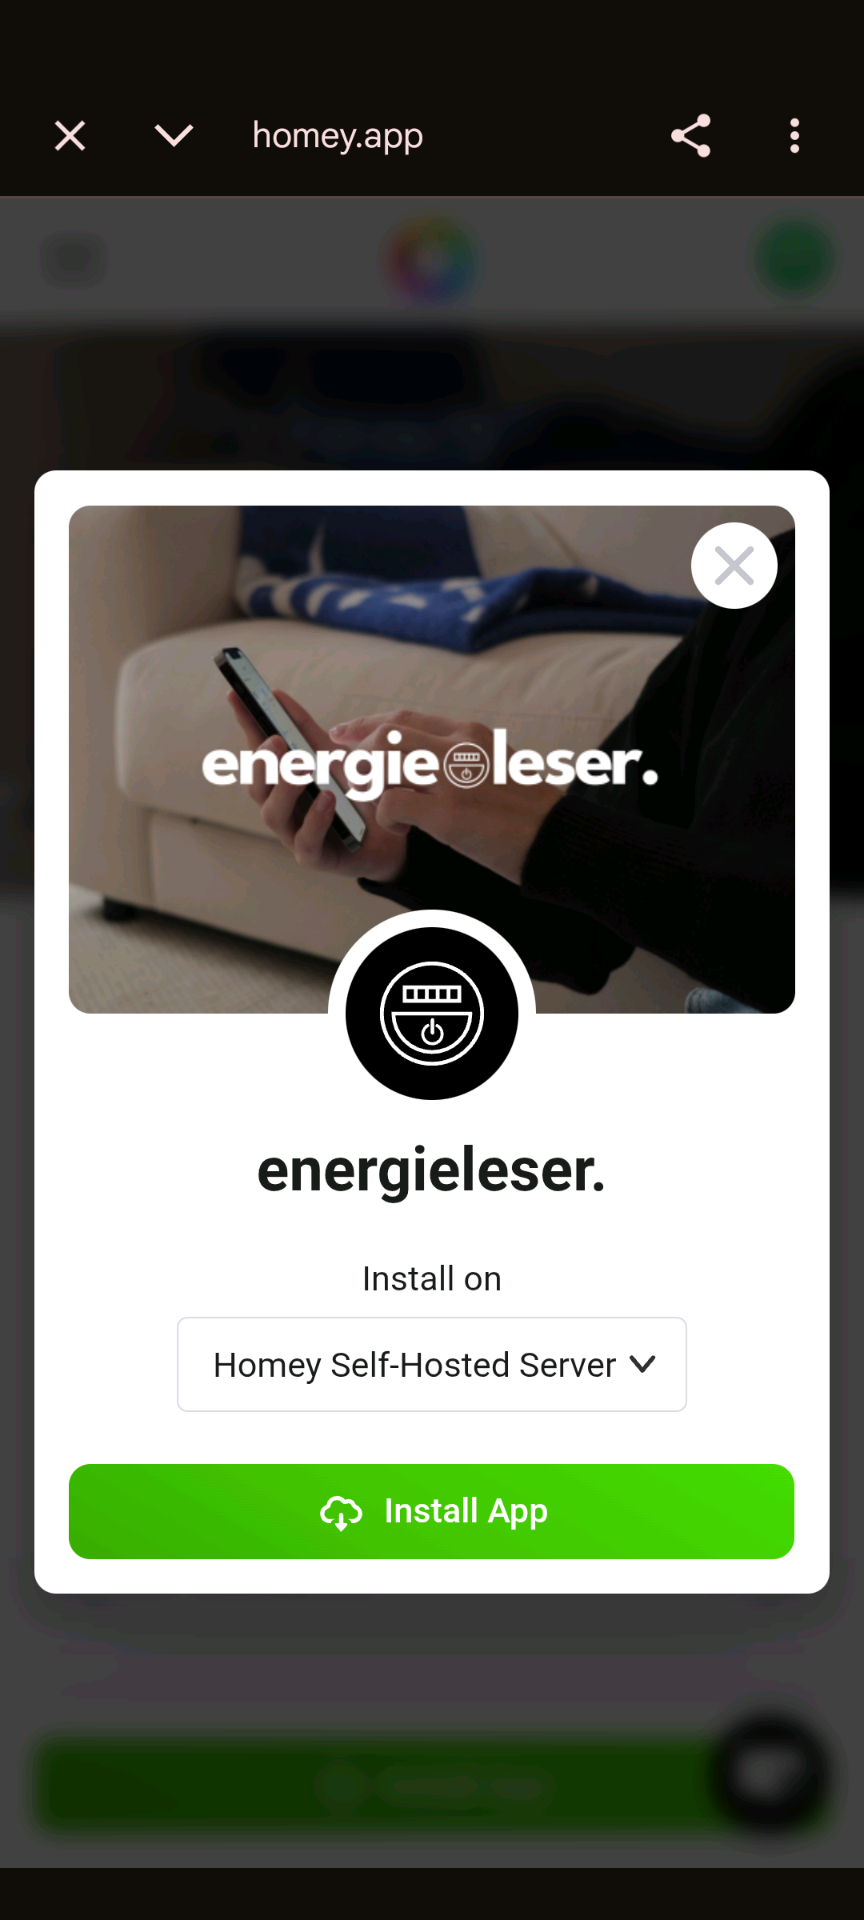
Step 4: Install the app
- On the app page, select your Homey device from the dropdown.
- Tap Install App.
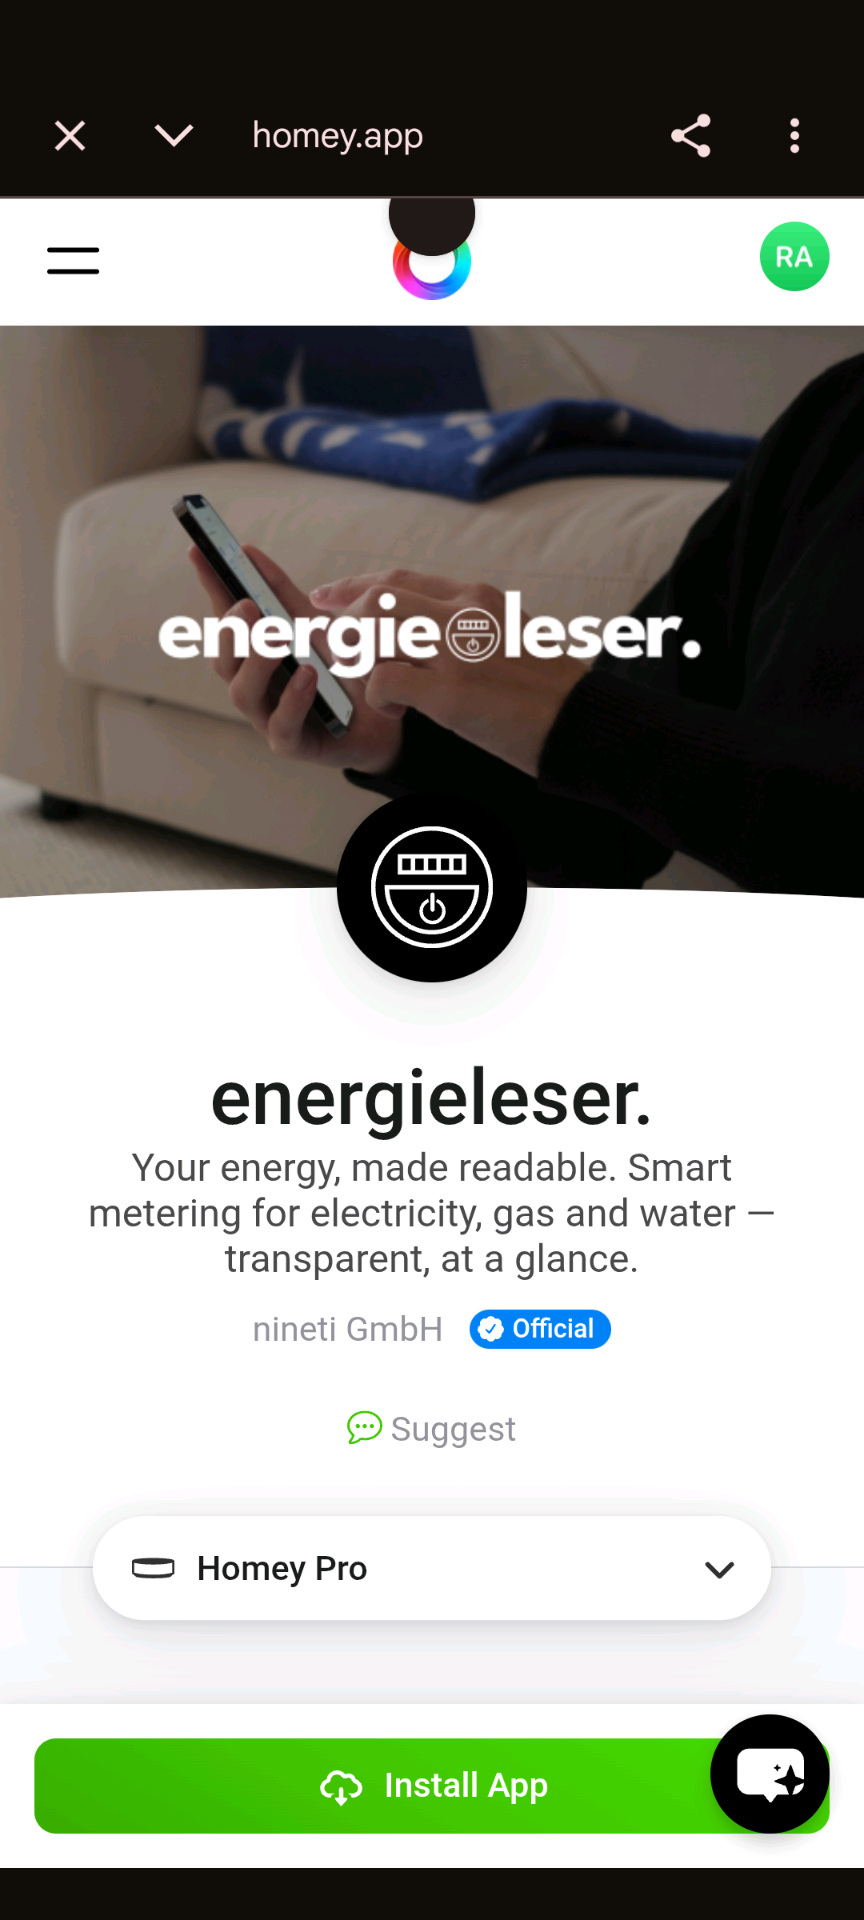
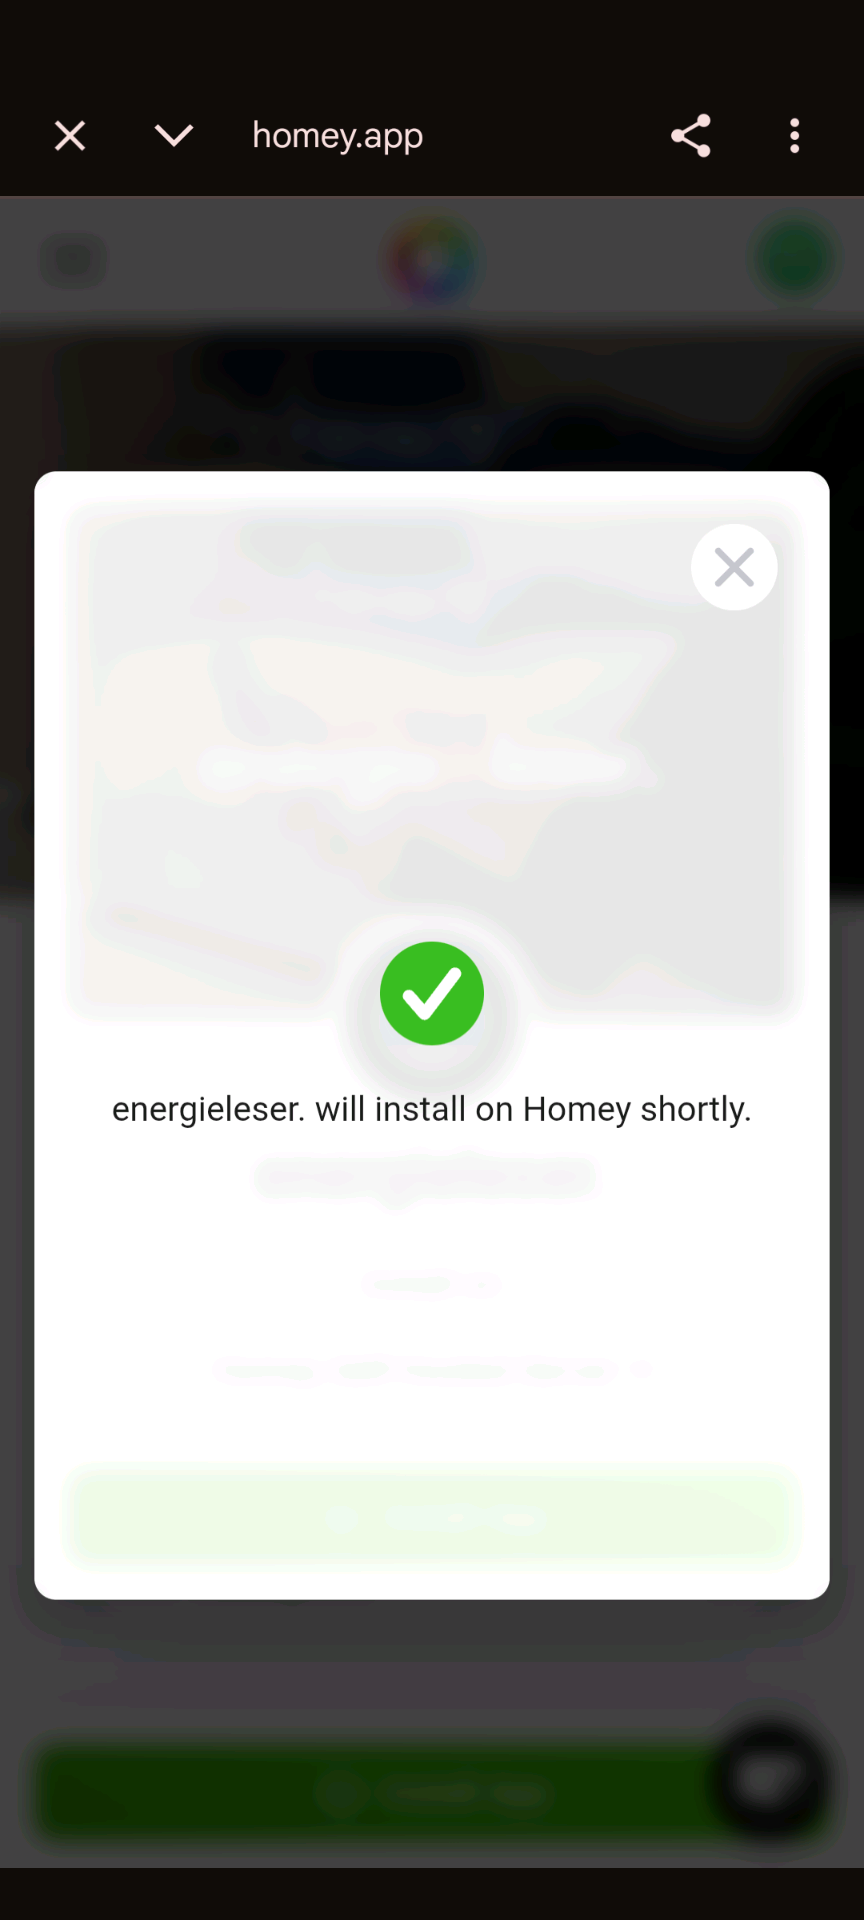
- Confirm the installation in the dialog that appears.
- You will see a confirmation: energieleser. will install on Homey shortly.
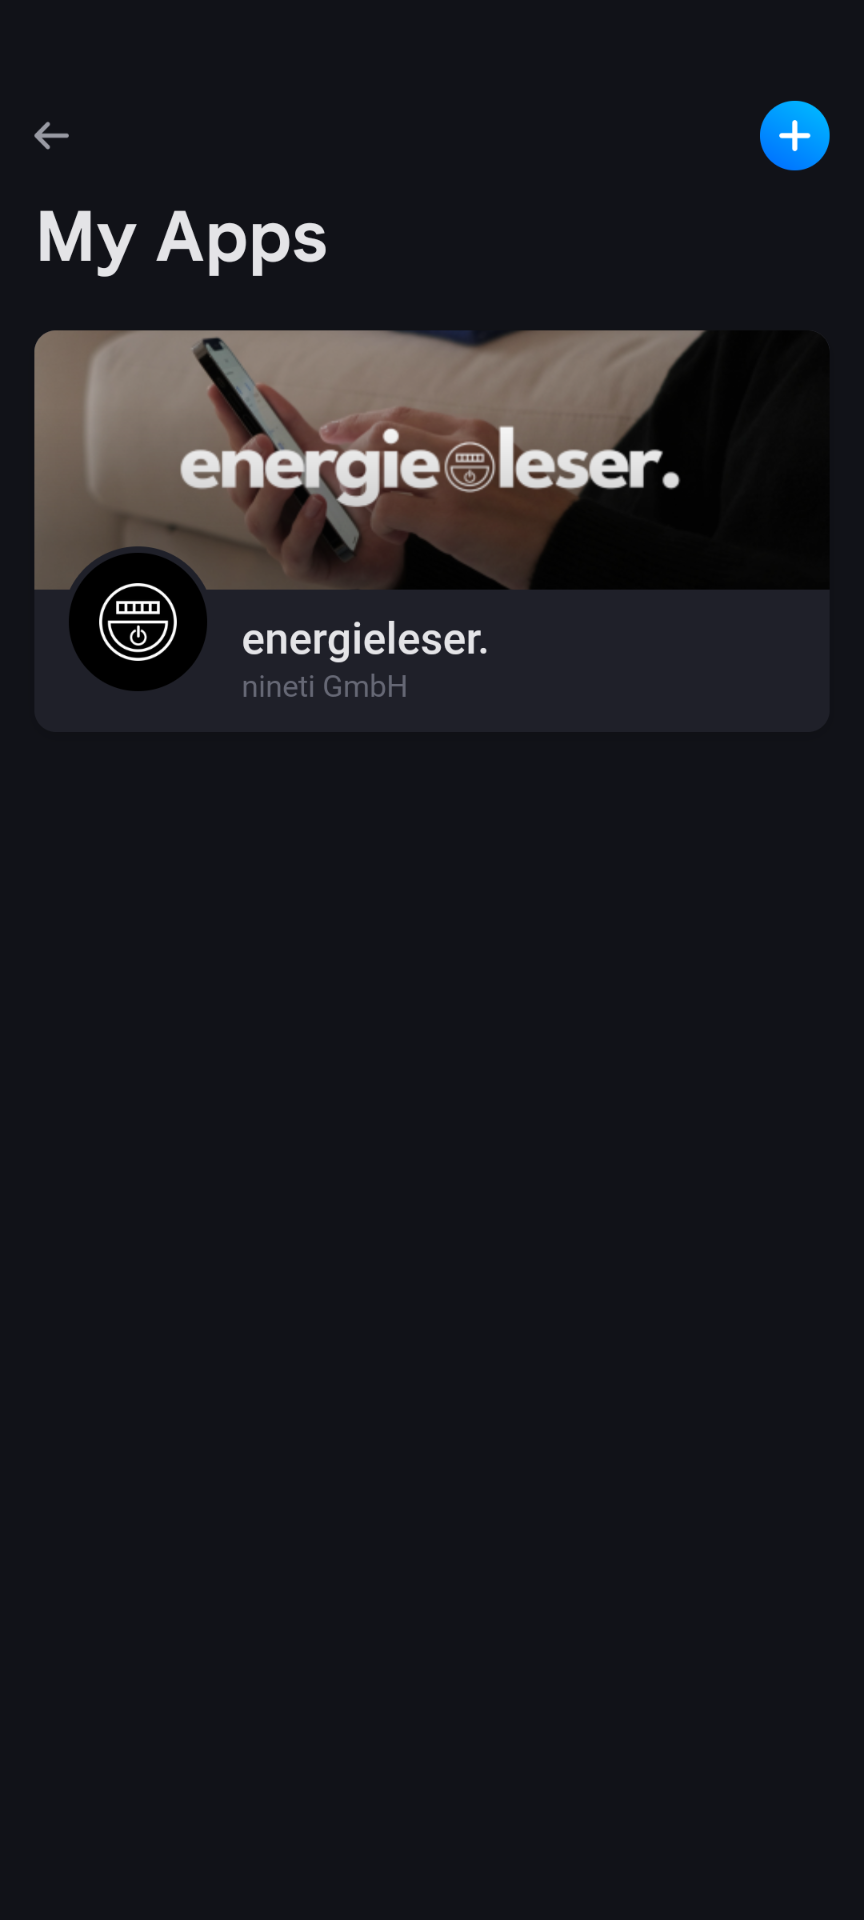
Step 5: Done – app installed
The energieleser app now appears in your My Apps list and is ready to use.
Part 2: Add a Device to Homey
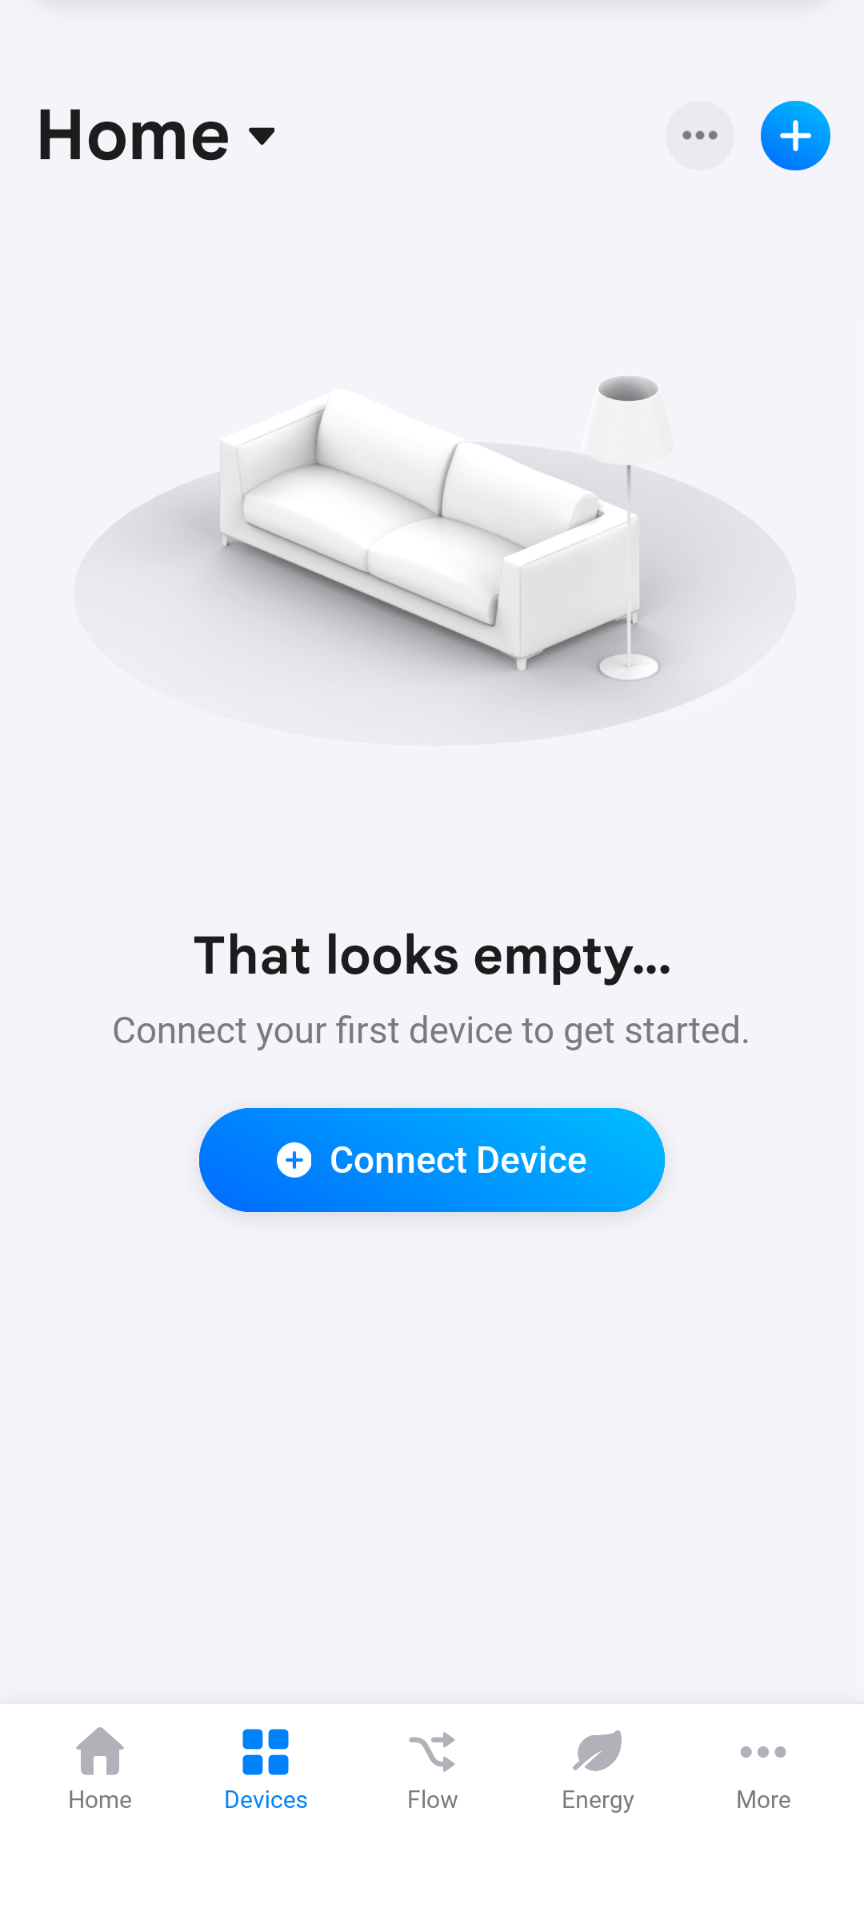
Step 1: Open the Devices tab & add a new device
- Open the Homey app on your smartphone.
- Tap Devices (the grid icon) at the bottom.
- Tap the + icon in the top right — or tap Connect Device if your device list is still empty.
Step 2: Select energieleser under "Brands"
- The New Device screen opens — Homey automatically scans for nearby devices.
- Scroll down to the Brands section.
- Tap energieleser.

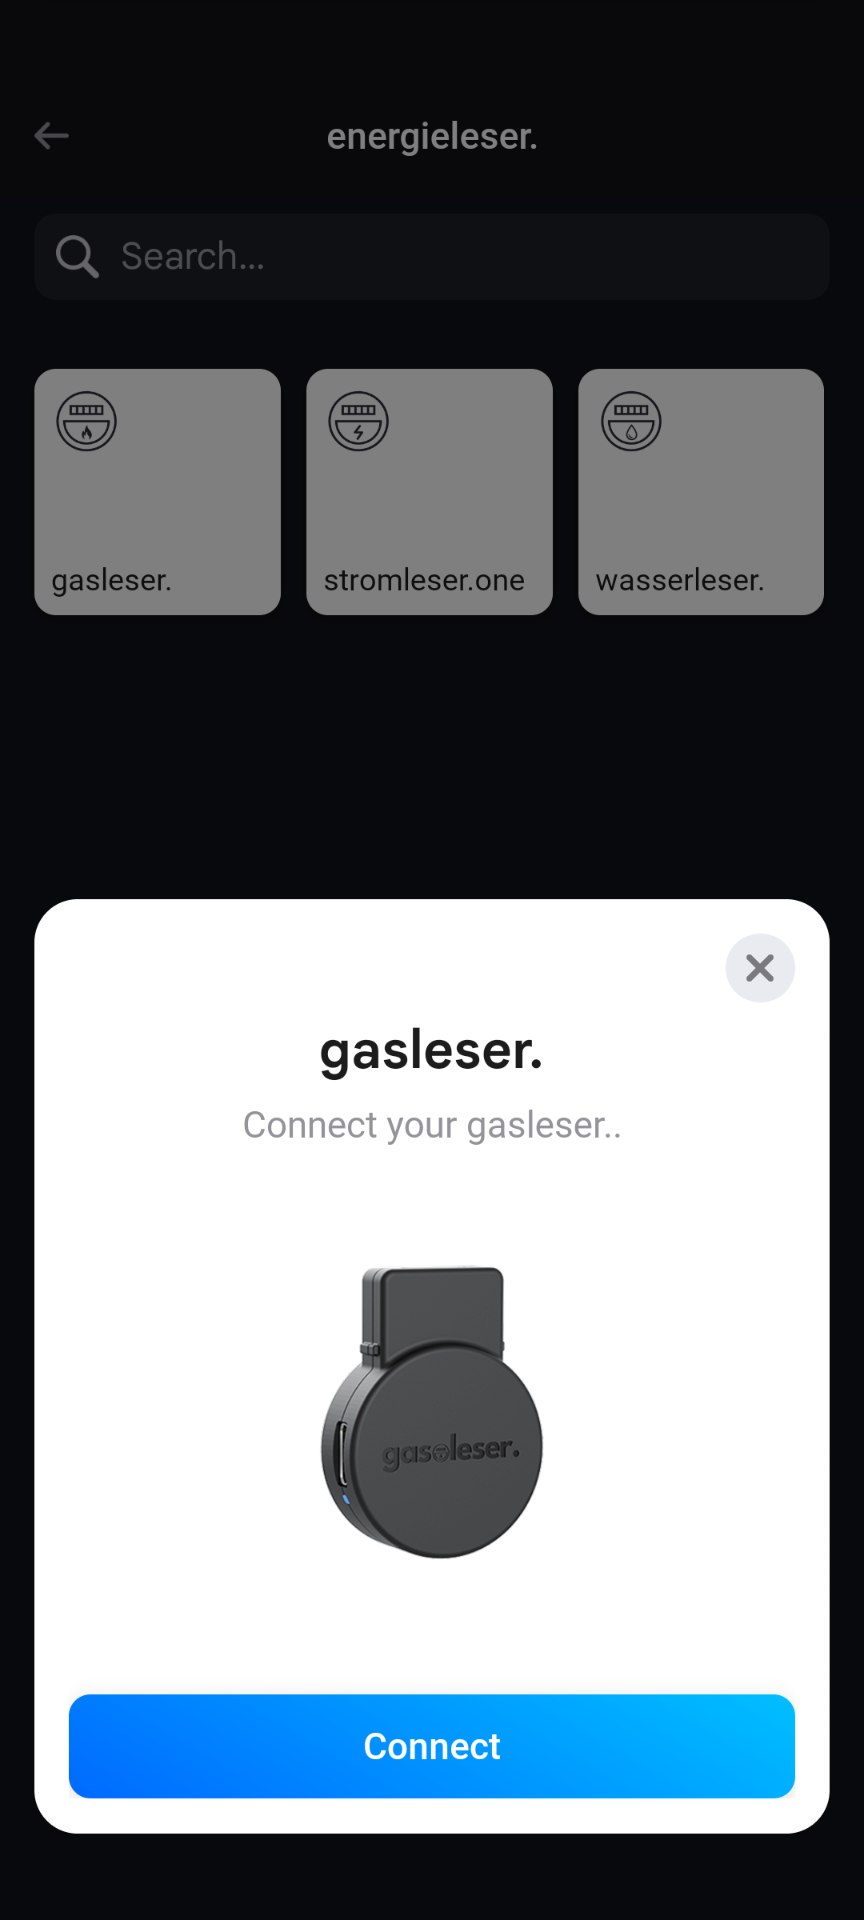
Step 3: Choose your device type & start pairing
- You will see the three available energieleser devices:
- gasleser.
- stromleser.one
- wasserleser.
- Tap the device you want to add. A dialog appears asking you to connect your device.
- Tap Connect.
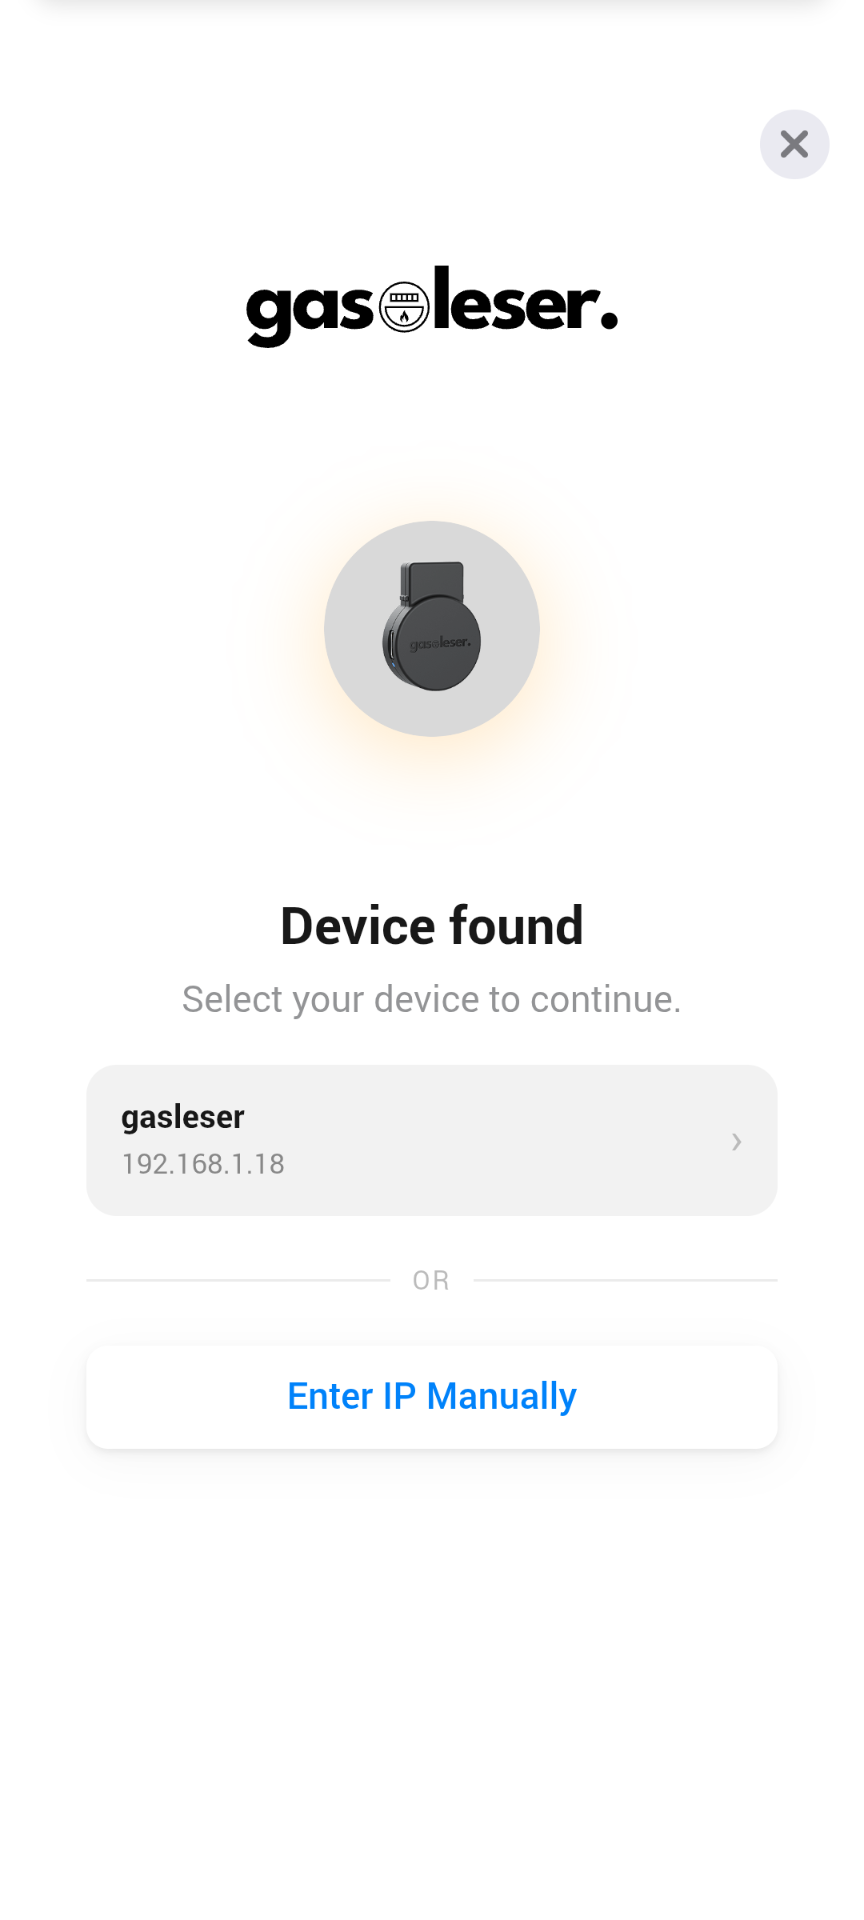
Step 4: Select your device
- Homey now searches your network for the device.
- Once found, the Device found screen appears showing the device name and IP address.
- Tap your device in the list to select it.
If your device is not found automatically, tap Enter IP Manually and type in your device's IP address.
You can find the IP address in the energieleser app: Tap your device → gear icon → Device Information.
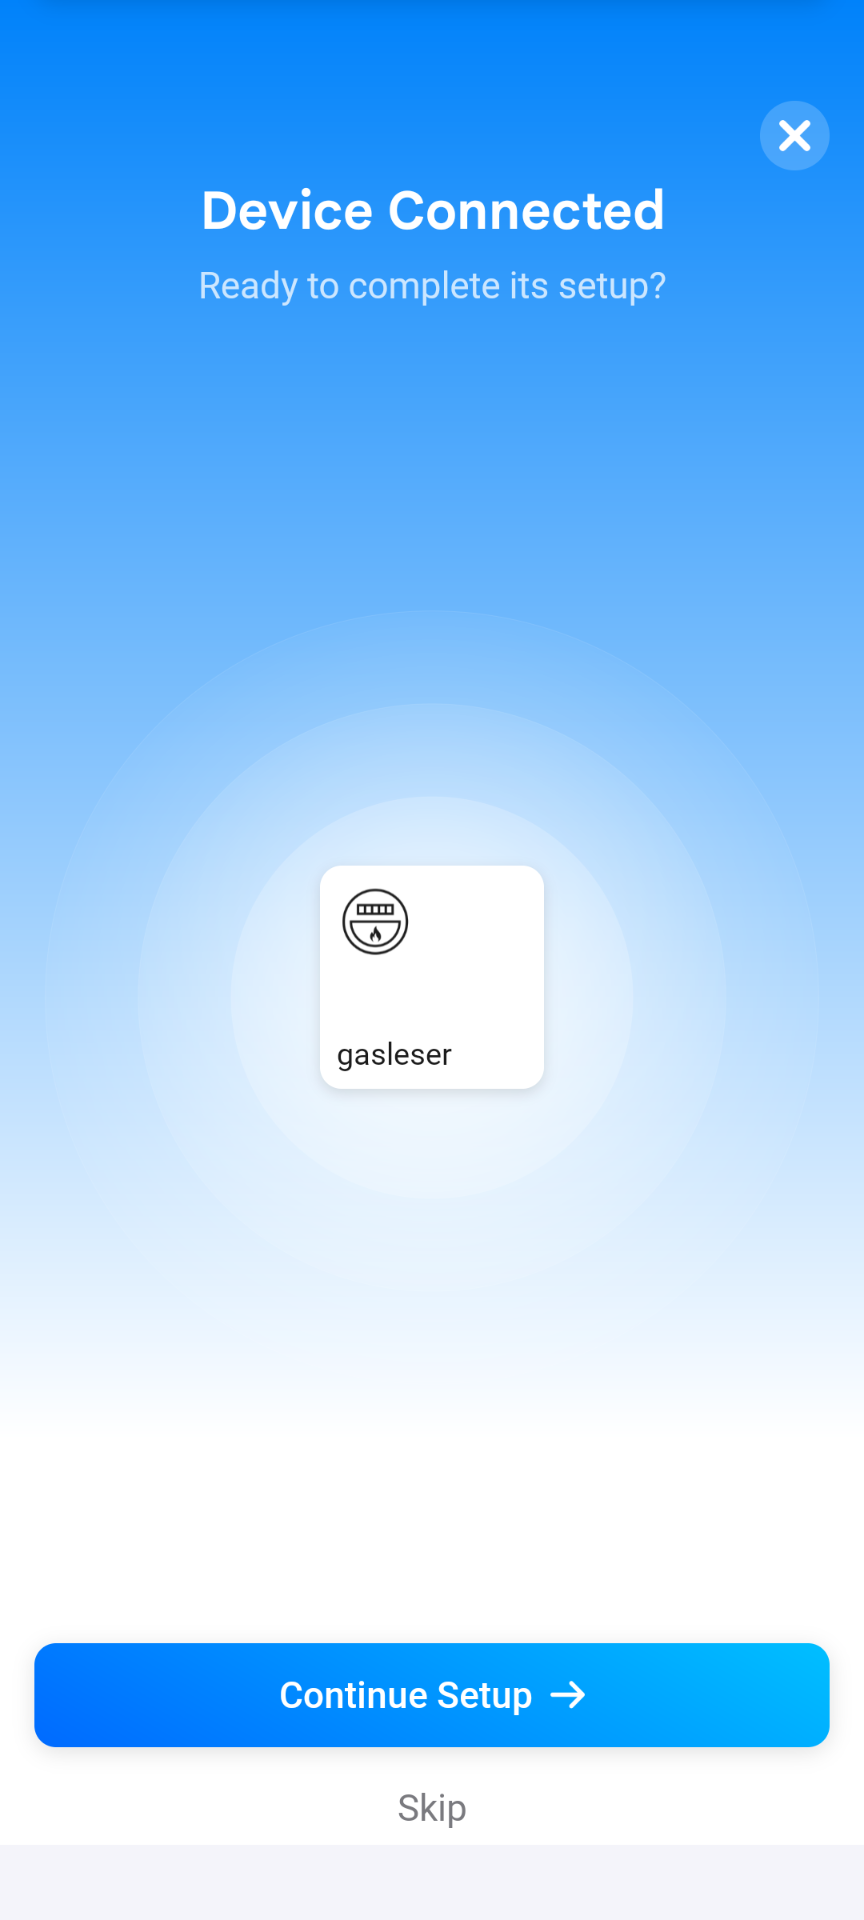
Step 5: Confirm the connection
- Homey confirms the successful connection with the Device Connected screen.
- Tap Continue Setup to personalize your device — or tap Skip to finish immediately.
Step 6: Personalize your device
- On the Make It Your Own screen you can set:
- Name: Give your device a custom name
- Icon: Choose a suitable icon
- Zone: Assign the device to a room (e.g. "Home", "Basement")
- Status Indicator: Choose which unit appears on the device tile
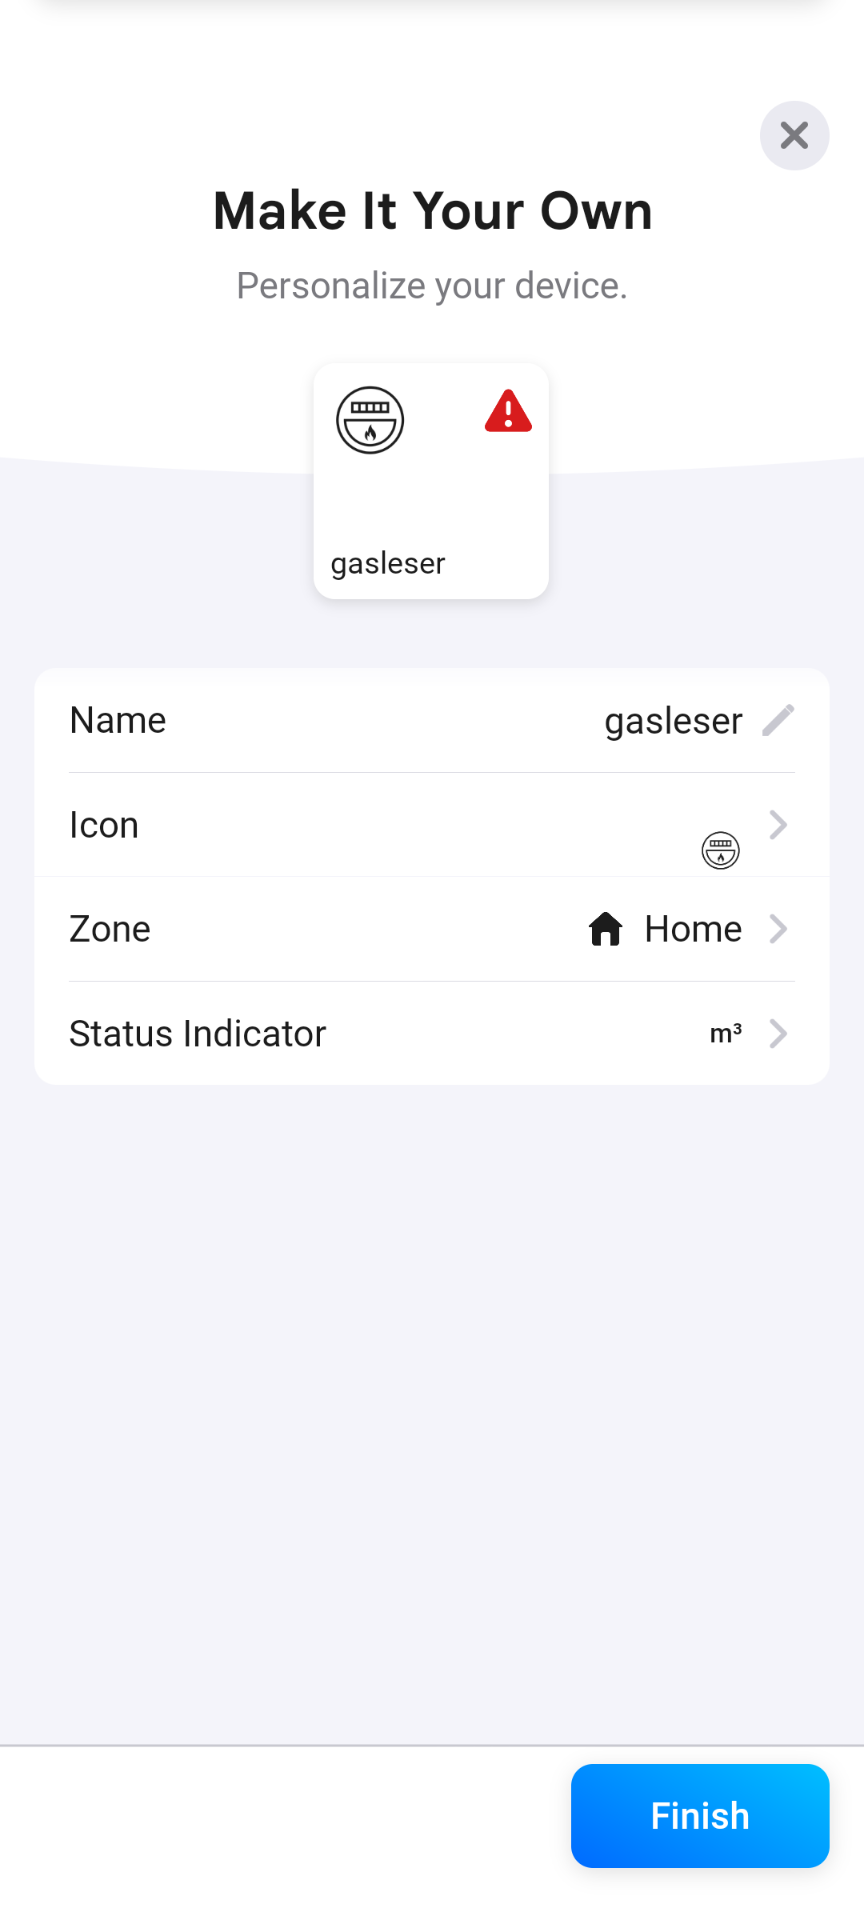
- As soon as the device delivers data, your current reading appears on the preview tile.
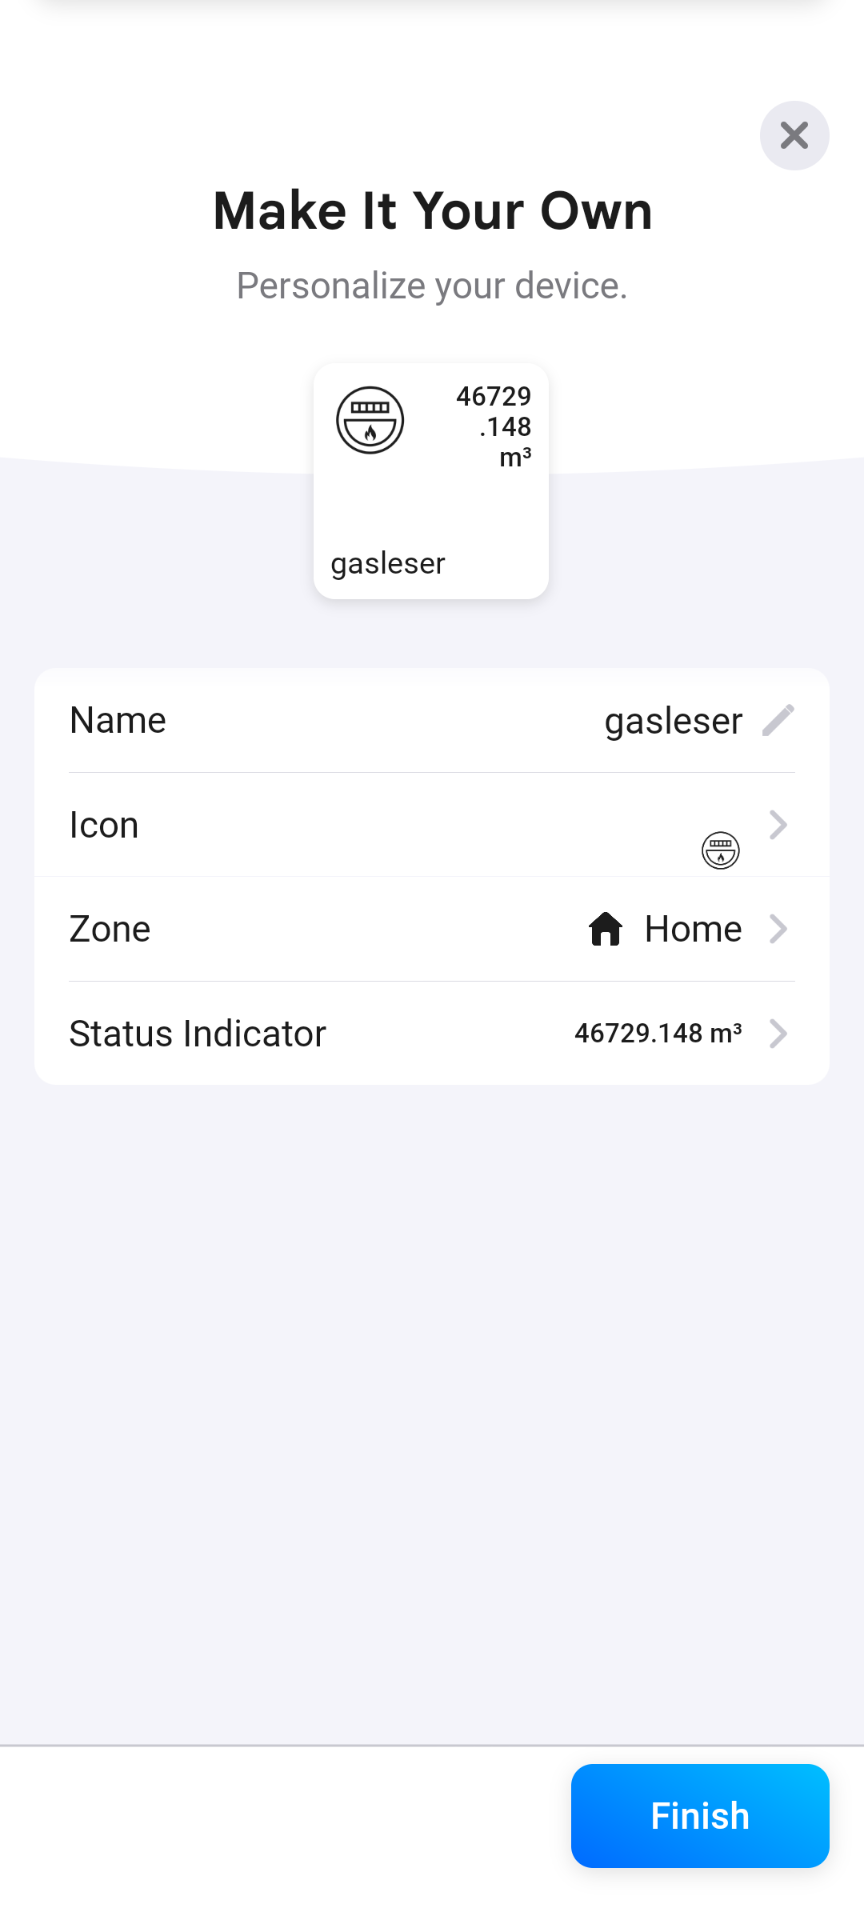
- Tap Finish when you are done.
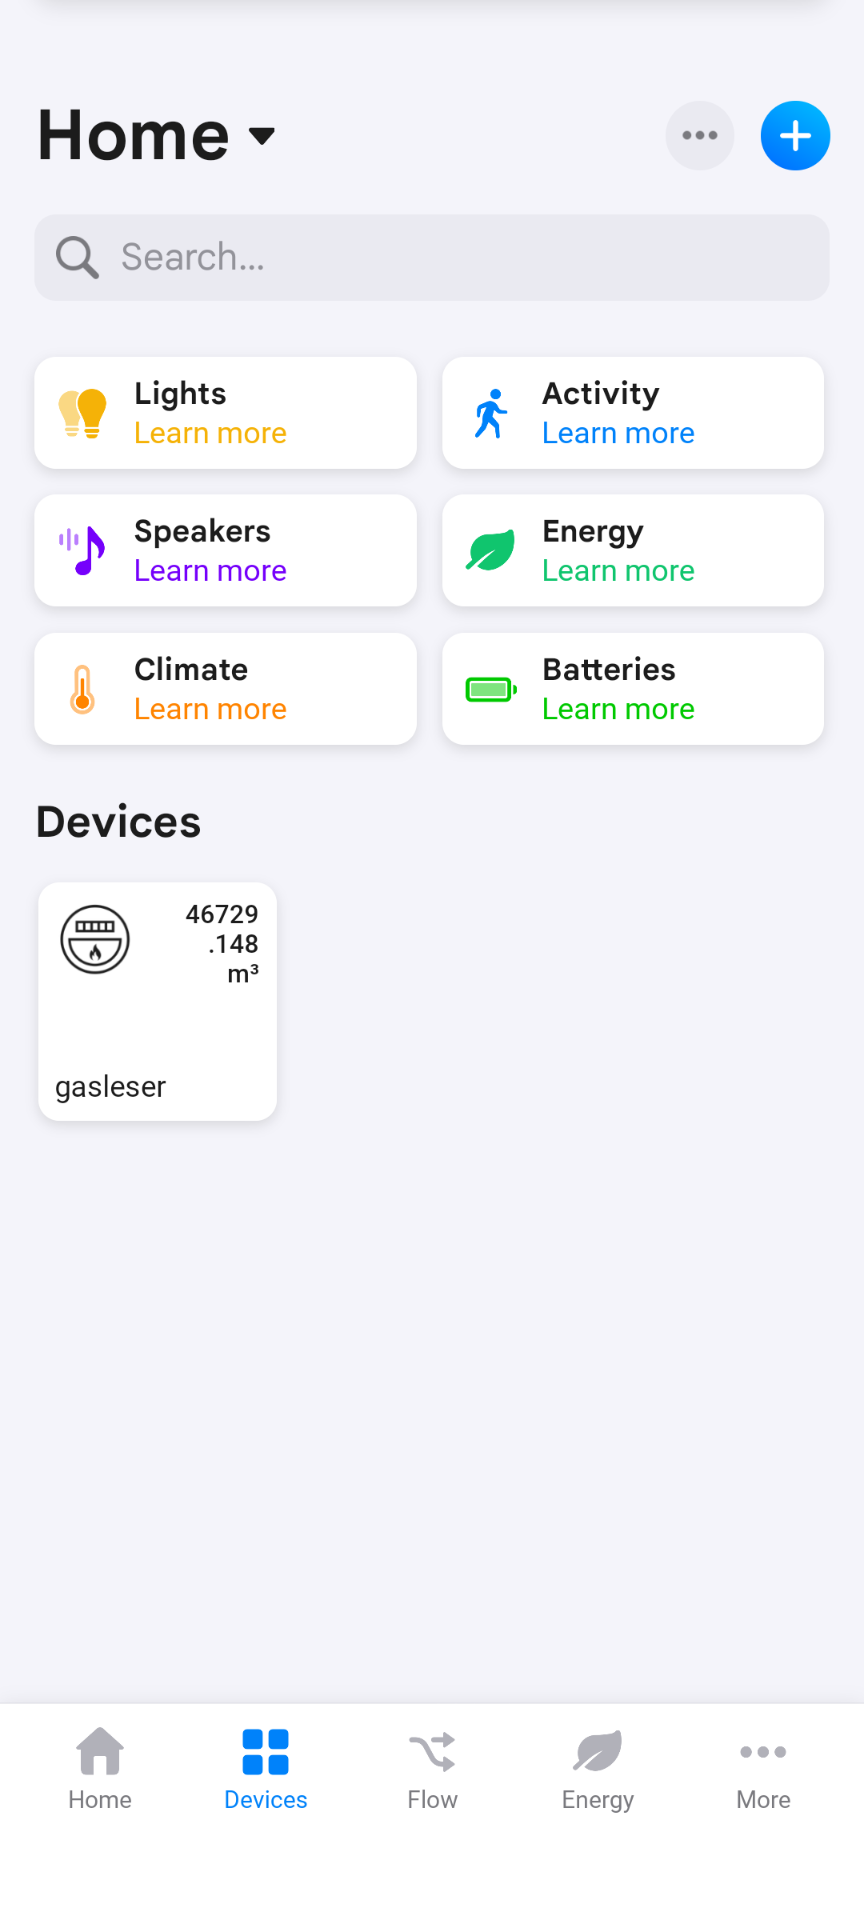
Step 7: Done!
Your device is now successfully added to Homey and appears in the Devices tab as a tile showing your live readings.
Part 3: Add Widgets
Homey widgets let you keep your consumption data right on your home screen at a glance. The energieleser app provides 6 widgets:
| Widget | Description | Device required |
|---|---|---|
| gasleser. | Total consumption & flow rate in m³ | gasleser |
| stromleser.one | Current power & consumption in W/kWh | stromleser.one |
| wasserleser. | Total consumption & flow rate in liters | wasserleser |
| Daily Summary | Day-at-a-glance view of all consumption | always available |
| Energy Overview | Combined overview of electricity, gas & water | always available |
| Solar Balance | Grid export vs. consumption (solar) | stromleser.one |
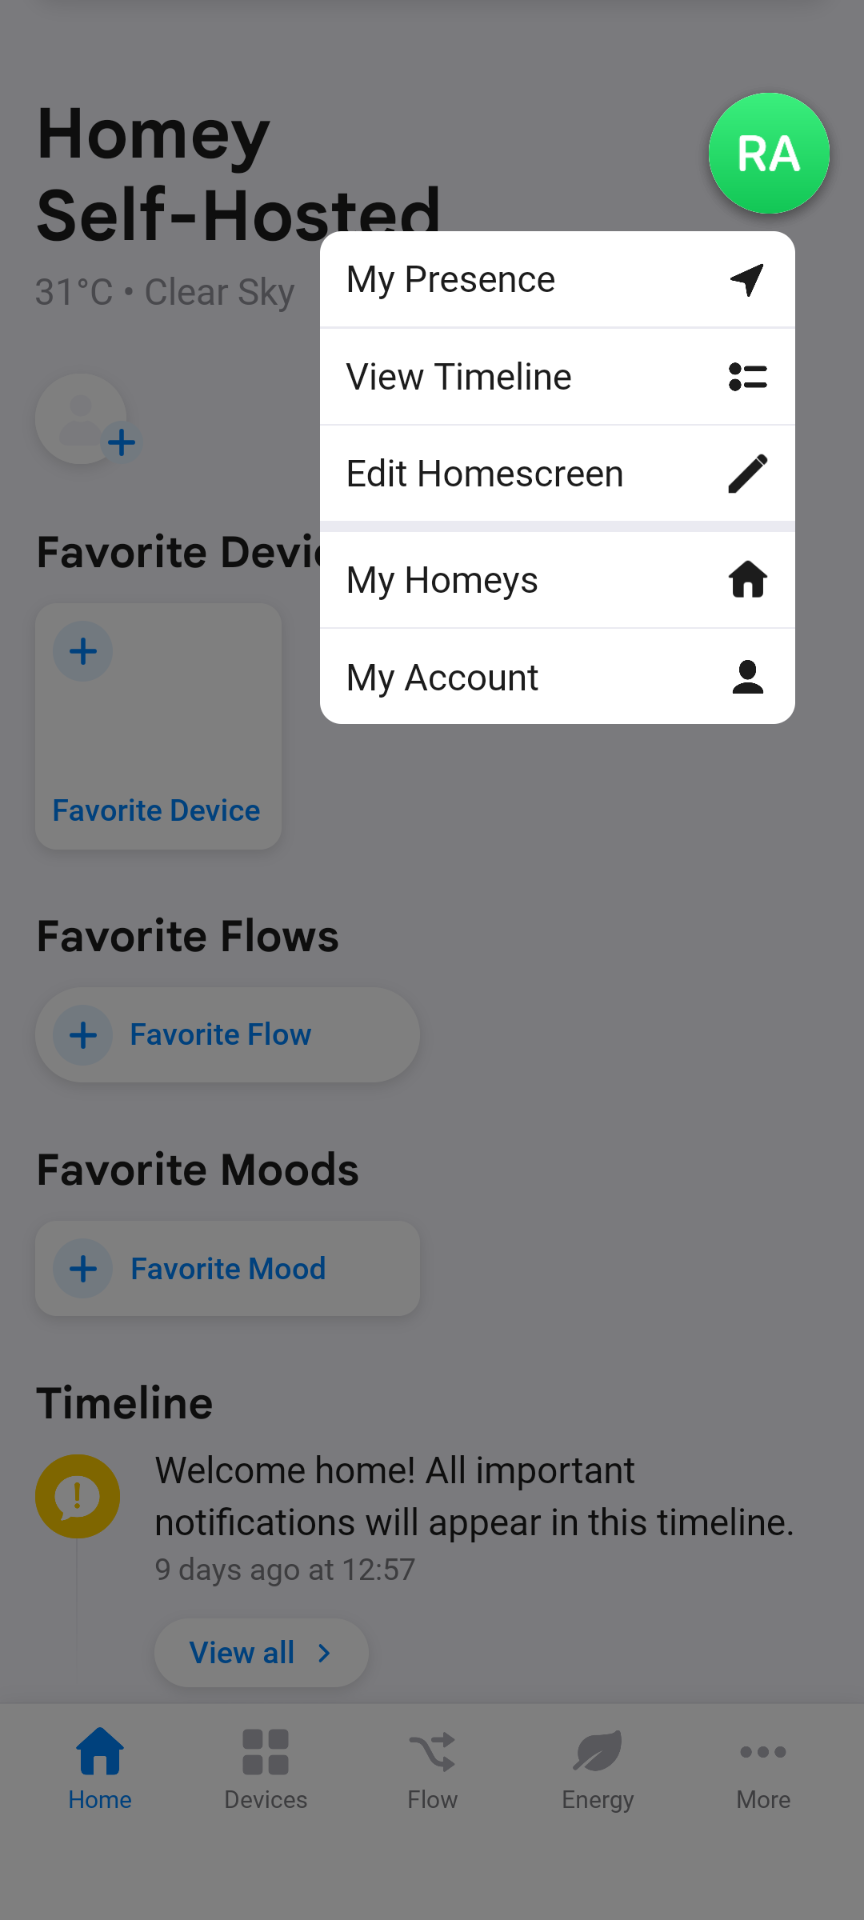
Step 1: Open the home screen editor
- Open the Homey app and go to the Home screen (house icon at the bottom left).
- Tap your profile picture (colored circle with your initials) in the top right.
- In the menu that appears, tap Edit Homescreen.
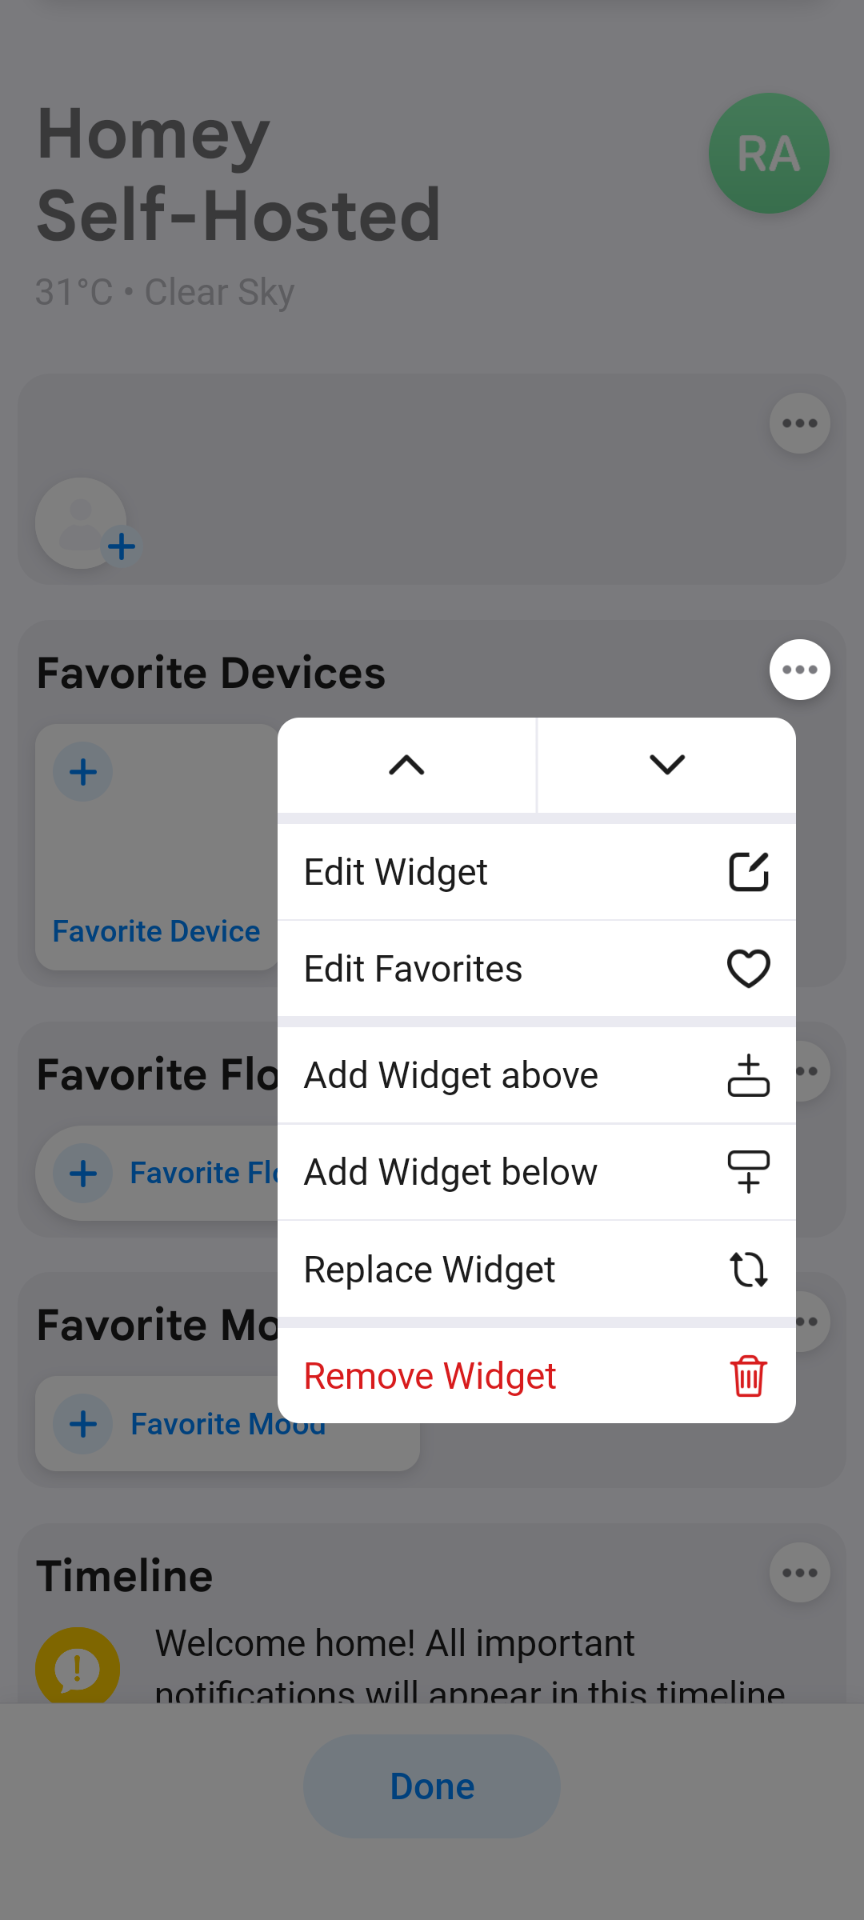
Step 2: Add a widget
- The home screen is now in edit mode — tap the ··· icon next to an existing widget or tap a + area.
- In the context menu, choose Add Widget above or Add Widget below.
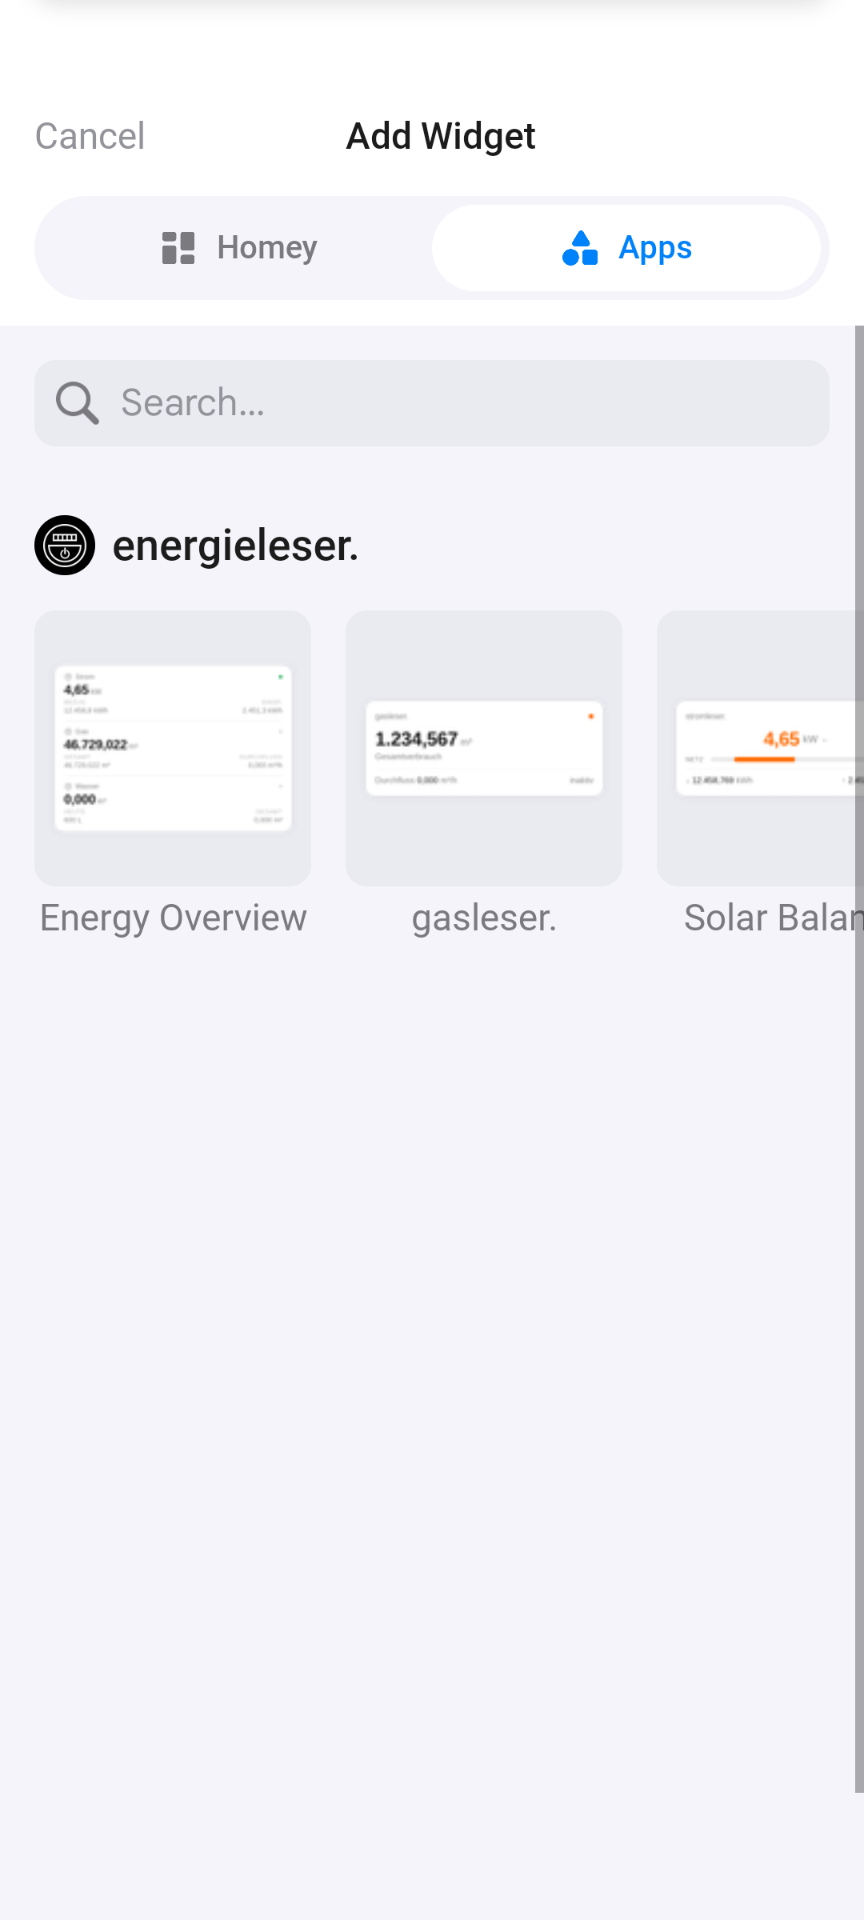
- The Add Widget screen opens. Switch to the Apps tab at the top.
- Scroll to energieleser. and tap the widget you want.
Step 3: Configure the widget & select a device
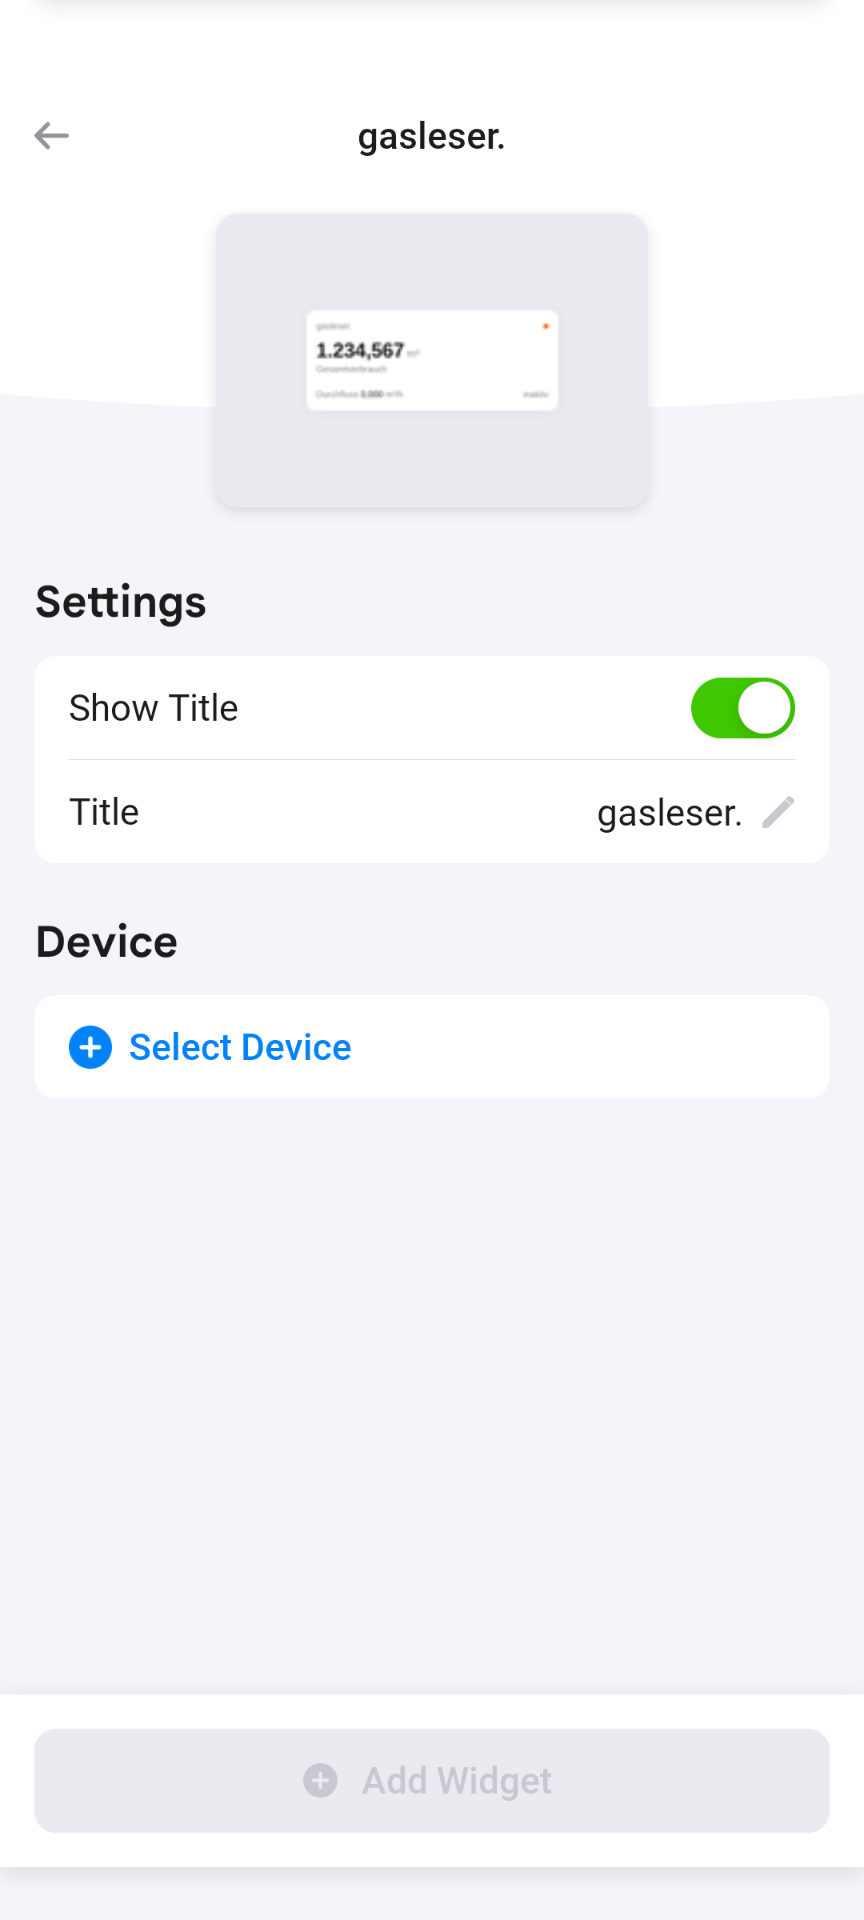
- You now see the widget configuration screen with a live preview.
- Under Settings you can:
- Toggle Show Title on or off
- Edit the Title displayed on the widget
- Under Device, tap Select Device and choose your energieleser device from the list.
- Tap Add Widget to confirm.
The Daily Summary and Energy Overview widgets do not require a device selection — they automatically display data from all connected energieleser devices.
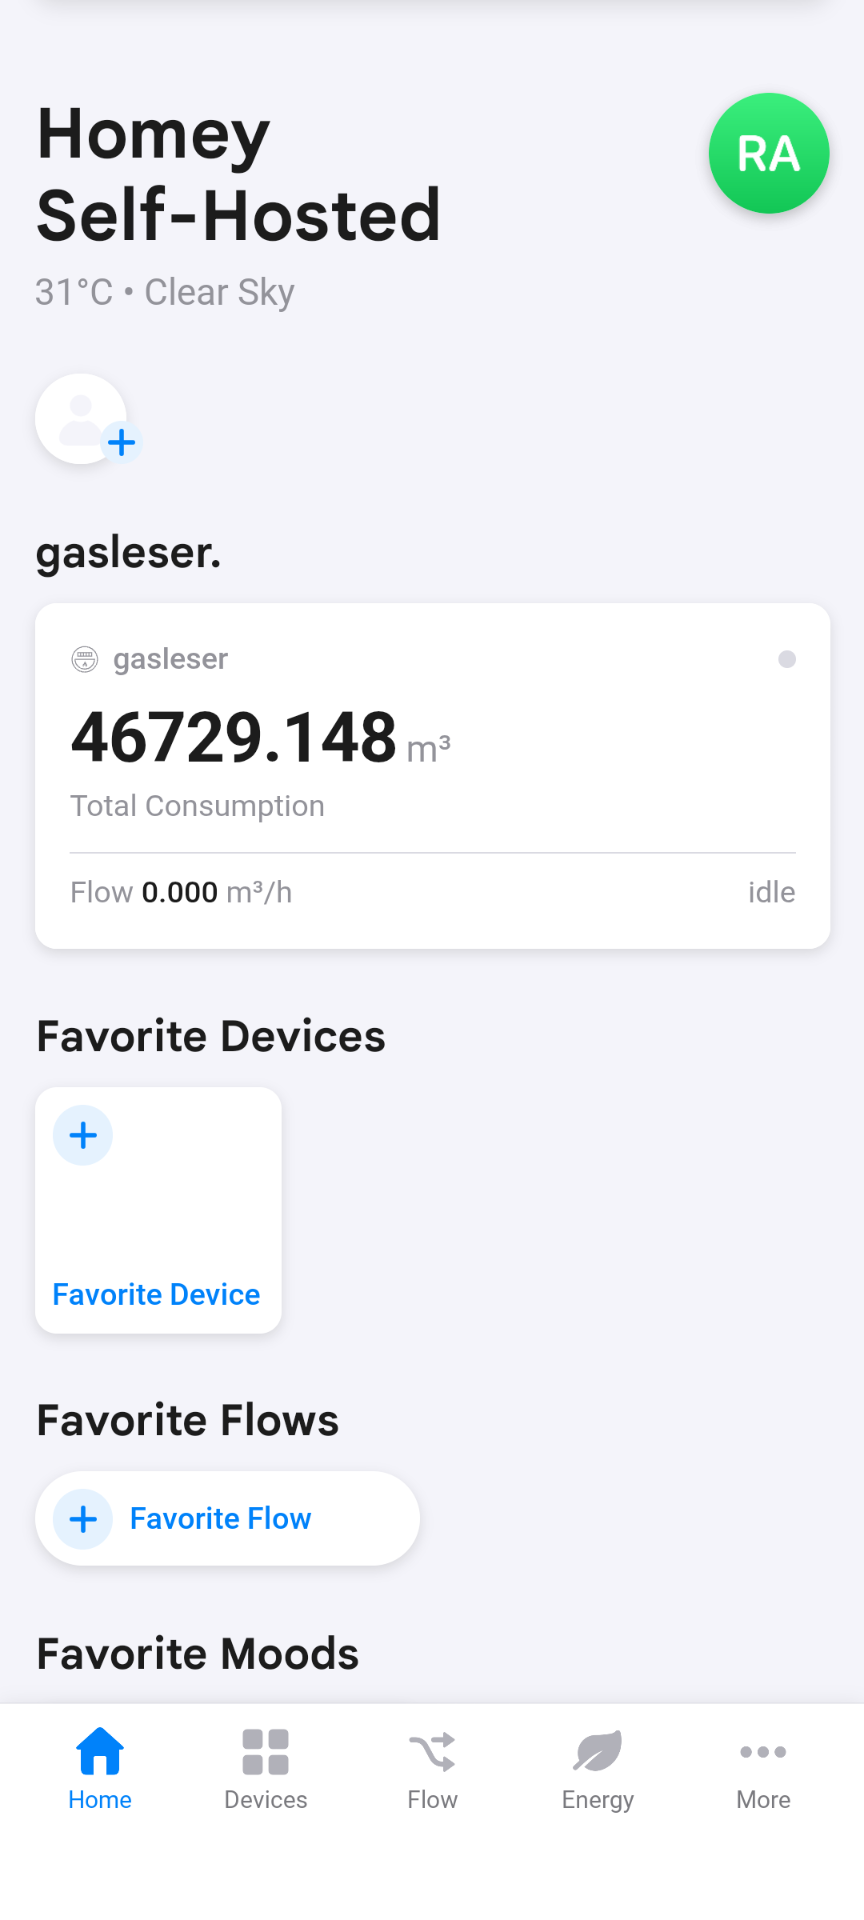
Step 4: Done — widget on your home screen
The widget now appears on your Homey home screen showing your live readings.
Part 4: Create Flows
Homey Flows let you build fully automated routines based on your meter readings. The energieleser app provides dedicated triggers and conditions for this.
Available Triggers (When)
| Trigger | Device | Description |
|---|---|---|
| Gas started flowing | gasleser | Fires when gas flow is detected (was idle before) |
| Gas stopped flowing | gasleser | Fires when gas flow stops |
| Power consumption exceeded X watts | stromleser.one | Fires when power rises above the set threshold |
| Solar export started | stromleser.one | Fires when power is exported to the grid |
| Solar export stopped | stromleser.one | Fires when grid export stops |
| Daily water limit exceeded | wasserleser | Fires when the daily consumption limit is reached |
| Water started flowing | wasserleser | Fires when water flow is detected |
| Water stopped flowing | wasserleser | Fires when water flow stops |
| Water flowing too long | wasserleser | Fires when flow continues longer than expected |
Available Conditions (And)
| Condition | Device |
|---|---|
| Gas is / is not flowing | gasleser |
| Power consumption is / is not above X watts | stromleser.one |
| Power is / is not being exported | stromleser.one |
| Water is / is not flowing | wasserleser |
Creating a Flow
- Tap Flow (the arrow icon) at the bottom of the Homey app.
- Tap the + icon in the top right.
- Build your flow using three parts:
- When: Select one of the energieleser triggers and the corresponding device.
- And: Optionally add a condition to narrow when the flow runs.
- Then: Set an action — for example, send a push notification or control another device.
- Tap Save in the top right.
Example 1 – High power consumption: When stromleser.one reports more than 3,000 watts → Send notification: "Warning: High power consumption!"
Example 2 – Detect a water leak: When Water flowing too long (wasserleser) → Send notification: "Possible leak — water has been flowing for too long!"
Example 3 – Use solar surplus: When Solar export started (stromleser.one) → Turn on the washing machine.
Troubleshooting
Device not found automatically
- Make sure your energieleser device is on the same network (WiFi) as your Homey.
- Check that your device is powered on and connected to the internet.
- Try entering the IP address manually via Enter IP Manually in Step 4.
Device shows a warning icon (⚠️) after pairing
- The warning icon on the device tile disappears as soon as the device delivers its first readings.
- Wait a moment and refresh the view.
Connection fails
- Restart the Homey app and try again.
- Make sure you have the latest version of the energieleser Homey app installed.
Flow is not triggered
- Check that the trigger conditions in your flow are configured correctly.
- Make sure the flow is active (toggled on) in the Flow overview.
For further questions or issues, contact energieleser support at info@energieleser.de or visit the Homey Community Forum.