Loxone Integration: Leser Series
This guide provides a standardized workflow for integrating stromleser, gasleser, and wasserleser devices into Loxone Config using Virtual HTTP Input templates.
Template Downloads
Before starting, download the specific template for your device:
| Device | Type | Download Link |
|---|---|---|
| stromleser | Electricity | Vorlage herunterladen |
| gasleser | Gas | Vorlage herunterladen |
| wasserleser | Water | Vorlage herunterladen |
1. Establish Connection
Ensure your Loxone Config software is communicating with your hardware.
- Open your project in Loxone Config.
- Navigate to the Miniserver tab in the top ribbon.
- Click Connect to establish a live session.
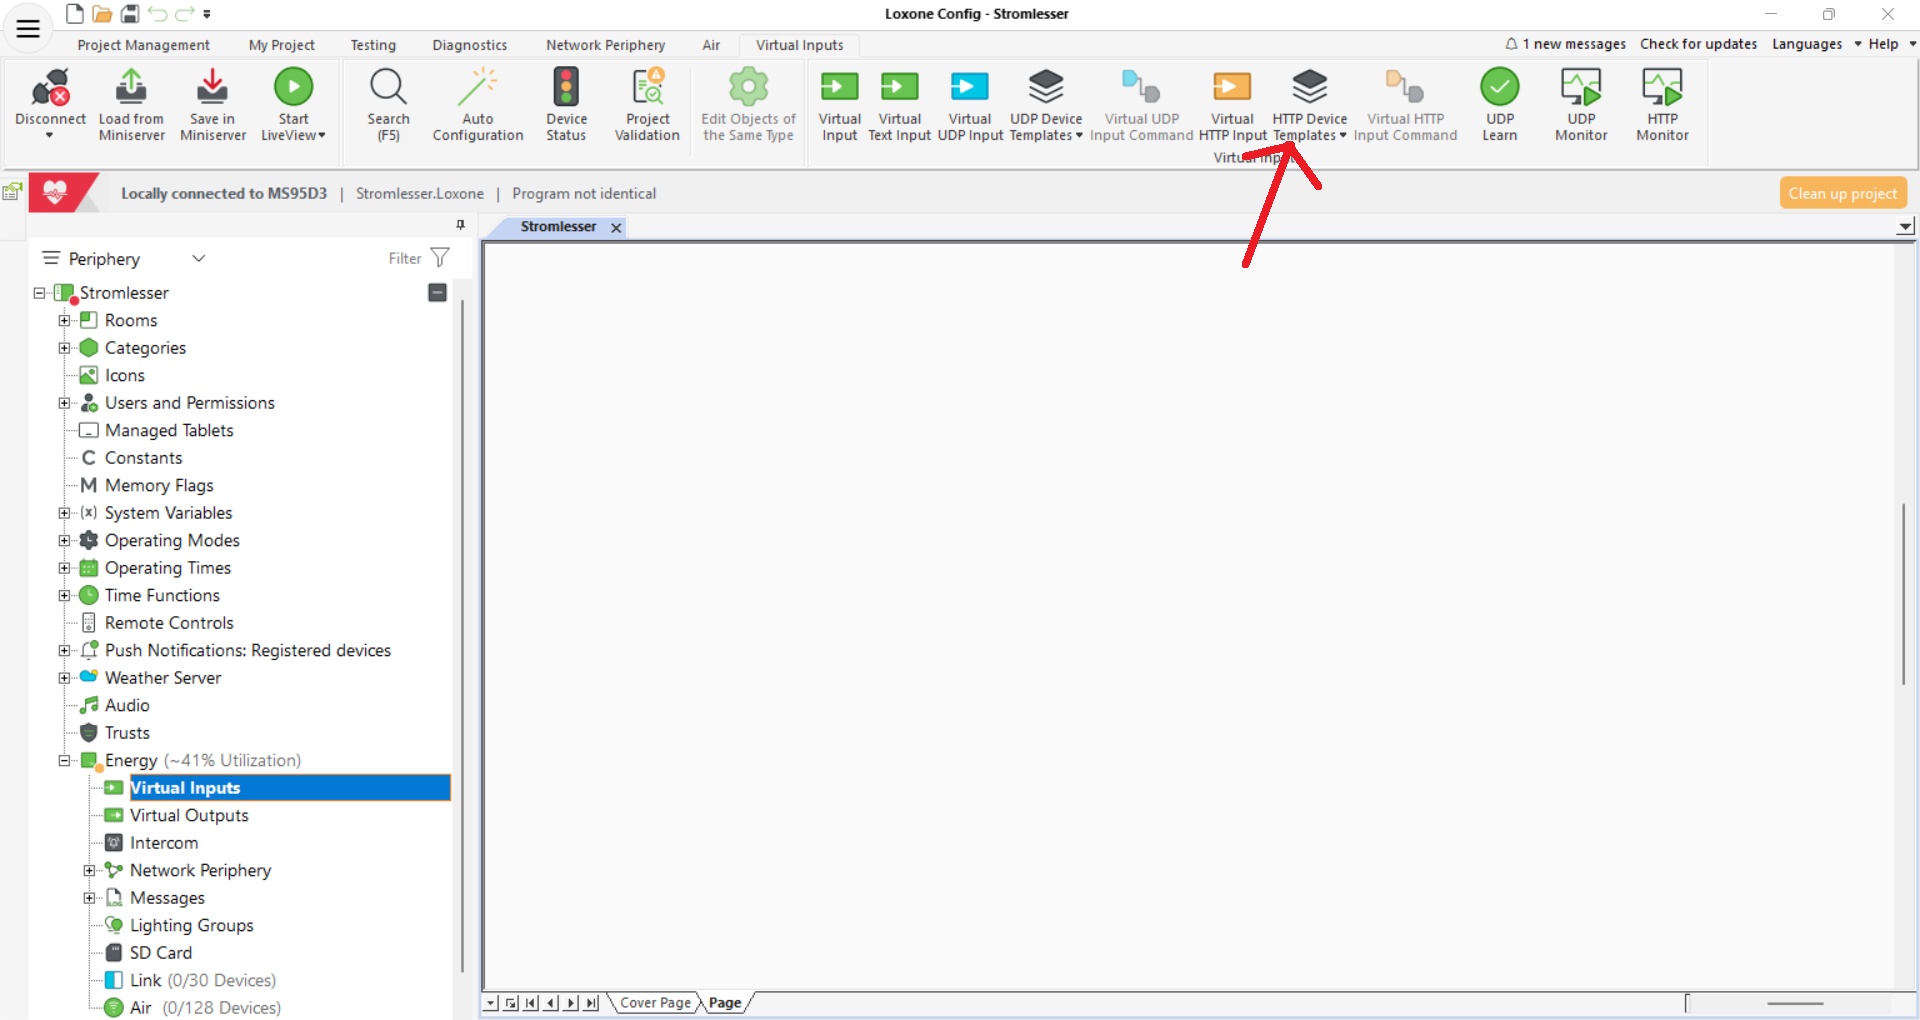
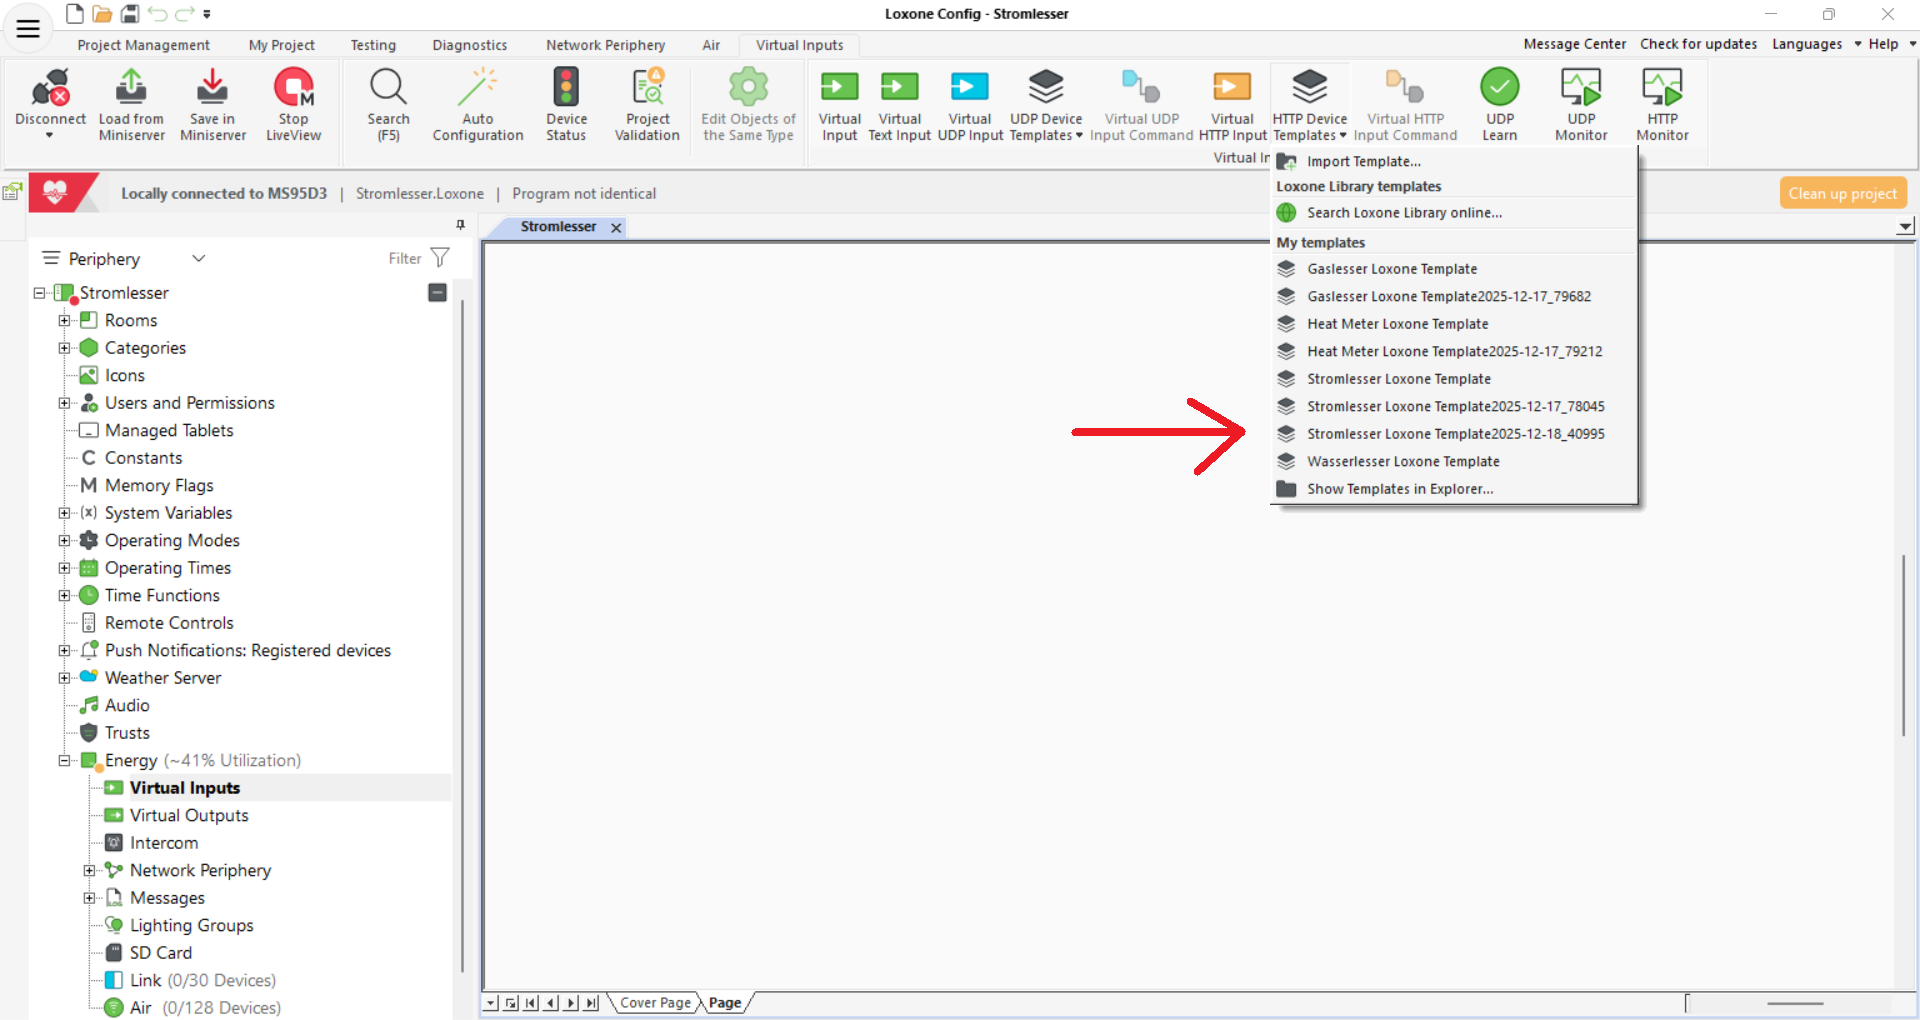
2. Import the HTTP Template
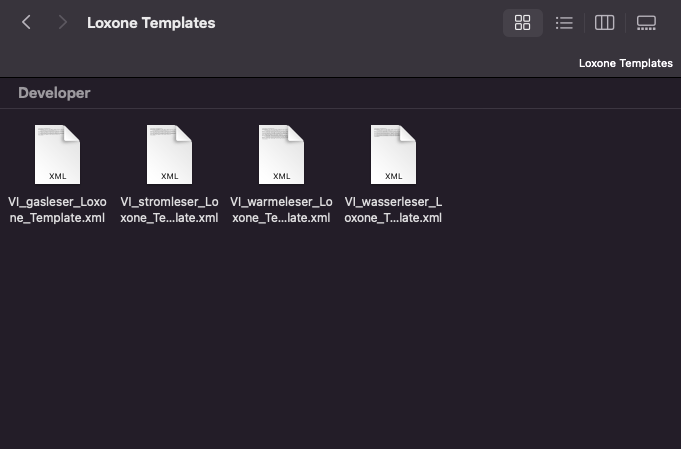
Import the specific .xml template file you downloaded above.
- Select Virtual Inputs in the Periphery tree on the left.
- In the top menu, click the HTTP Device Templates icon.
- Choose Import Template... from the dropdown menu.
- Select your template file (e.g.,
VI_Stromleser Loxone Template) from your local directory.
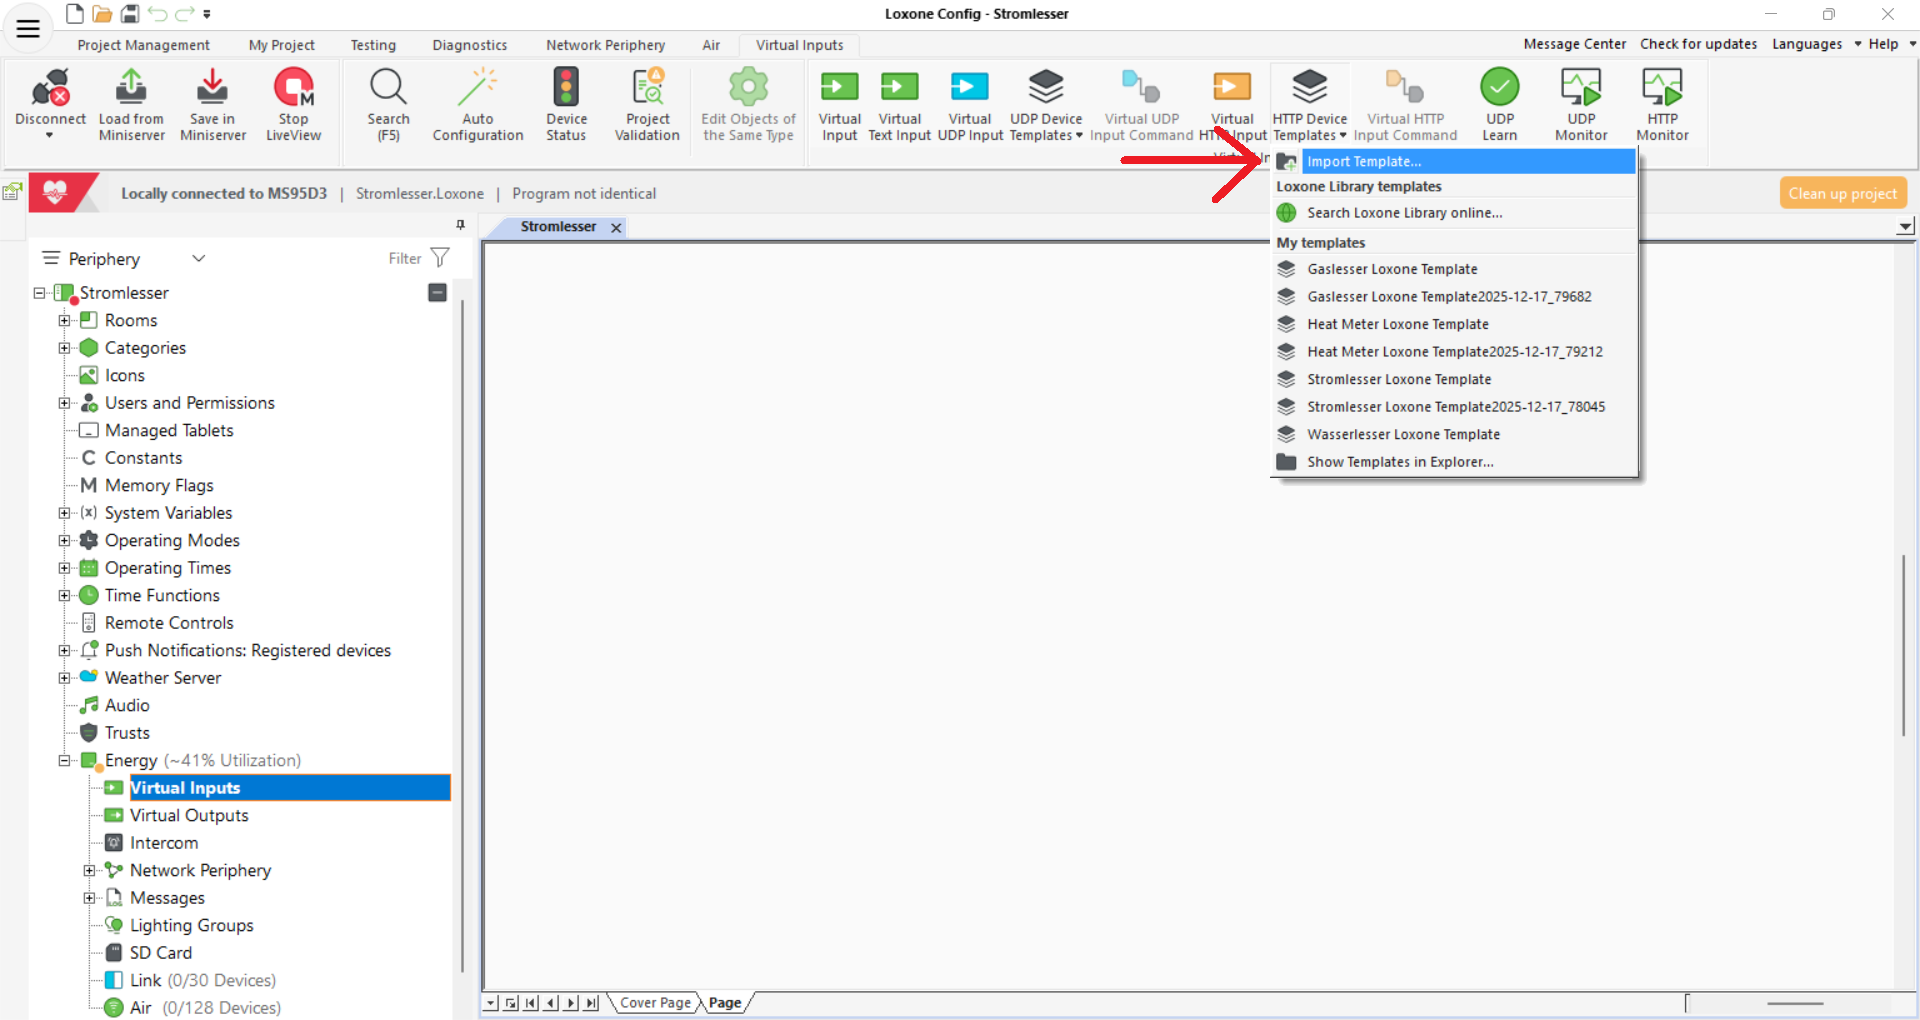
3. Add Template to Project
Once imported, you must instantiate the specific device in your project.
- Click HTTP Device Templates again.
- Locate your template under the My templates section.
- Click the template name (e.g., stromleser, gasleser, or wasserleser) to add it to the Virtual Inputs tree.
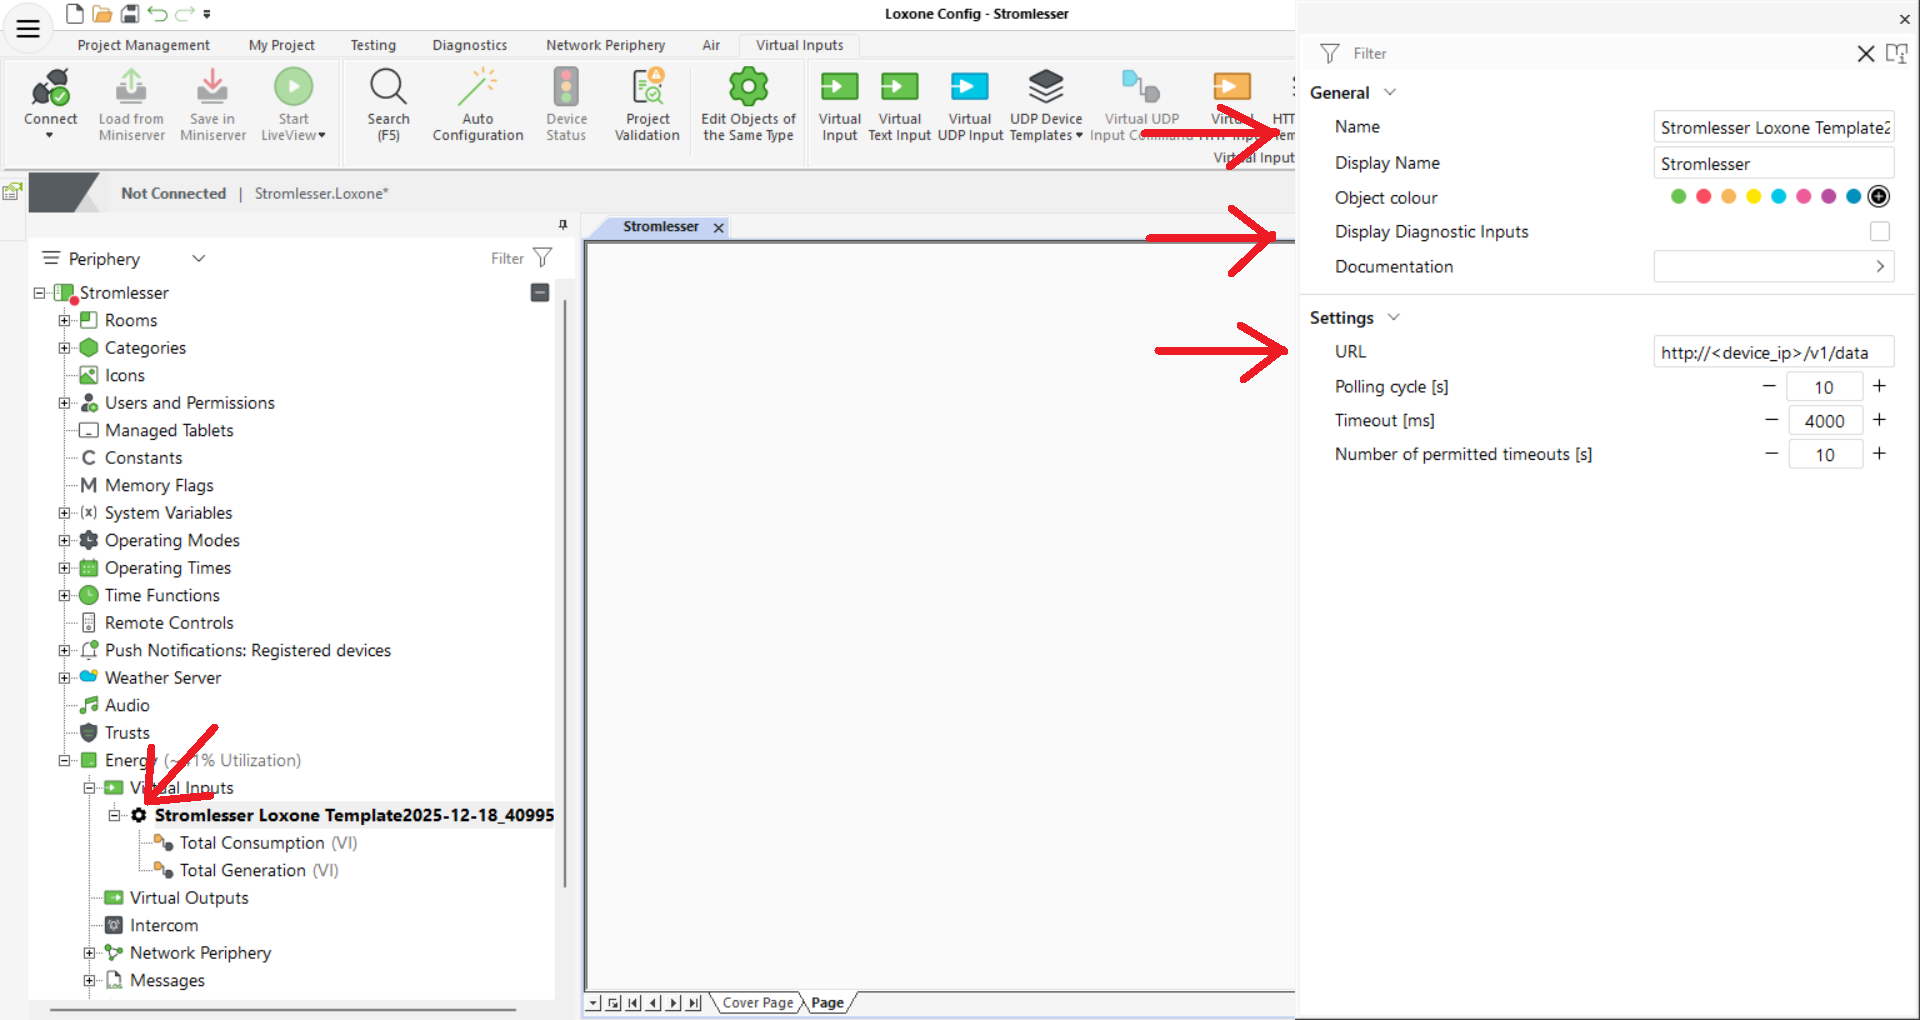
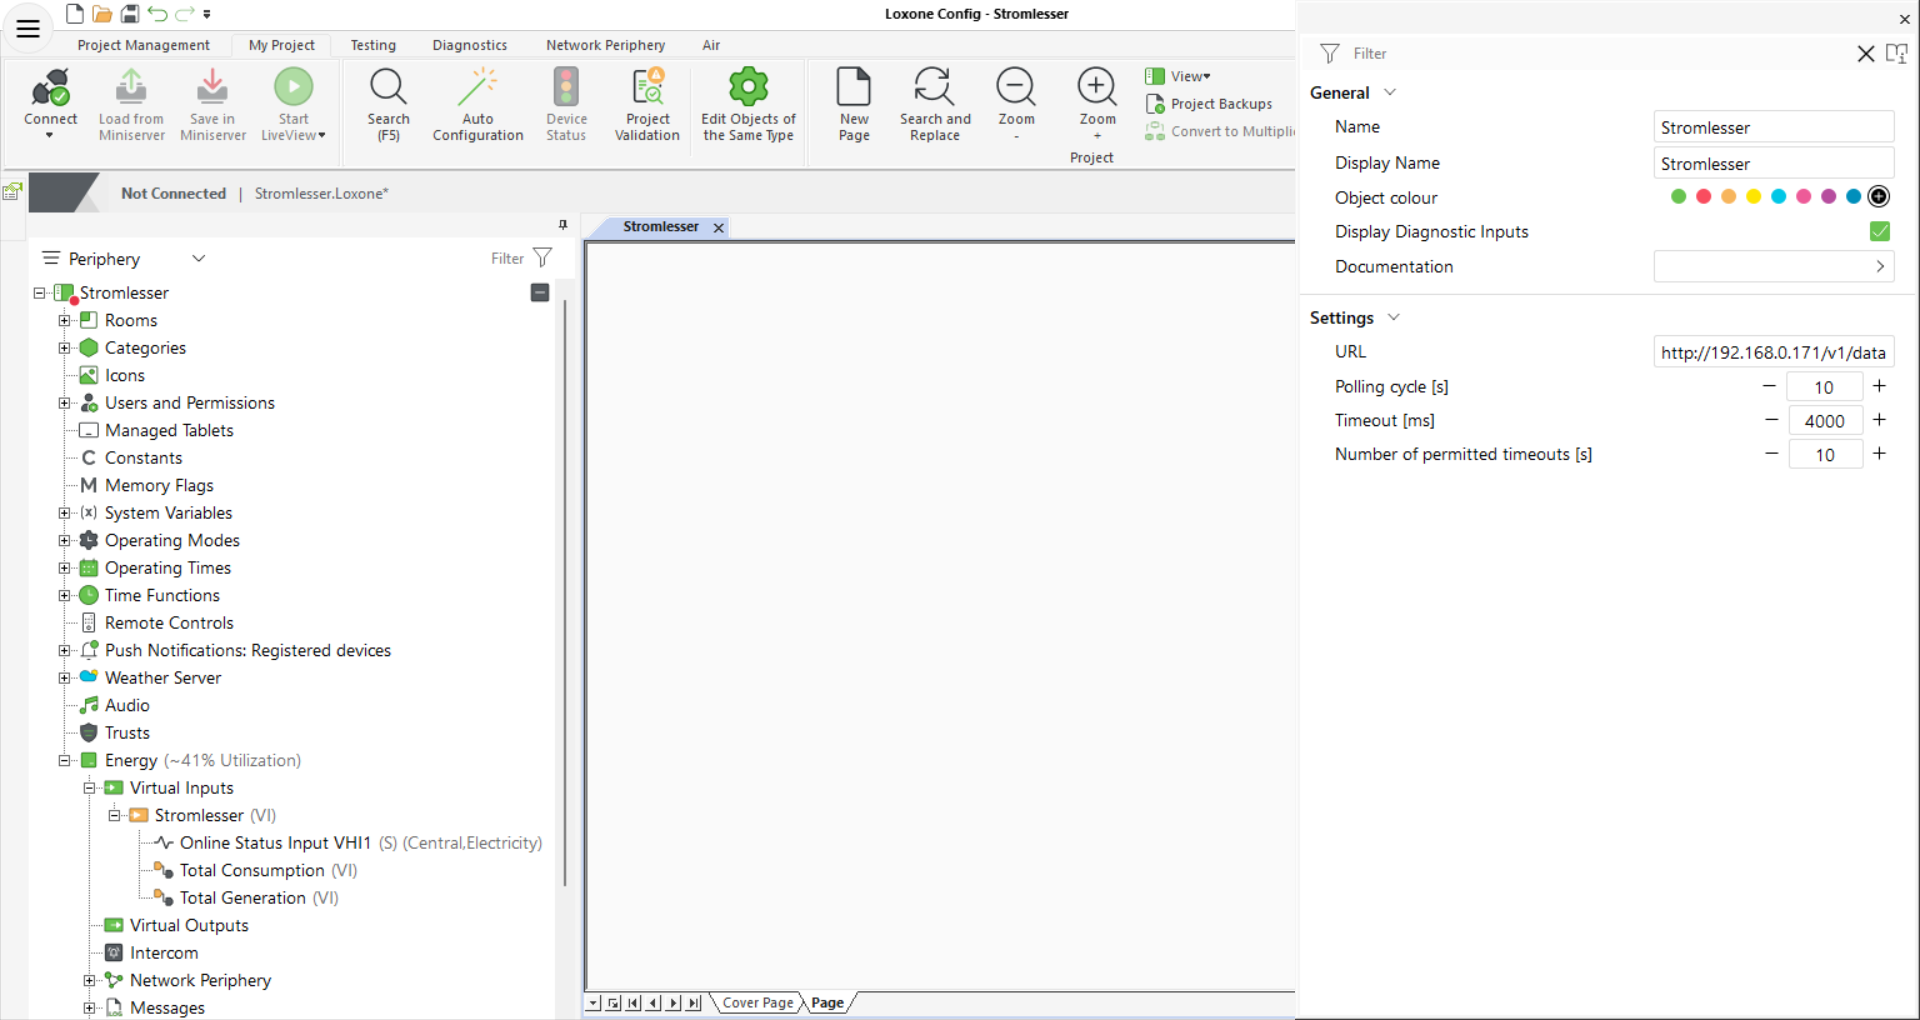
4. Configure Device Communication
Loxone requires the local network address of your device to fetch data.
- Click on the newly added Virtual HTTP Input in the Periphery tree.
- In the Properties window on the right, update the URL field:
- Format:
http://<DEVICE_IP>/v1/data - Example:
http://192.168.0.171/v1/data
- Format:
Ensure your device has a Static IP address assigned in your router settings to prevent communication loss if the router reboots.
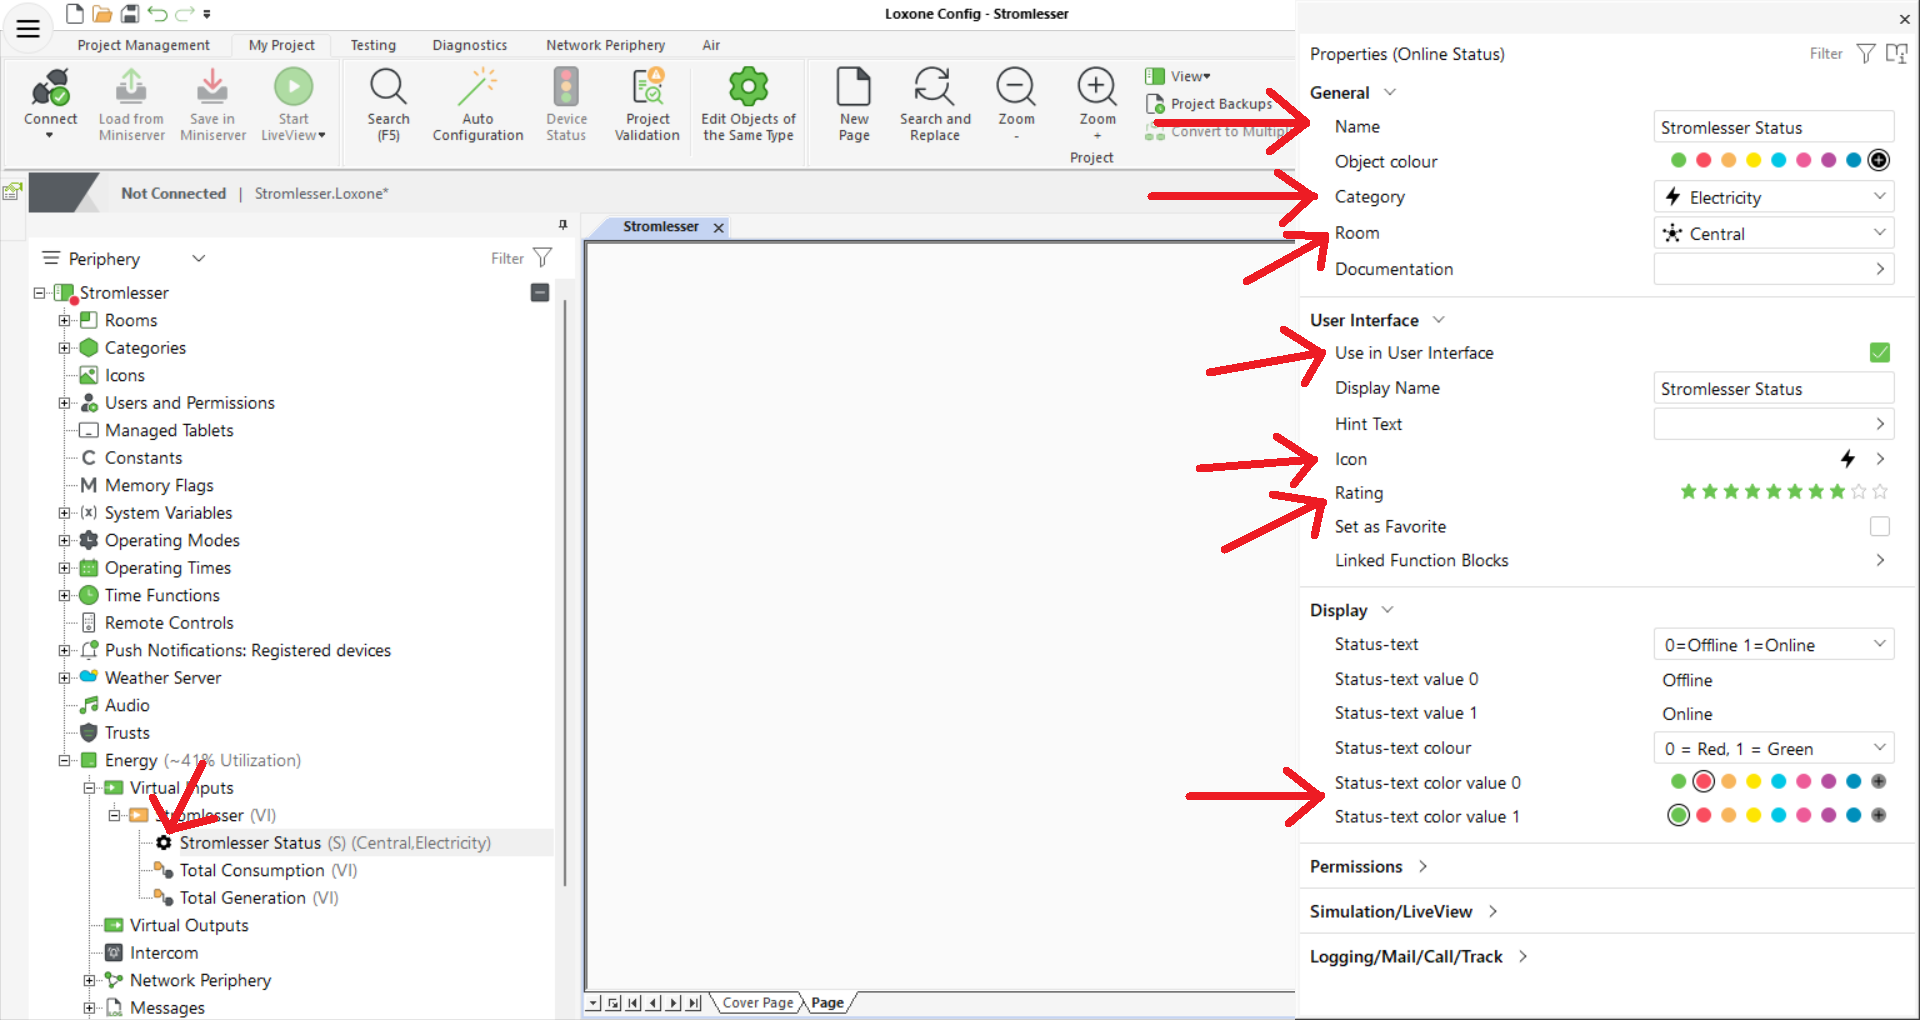
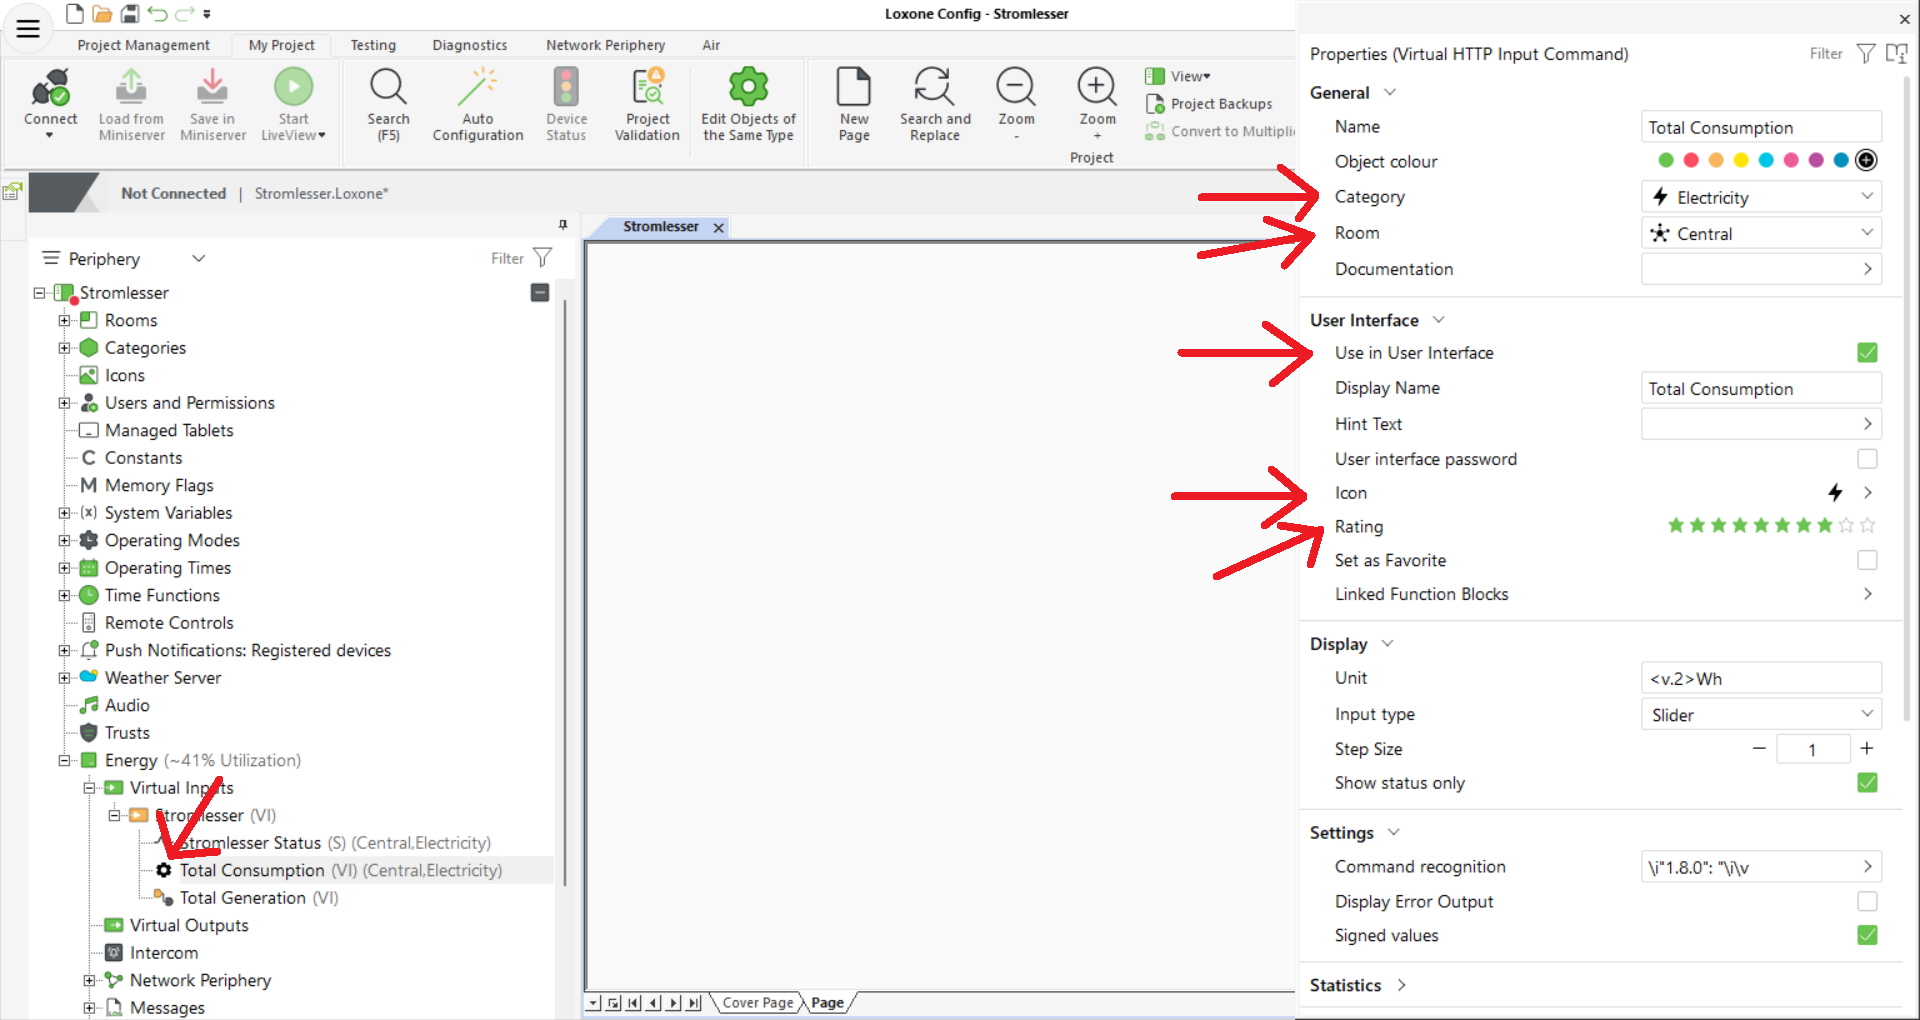
5. Configure Input Commands
Each device contains specific commands (e.g., Consumption, Flow Rate, Status). Assign these to the correct rooms and categories for the Loxone App.
Property Setup
For each command under the device:
- Category: Set to
Electricity(stromleser),Gas(gasleser), orWater(wasserleser). - Room: Assign to the relevant room (e.g., Utility Room or Central).
- User Interface: Ensure Use in User Interface is checked.
- Rating: Set the star rating to determine priority in the Loxone App.
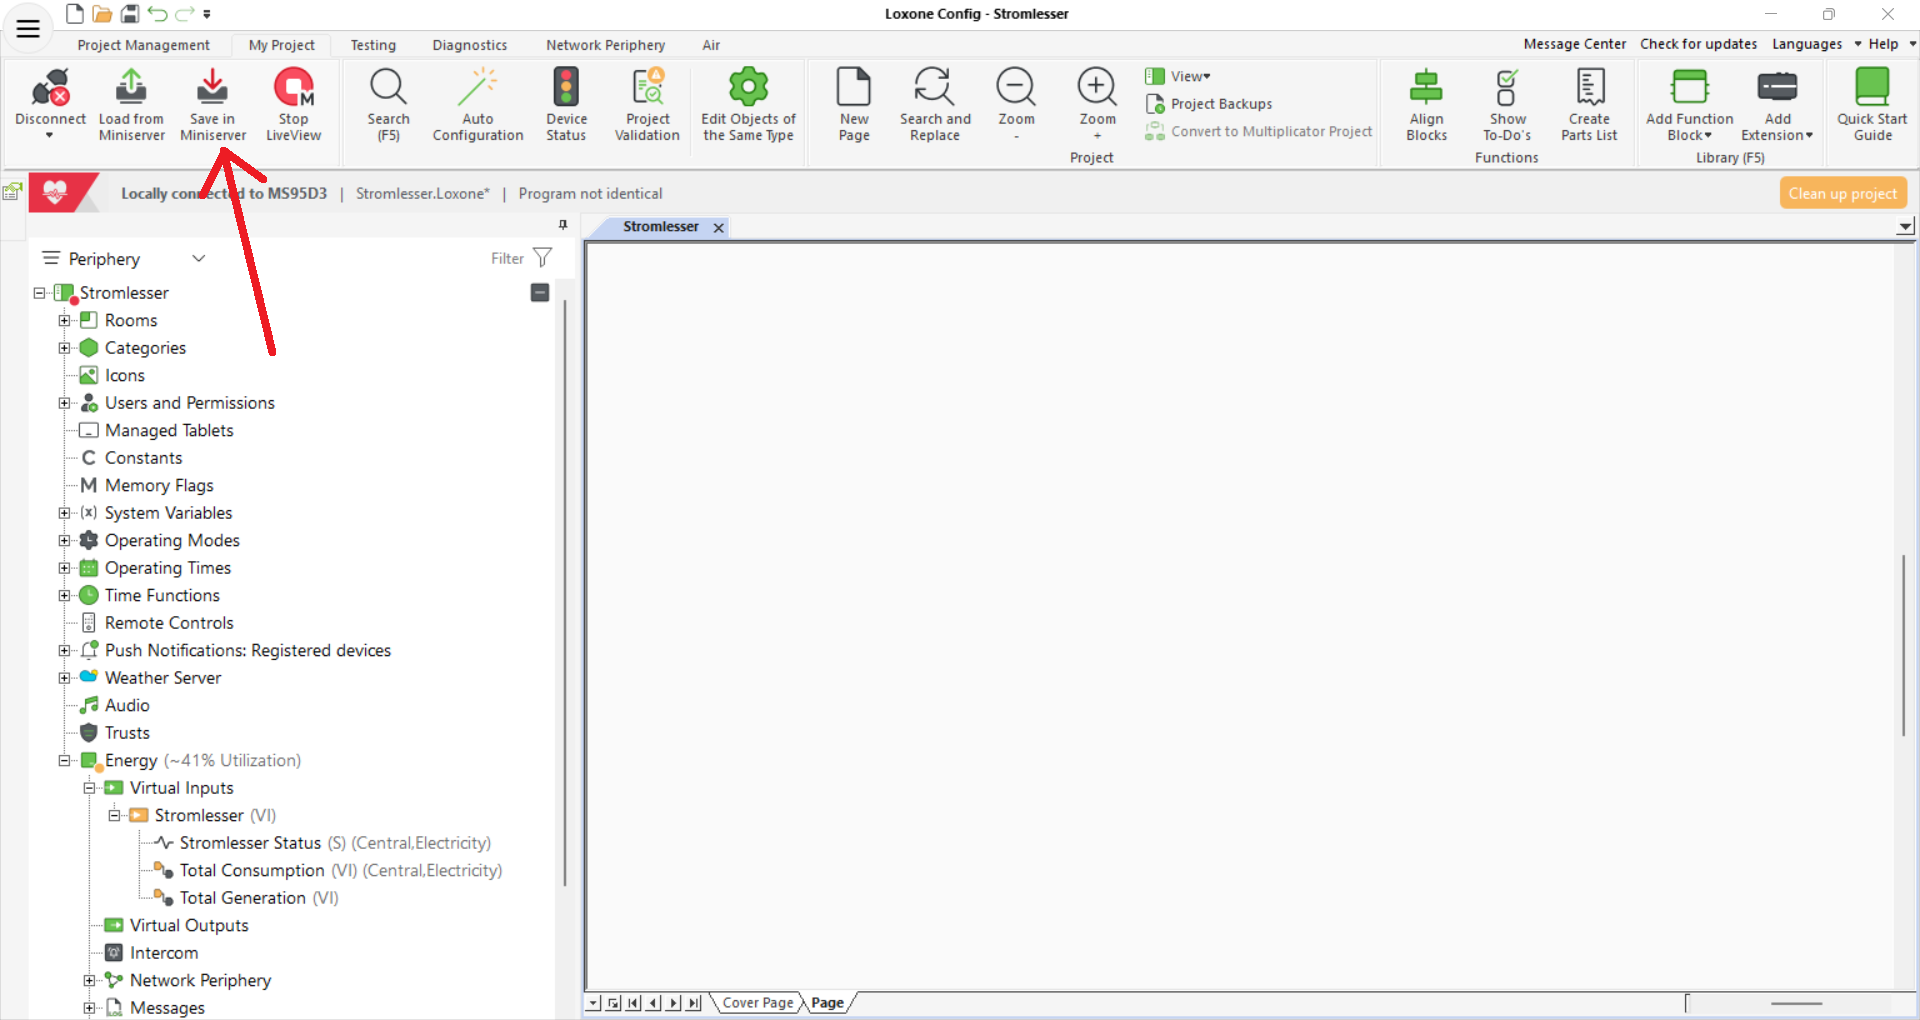
6. Deployment
Upload the final logic to your Miniserver hardware.
- Navigate to the Miniserver tab.
- Click Save in Miniserver.
- The Miniserver will reboot and begin polling your device for real-time data.
If data does not appear immediately, verify that your device is powered on and that the URL entered in Step 4 is accessible via your web browser.