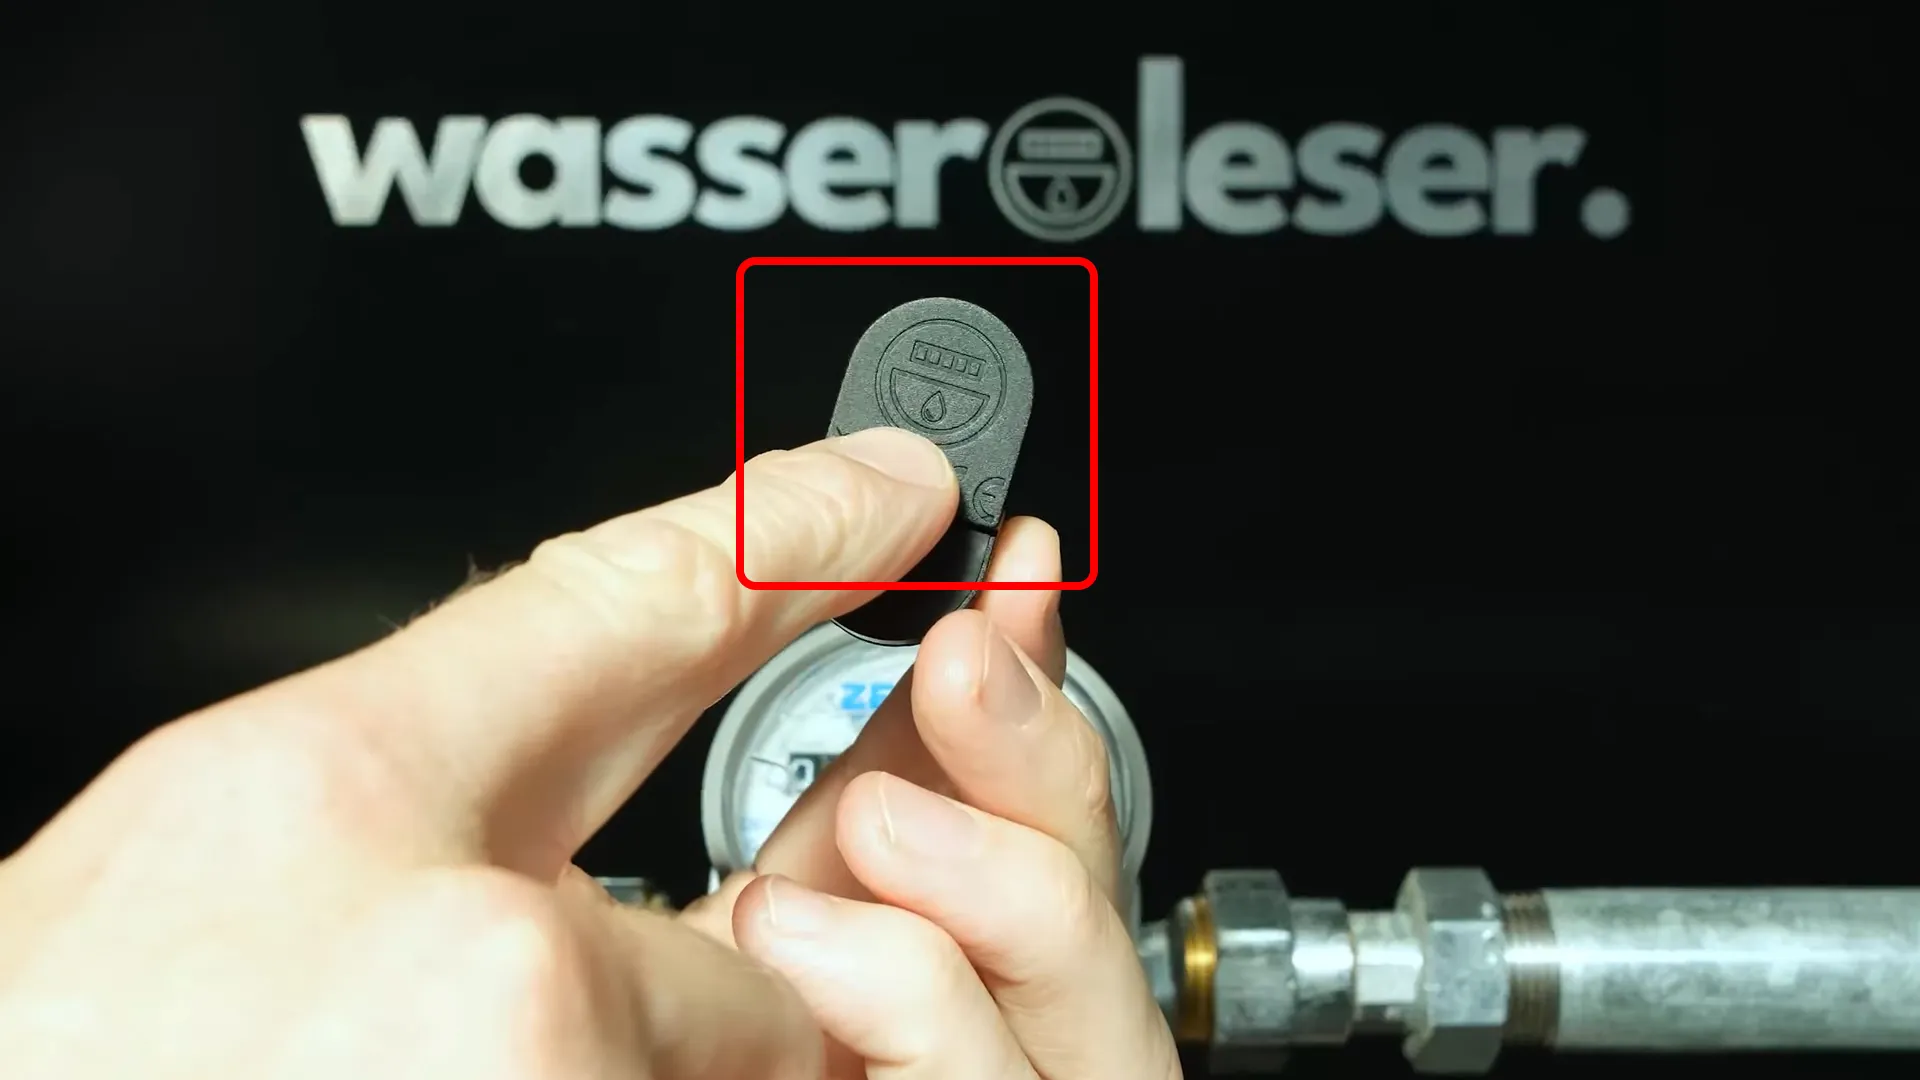
Adapter Mounting
If your water meter has an indentation or mounting groove, you'll mount the wasserleser using the included adapter.
When to Use the Adapter
Use the adapter when:
- Your water meter has an indentation or mounting groove
- The meter has a recessed area around the dial
- You want tool-free, click-in installation

Installation Steps
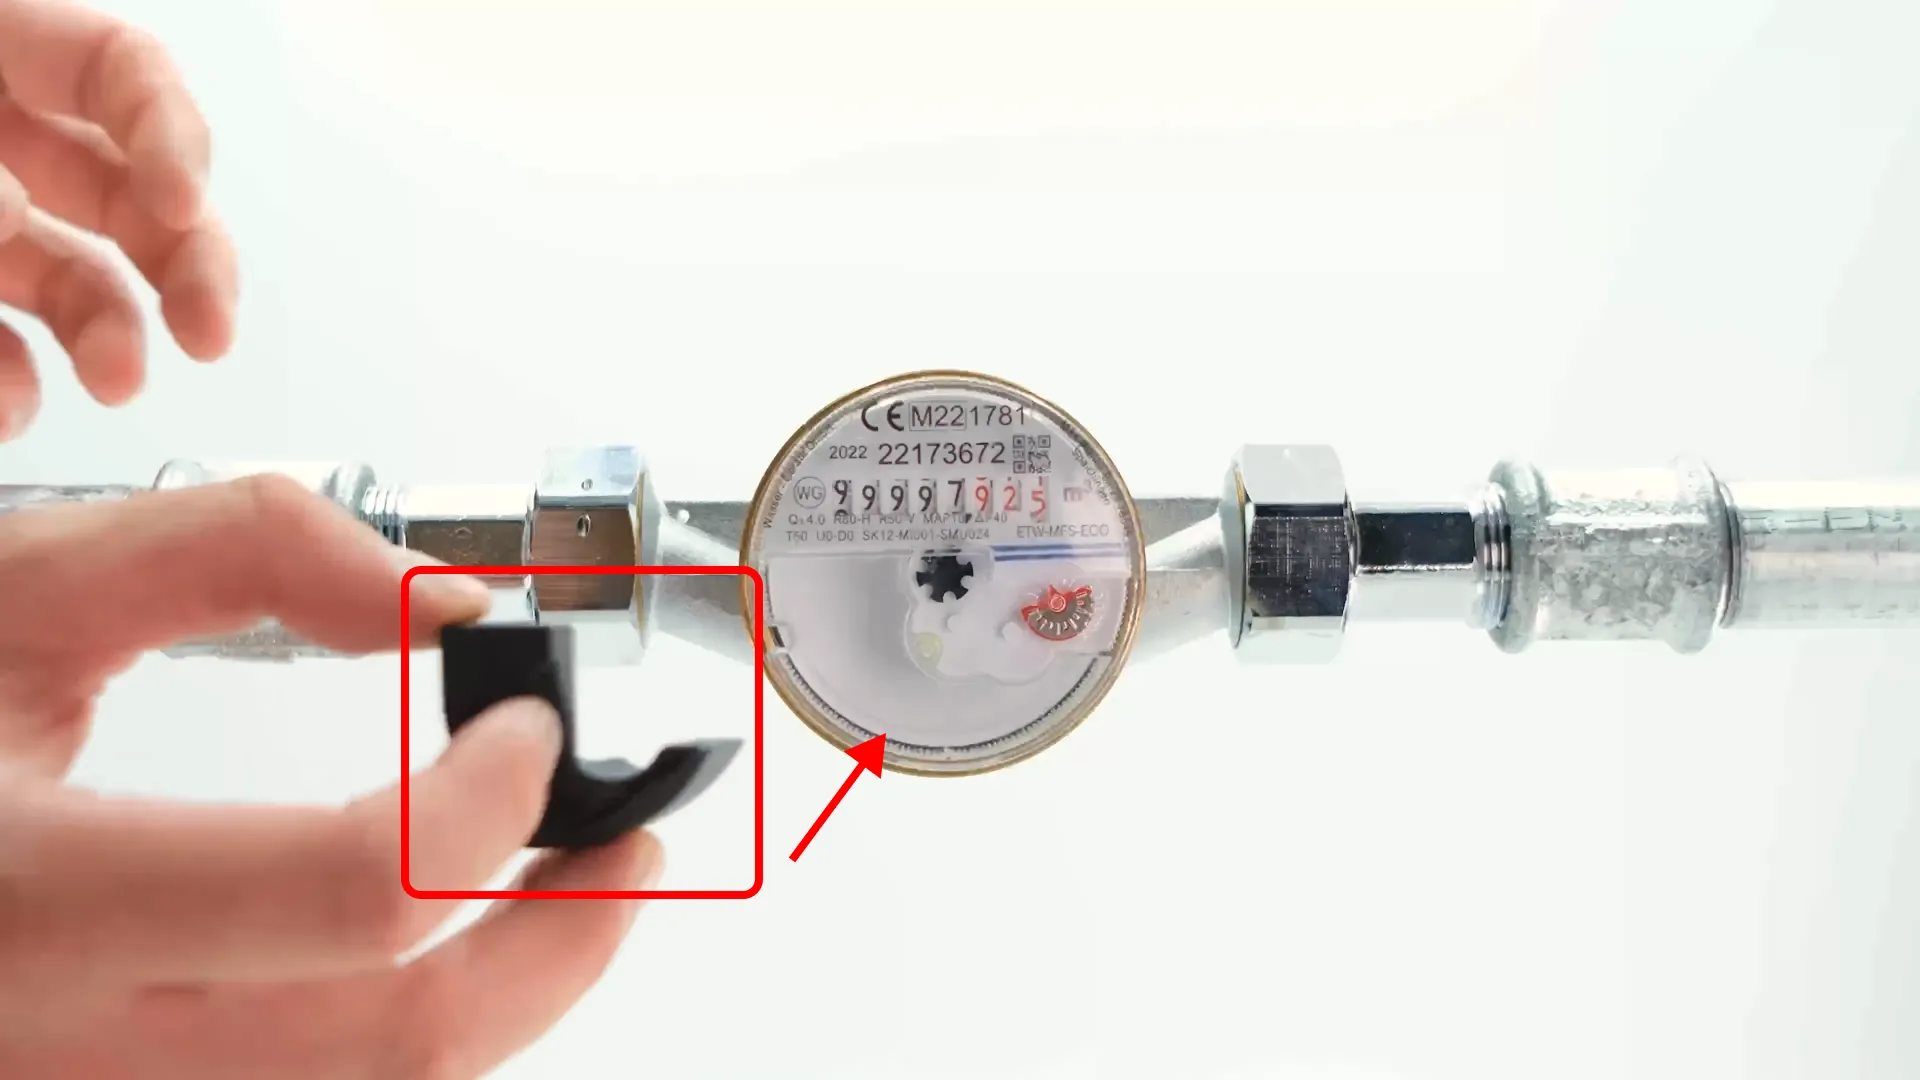
Step 1: Position the Adapter
Insert the adapter into the indentation on your water meter. Ensure it fits snugly into the groove.
Key Points:
- The adapter should fit securely into the mounting groove
Push the adapter firmly until it clicks into place. The adapter should be stable and not move.
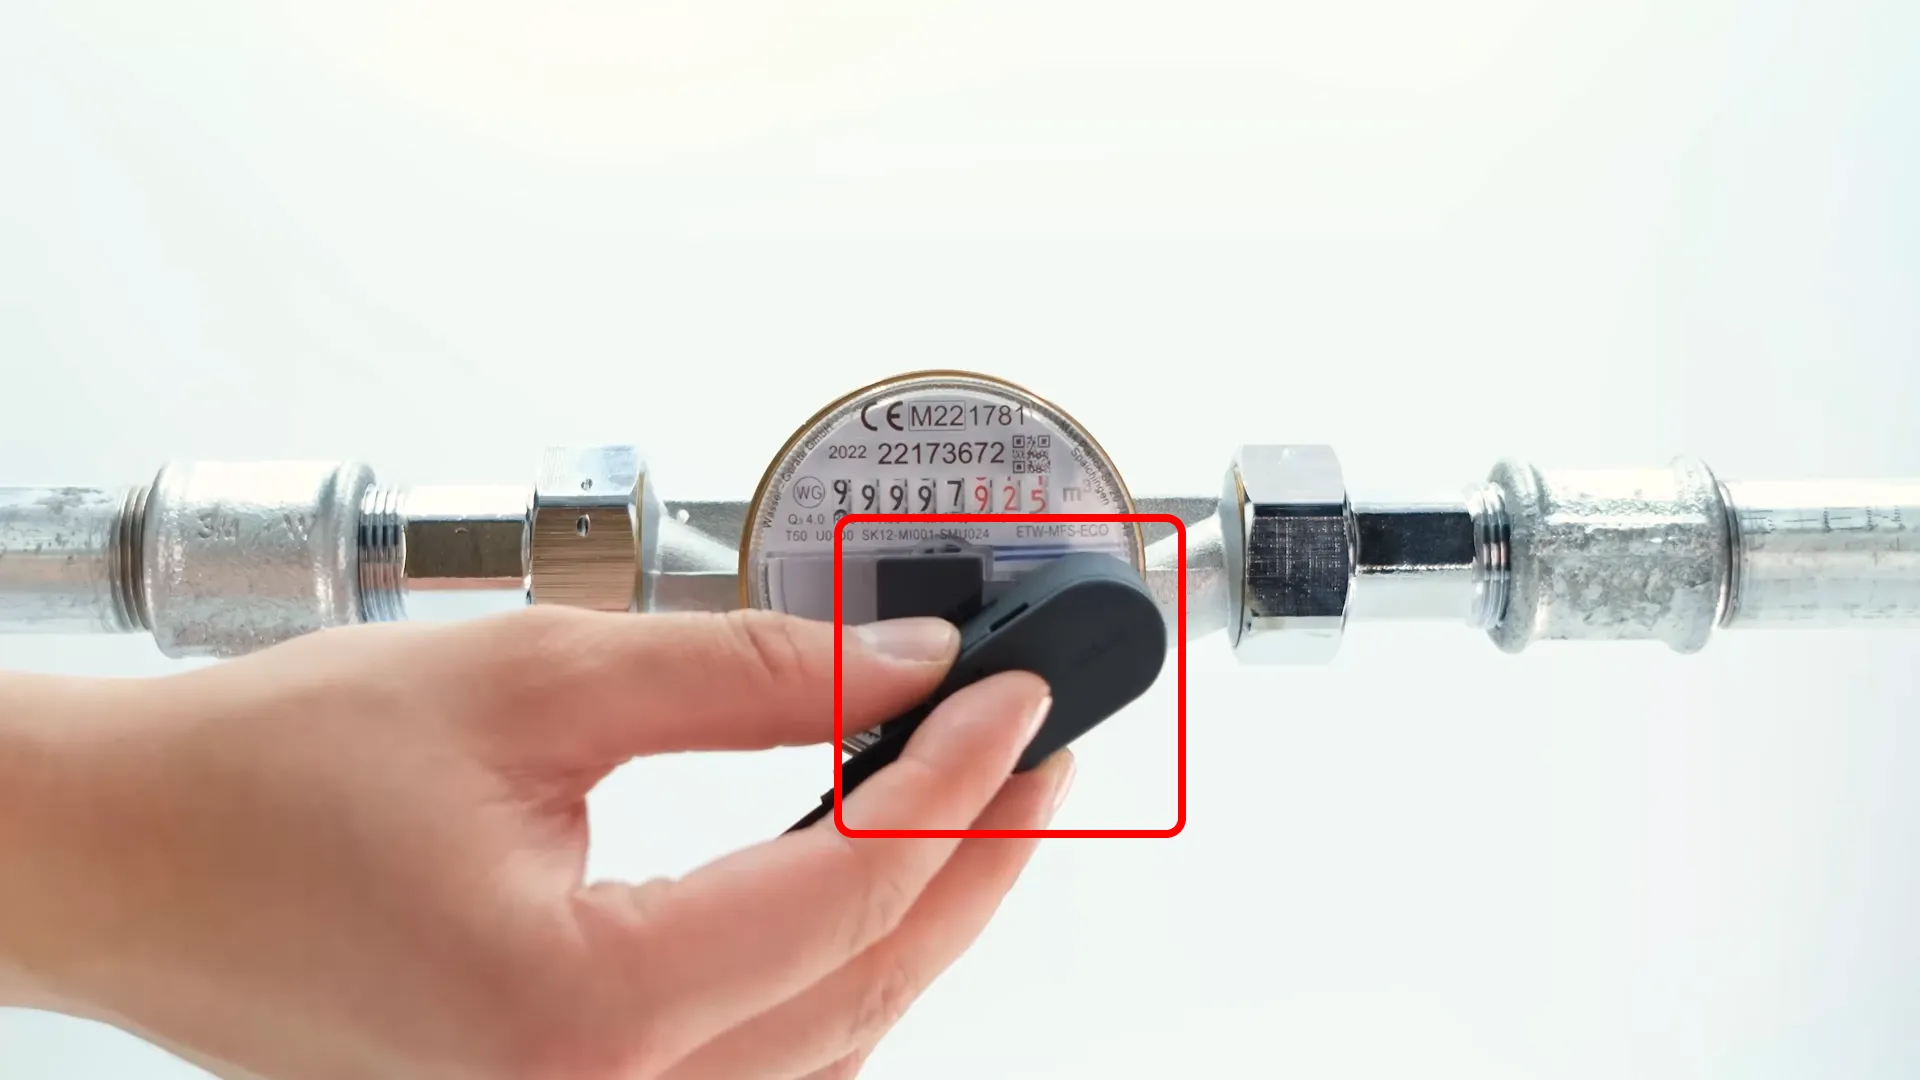
Step 2: Attach the wasserleser
Place the wasserleser device onto the mounted adapter.
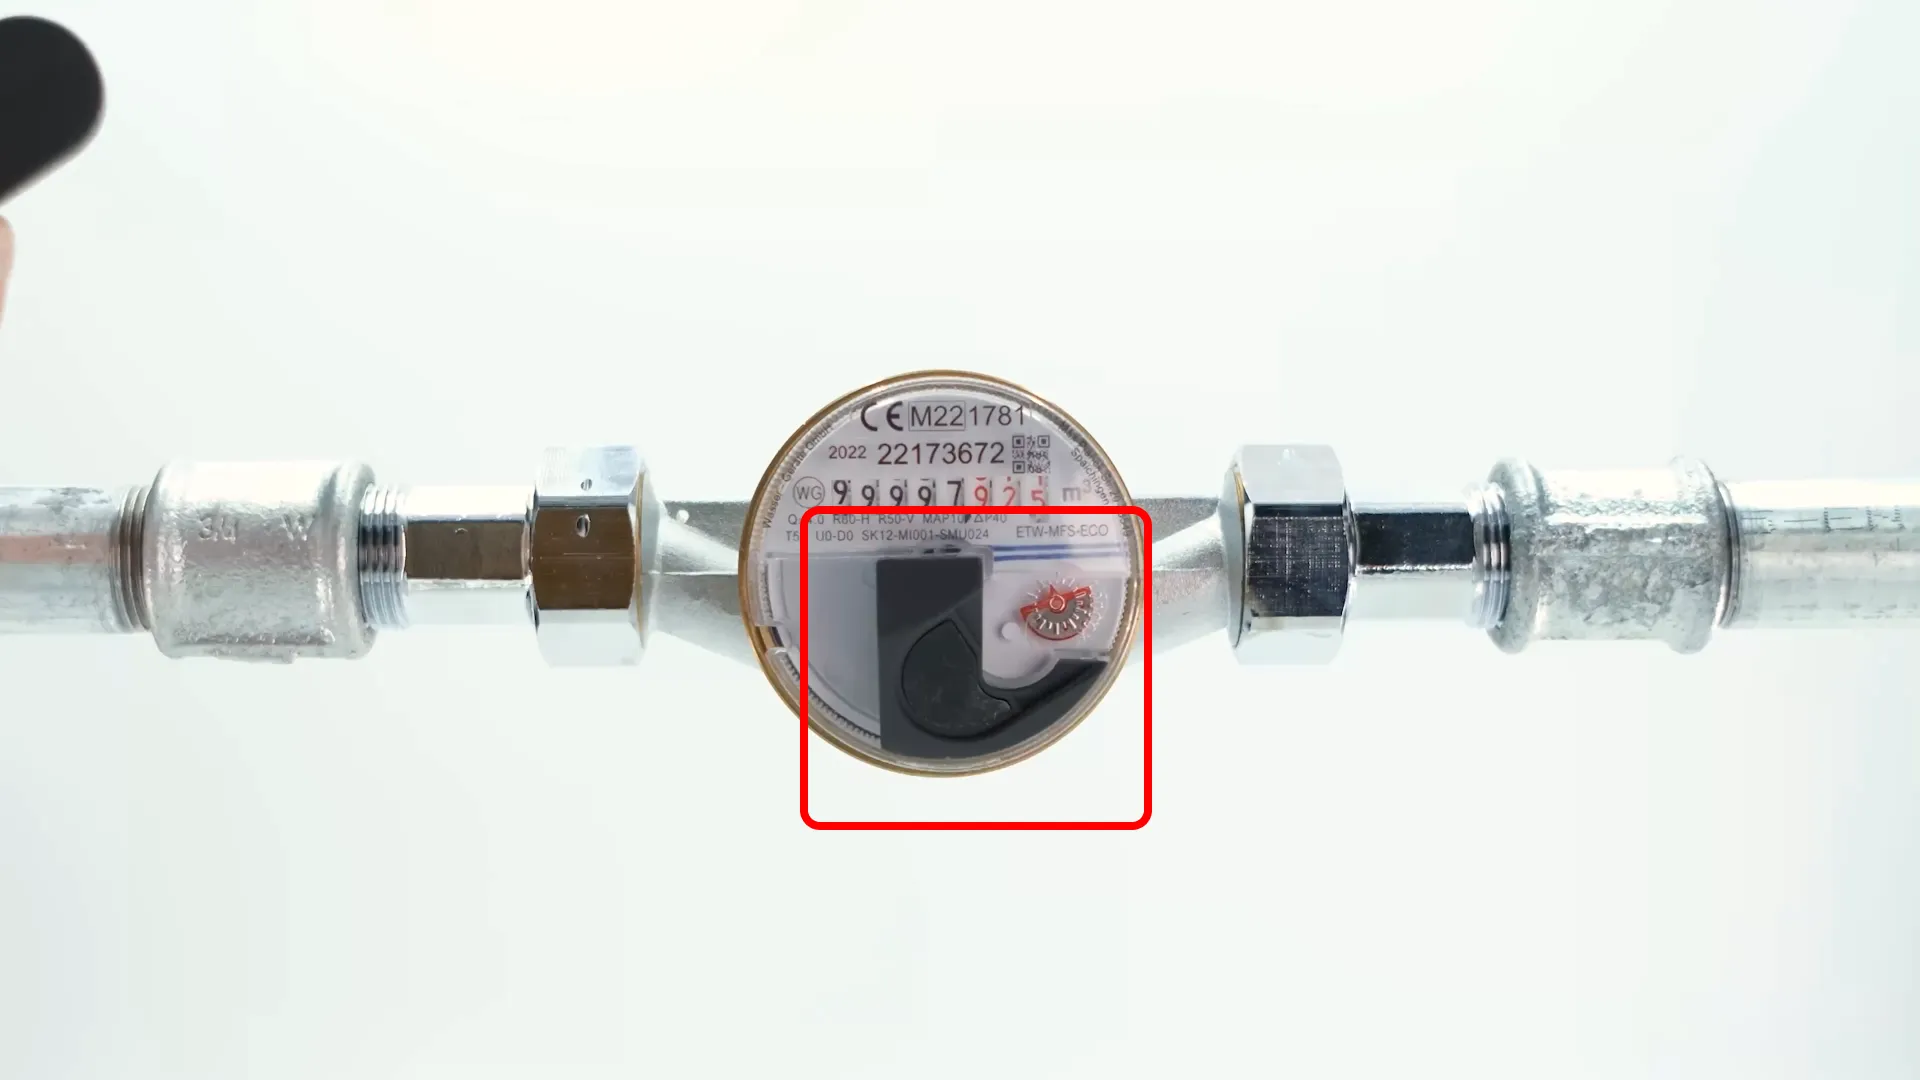
Important: Position the wasserleser sensor so that:
- The sensor reading unit is positioned exactly above the rotating metal disc
This ensures that the pulses are precisely captured and water consumption is reliably measured.
Step 3: Final Check
After mounting, verify that:
- The adapter is completely stable and doesn't wobble
- The wasserleser sits firmly on the adapter
- The sensor is aligned with the rotating metal disc
- All components are secure
Important Notes
The sensor reading unit must be positioned exactly above the rotating metal disc. This is critical for accurate pulse detection and consumption measurement.
The adapter method allows for easy removal and reinstallation of the wasserleser if needed for maintenance or relocation.
Troubleshooting
Adapter won't fit:
- Verify your meter has the correct indentation size
- Check that you're using the correct mounting method for your meter type
Adapter feels loose:
- Ensure it's fully inserted into the groove
- Try pressing down more firmly until you hear/feel a click
- Check that the adapter is the correct size for your meter
wasserleser won't stay on adapter:
- Make sure the adapter is securely mounted first
- Check that the wasserleser is properly seated on the adapter
- Verify there's no debris preventing proper connection
Next Steps
Once the adapter installation is complete:
- Connect Power - Connect the USB-C cable
- App Setup - Configure in the app